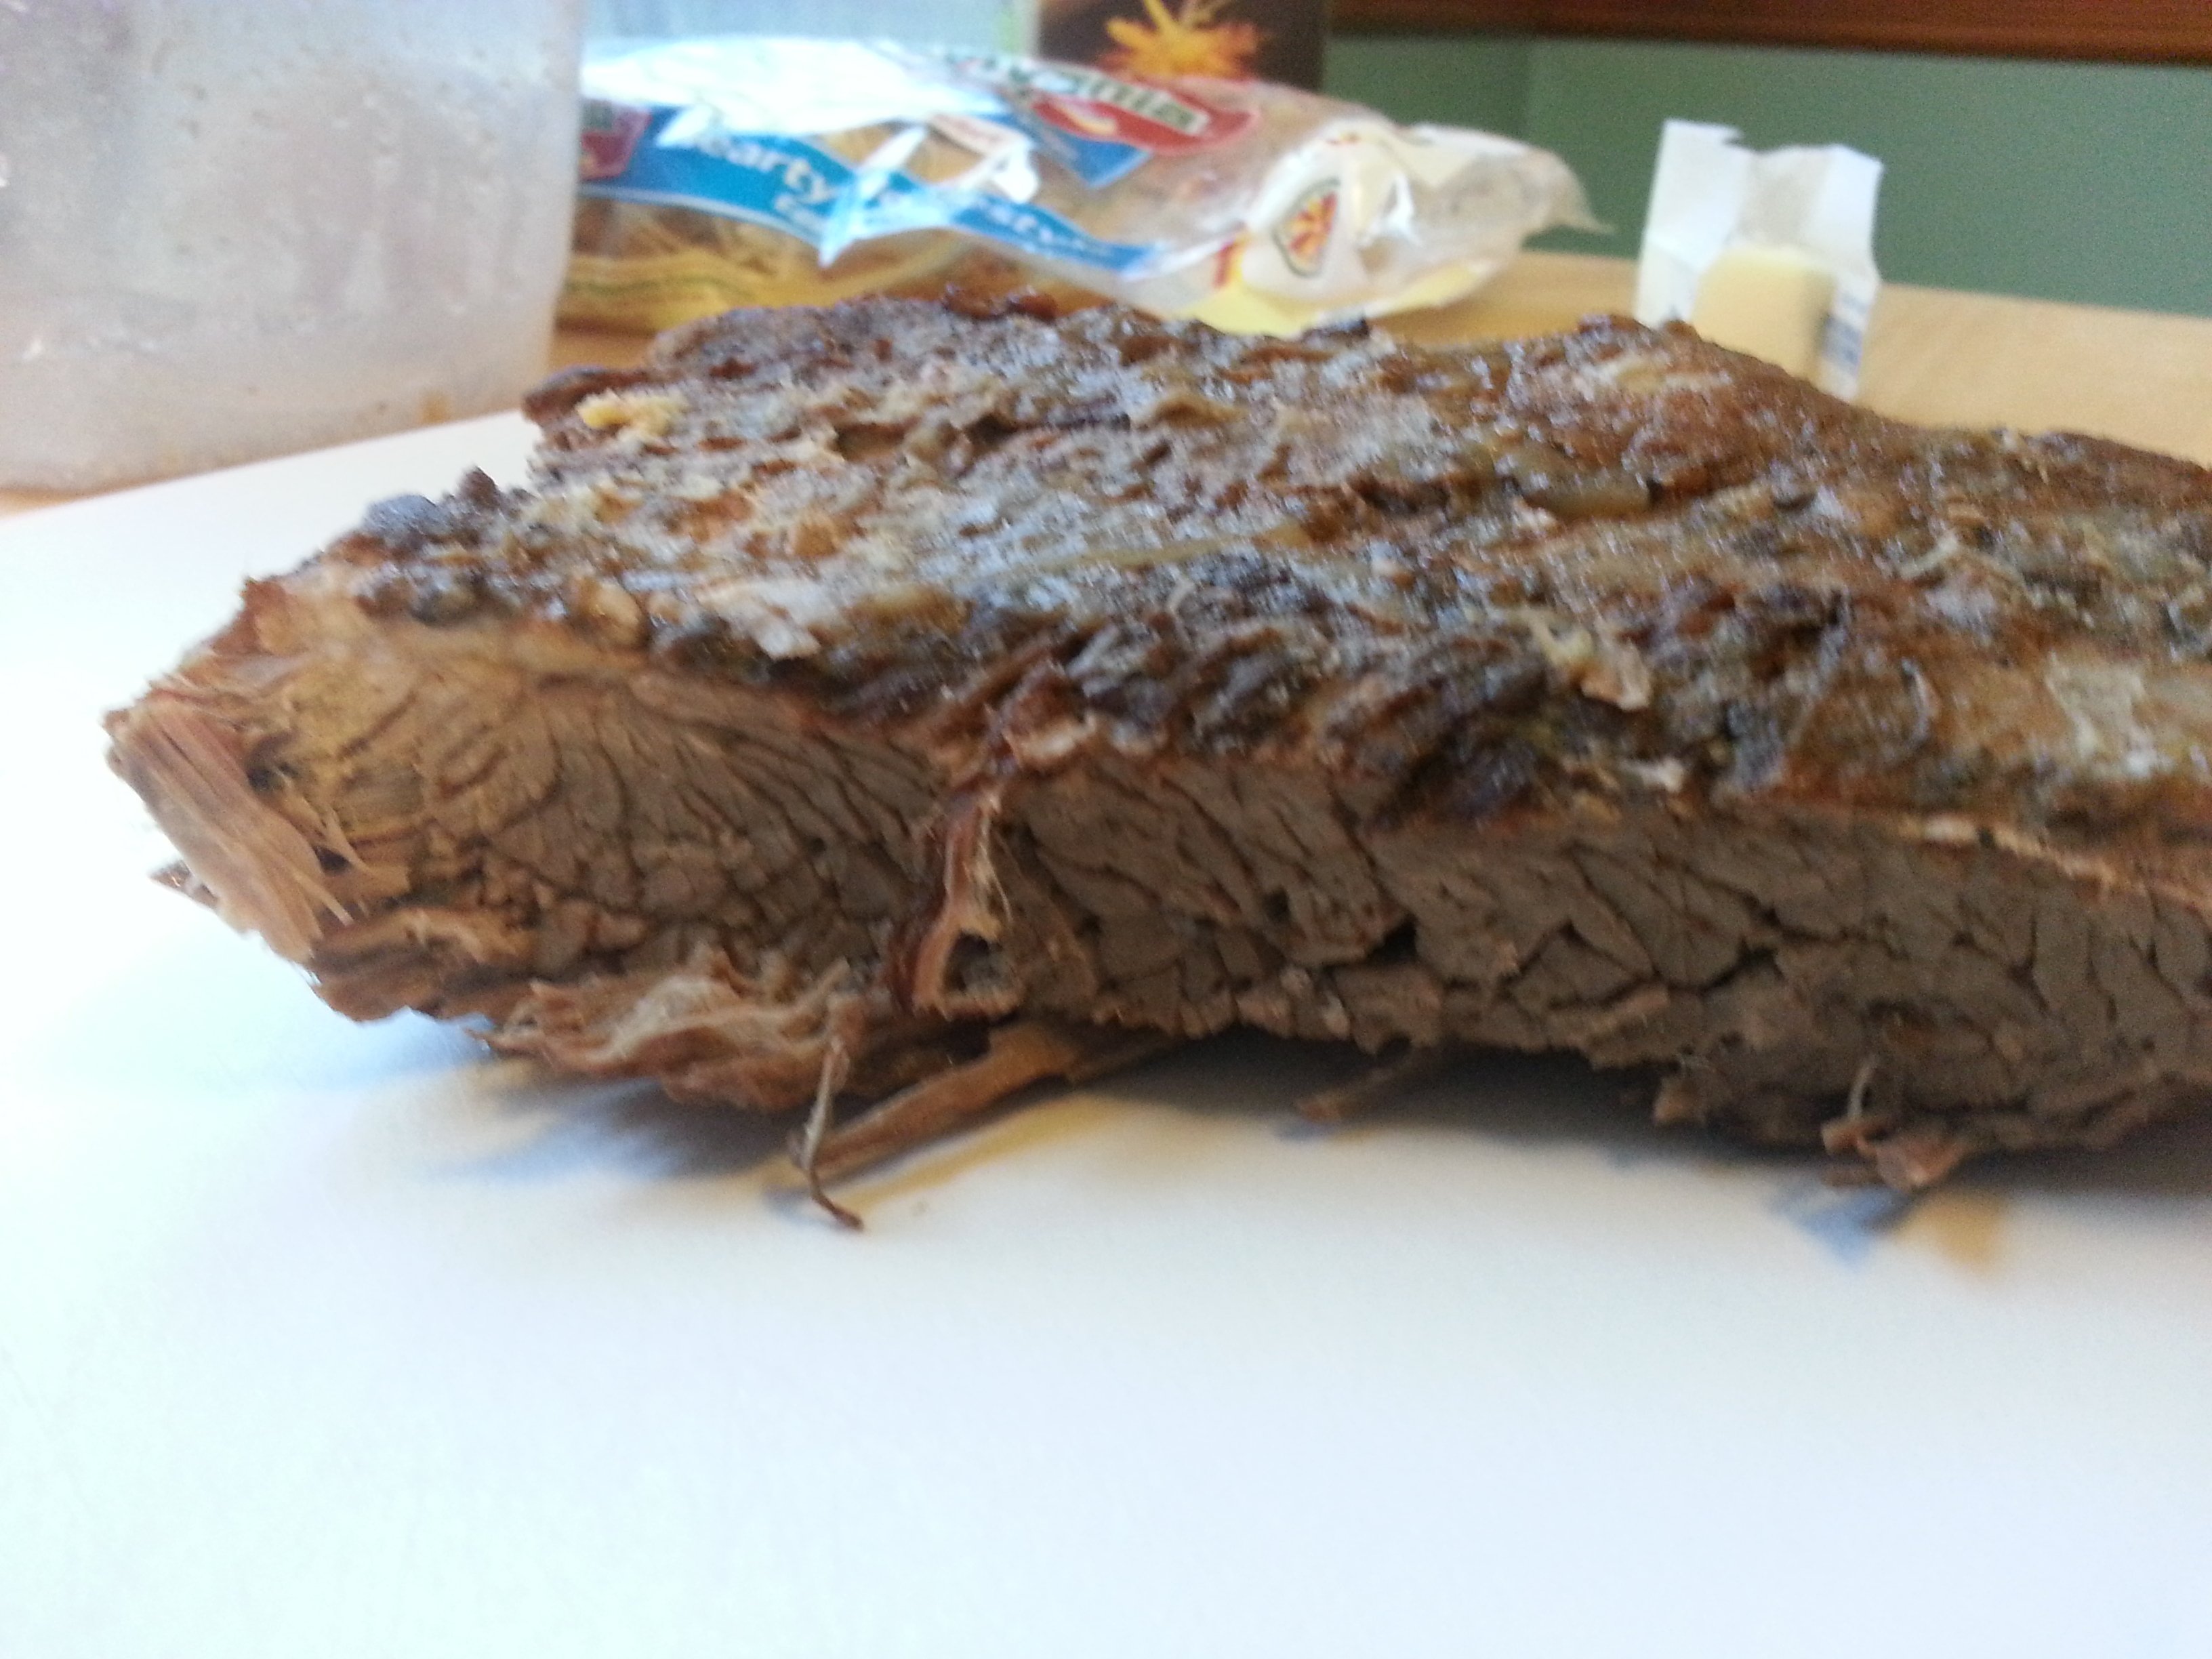
(This picture was actually taken the next day when I started to transform the leftovers)
People often as me how I find time to cook during the week. It can be a difficult task if you don’t take advantage of your schedule. Most weeknights, I have 30 minutes to an hour to get dinner on the table. On the weekends, I have more time but don’t want to be chained to the stove all day. I take both of those ideas into account when I make my French Onion Brisket. This recipe combines the best of both worlds: I get amazing slow roasted brisket on the weekend and leftovers that can be used for quick meals during the week.
This recipe takes about 30 minutes of hands on time at the beginning of the recipe, 3.5 to 4 hours of cooking in the oven, an hour to rest and approximately 30 minutes hands on at the end. Overall, the recipe takes about 6 hours to make but only about an hour of hands on time, which I think is perfect for the weekend. I can clean the house, do yard work, grade papers or watch the BBC version of Pride and Prejudice ![]() (I’m fairly certain that if I could wear out a DVD, it would be this one) while this is cooking without having to check on it.
(I’m fairly certain that if I could wear out a DVD, it would be this one) while this is cooking without having to check on it.
What you’ll need:
4 to 6 lbs beef brisket (last one I purchased at Costco was actually two pieces and it worked fine)
2.5 lbs yellow onions, halved then sliced 1/2 inch thick
1 tablespoon brown sugar
salt
3 cloves of minced garlic
1 tablespoon tomato paste
1 tablespoon paprika
1/8 teaspoon cayenne pepper
2 tablespoons all-purpose flour
1 cup of dry red wine or 1/2 cup wine and 1/2 cup balsamic vinegar
1 cup chicken broth
3 bay leaves
3 sprigs of thyme or 1.5 teaspoons dried thyme
pepper to taste
Pull the meat out of the fridge and let it rest for 20-30 minutes on the counter. Pull out the largest stainless saute pan you have. This is a really useful pan. I use it to brown meats on the top of the stove and then finish in the oven. It’s great for all sorts of hearty dishes as well because you’ll get glorious, flavorful brown bits when you brown meat in this pan. These brown bits will add amazing flavor to your sauces and stews.
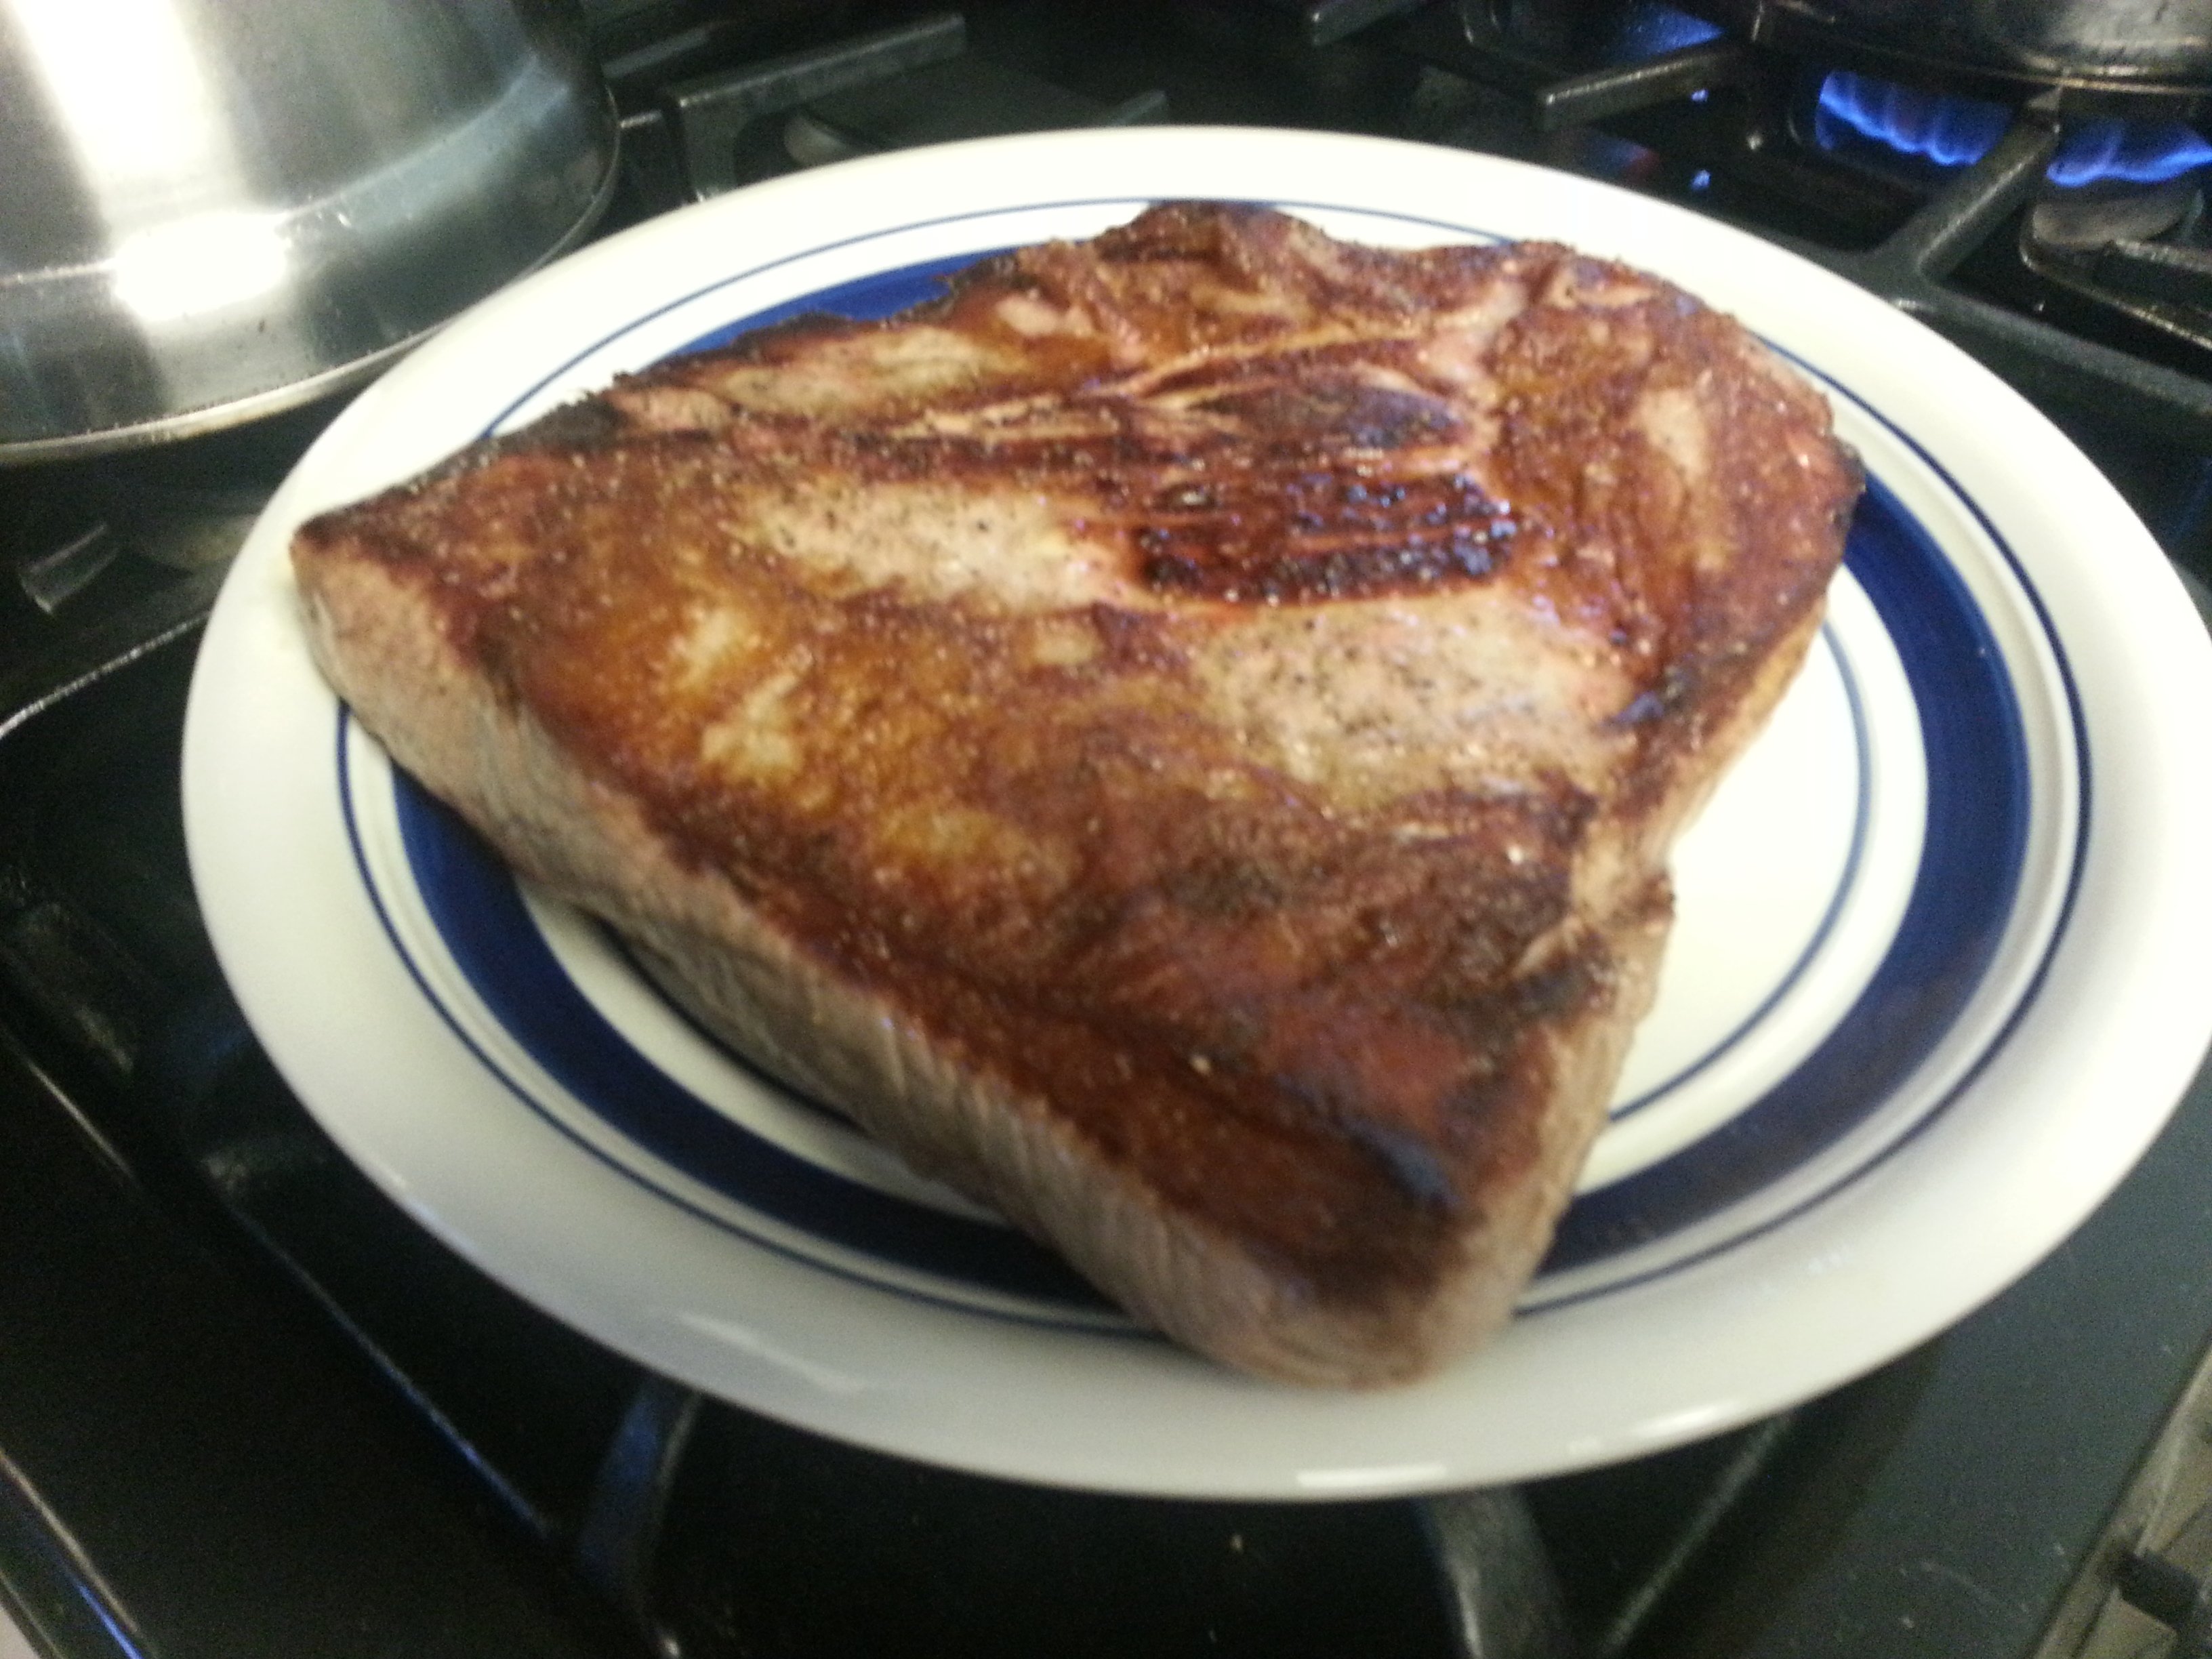
Heat your pan over medium-high heat, closer to high-than medium. On my dial which goes from 1-10, I use a setting between 8 and 9. As the pan heats up, get your meat ready by sprinkling salt and pepper on both sides of the meat. Take a fork and poke holes through the fat on the fatty side of the meat. Once the pan is hot, add a bit of olive oil and add the meat to the pan fatty side down. Cook the meat for 6 to 8 minutes. You’ll know it’s done when the meat releases from the pan. It’s going to sizzle like crazy but don’t touch it. We are creating lovely brown bits here!
While you are cooking the meat, slice your onions. It will give you something to do. If you finish that, sweep the floor. Just don’t touch the meat until the timer goes off. Once the meat releases from the pan, flip it and cook the other side for the same amount of time. See, beautiful color!
If you have a second piece of meat, repeat the browning process. Put the meat on a plate. Add onions to the now empty pan and turn down the heat to medium. stir the onions a bit. Cover the meat with foil. It’s important to get the onions right into the pan so the brown bits do not burn. Add the brown sugar and salt to the onions and let them soften, stirring occasionally. Cook the onions over medium heat for about 8-10 minutes.
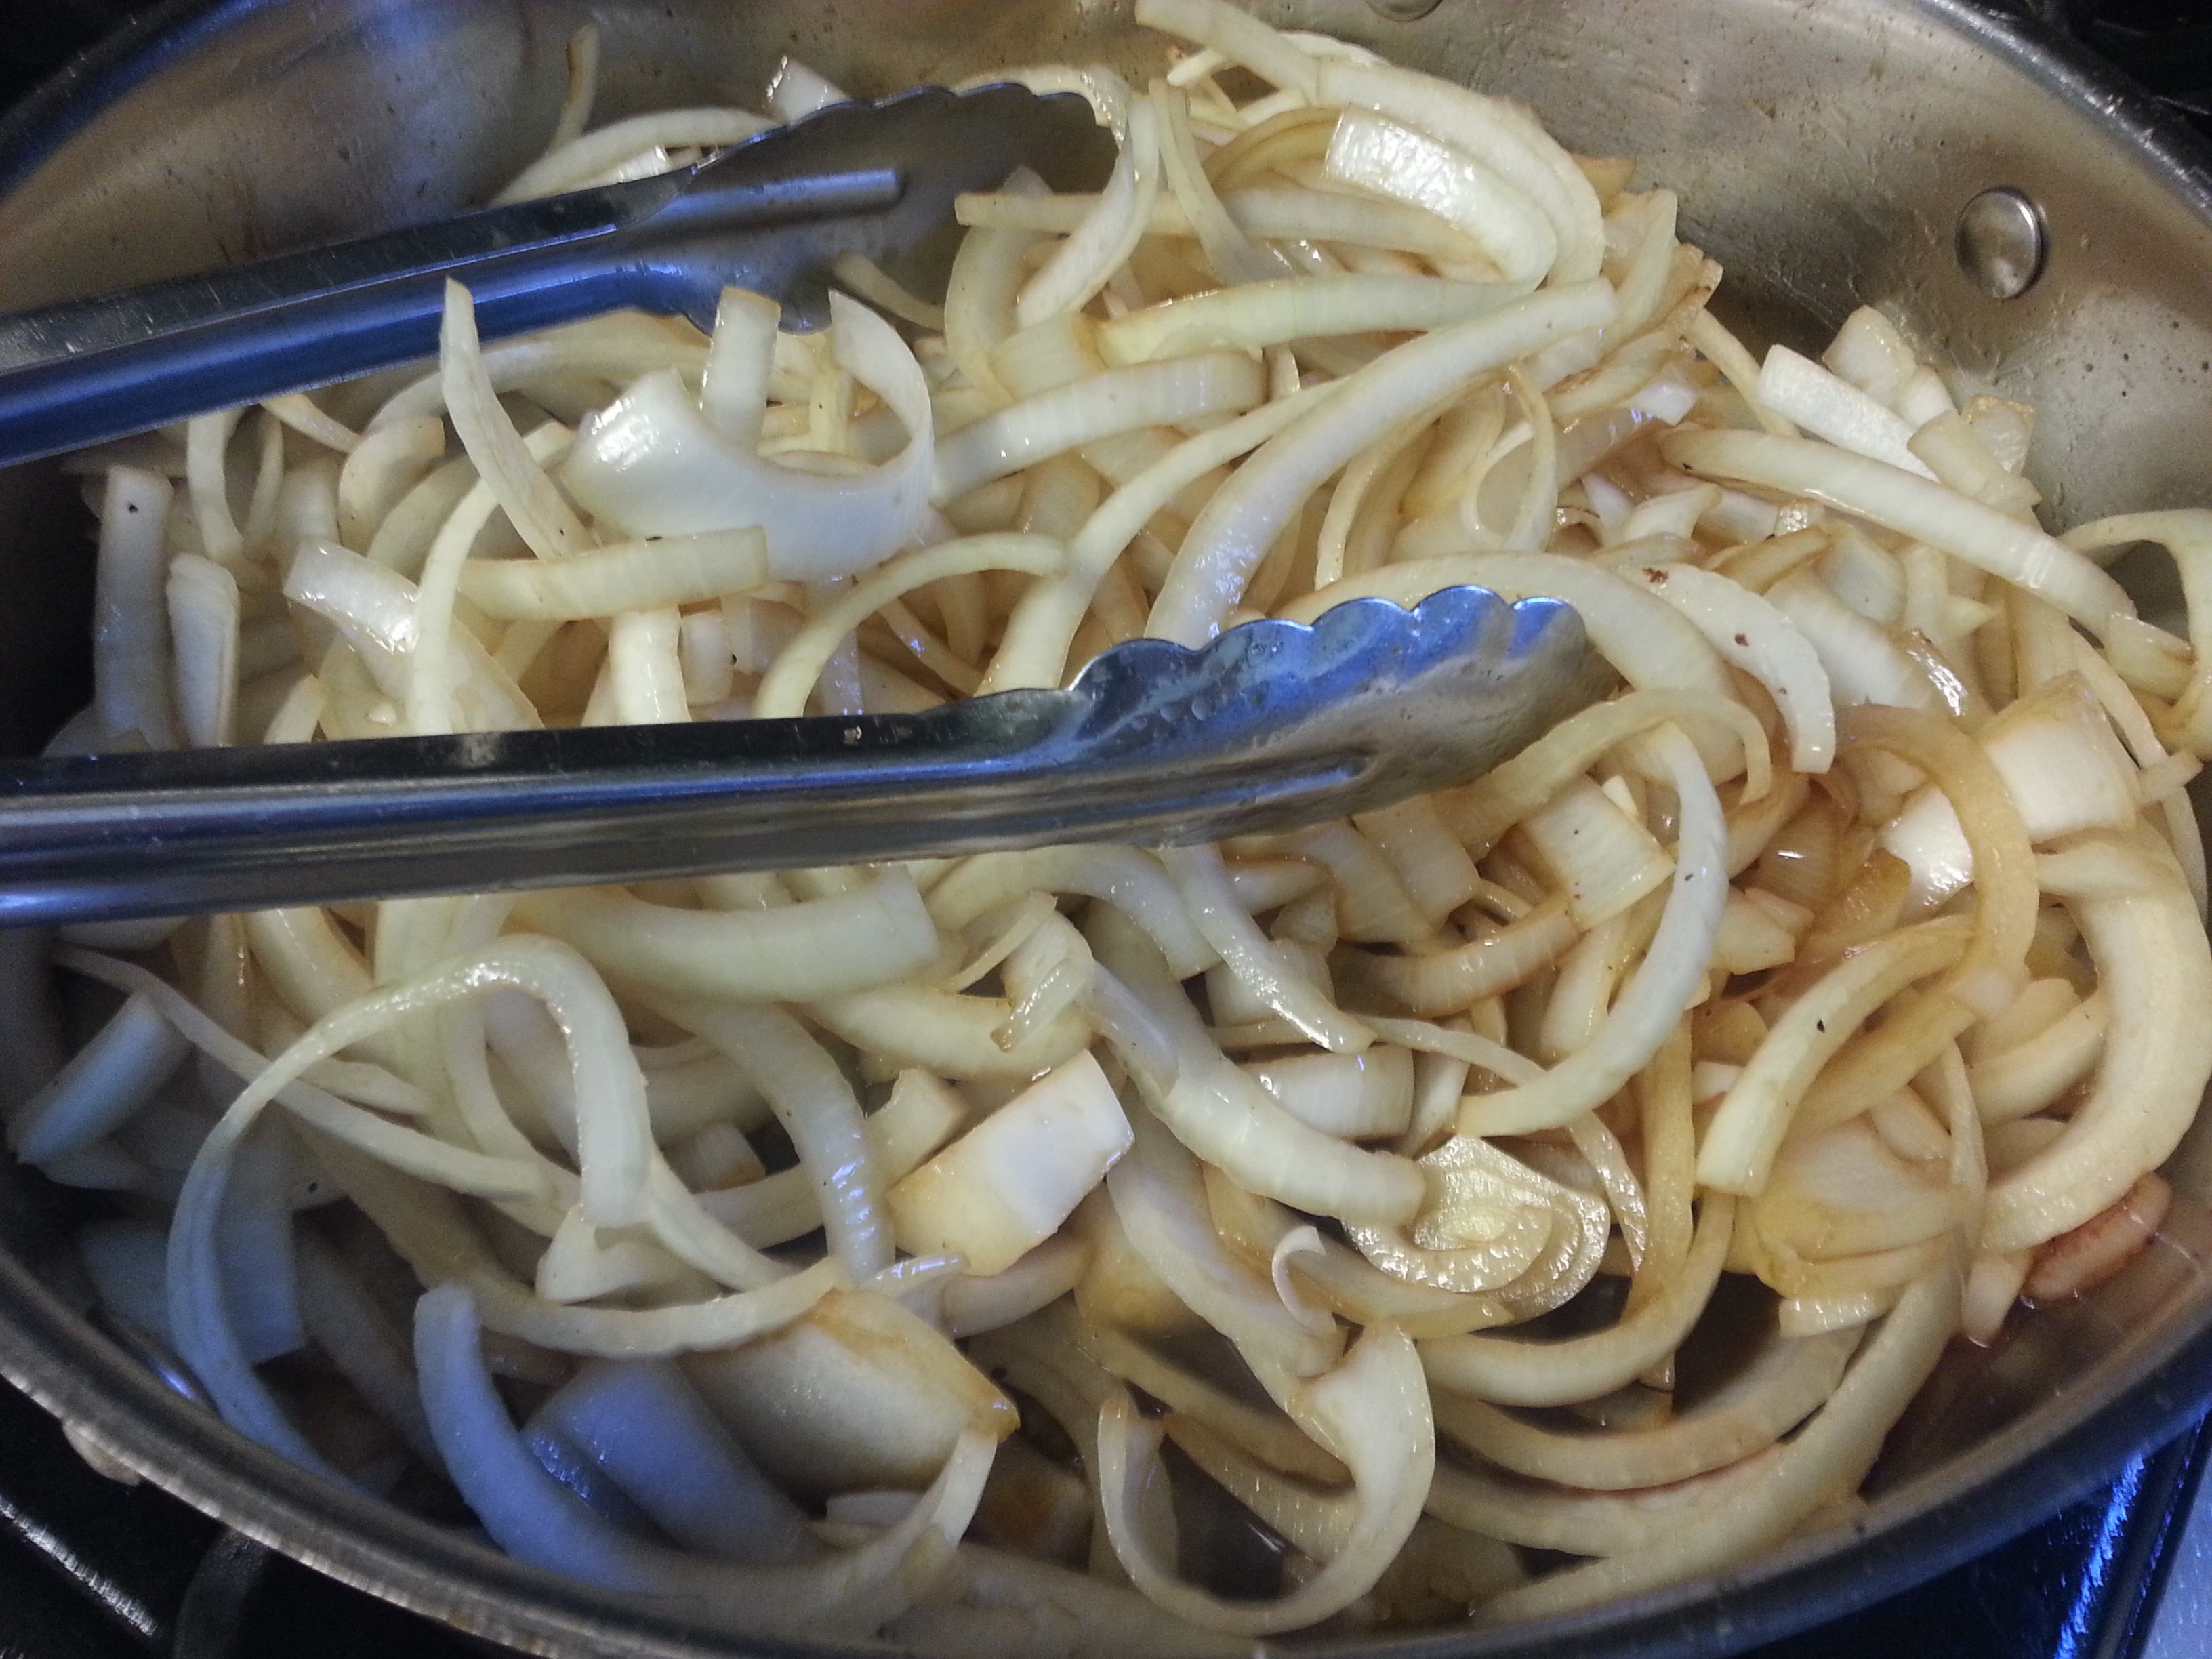
Not done yet.
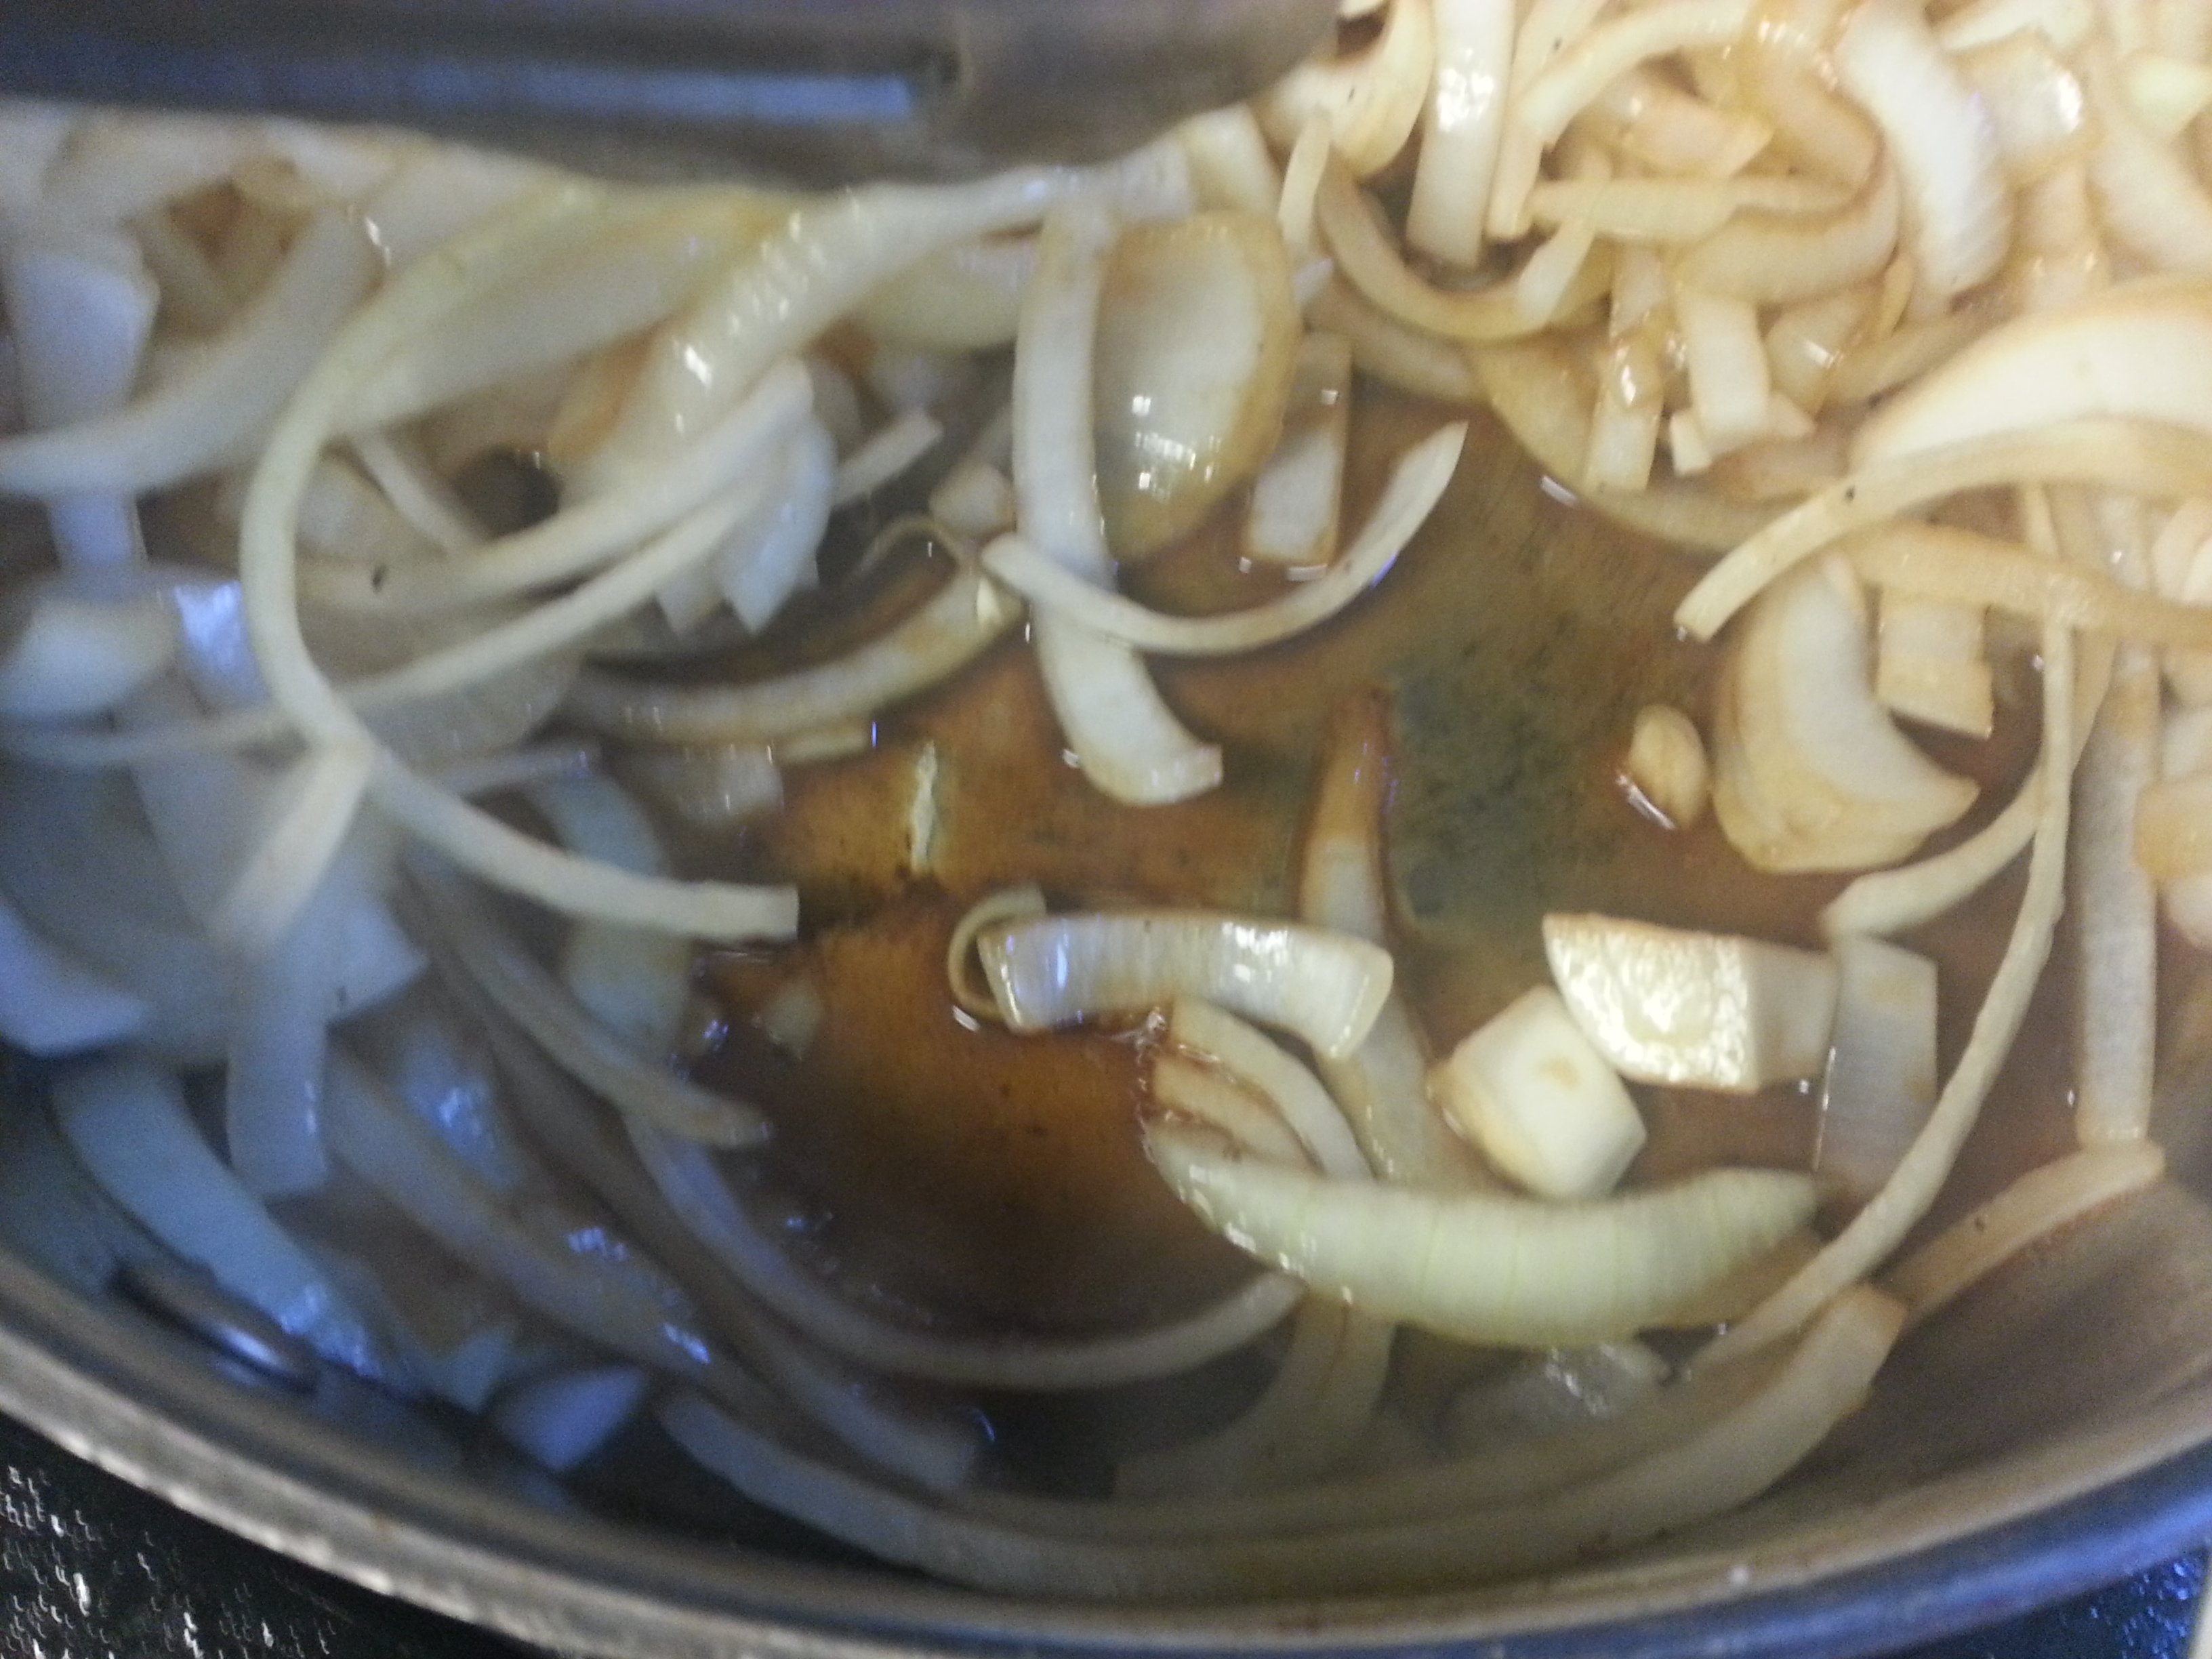
Still not done, but see the yummy brown goodness lifting from the pan?
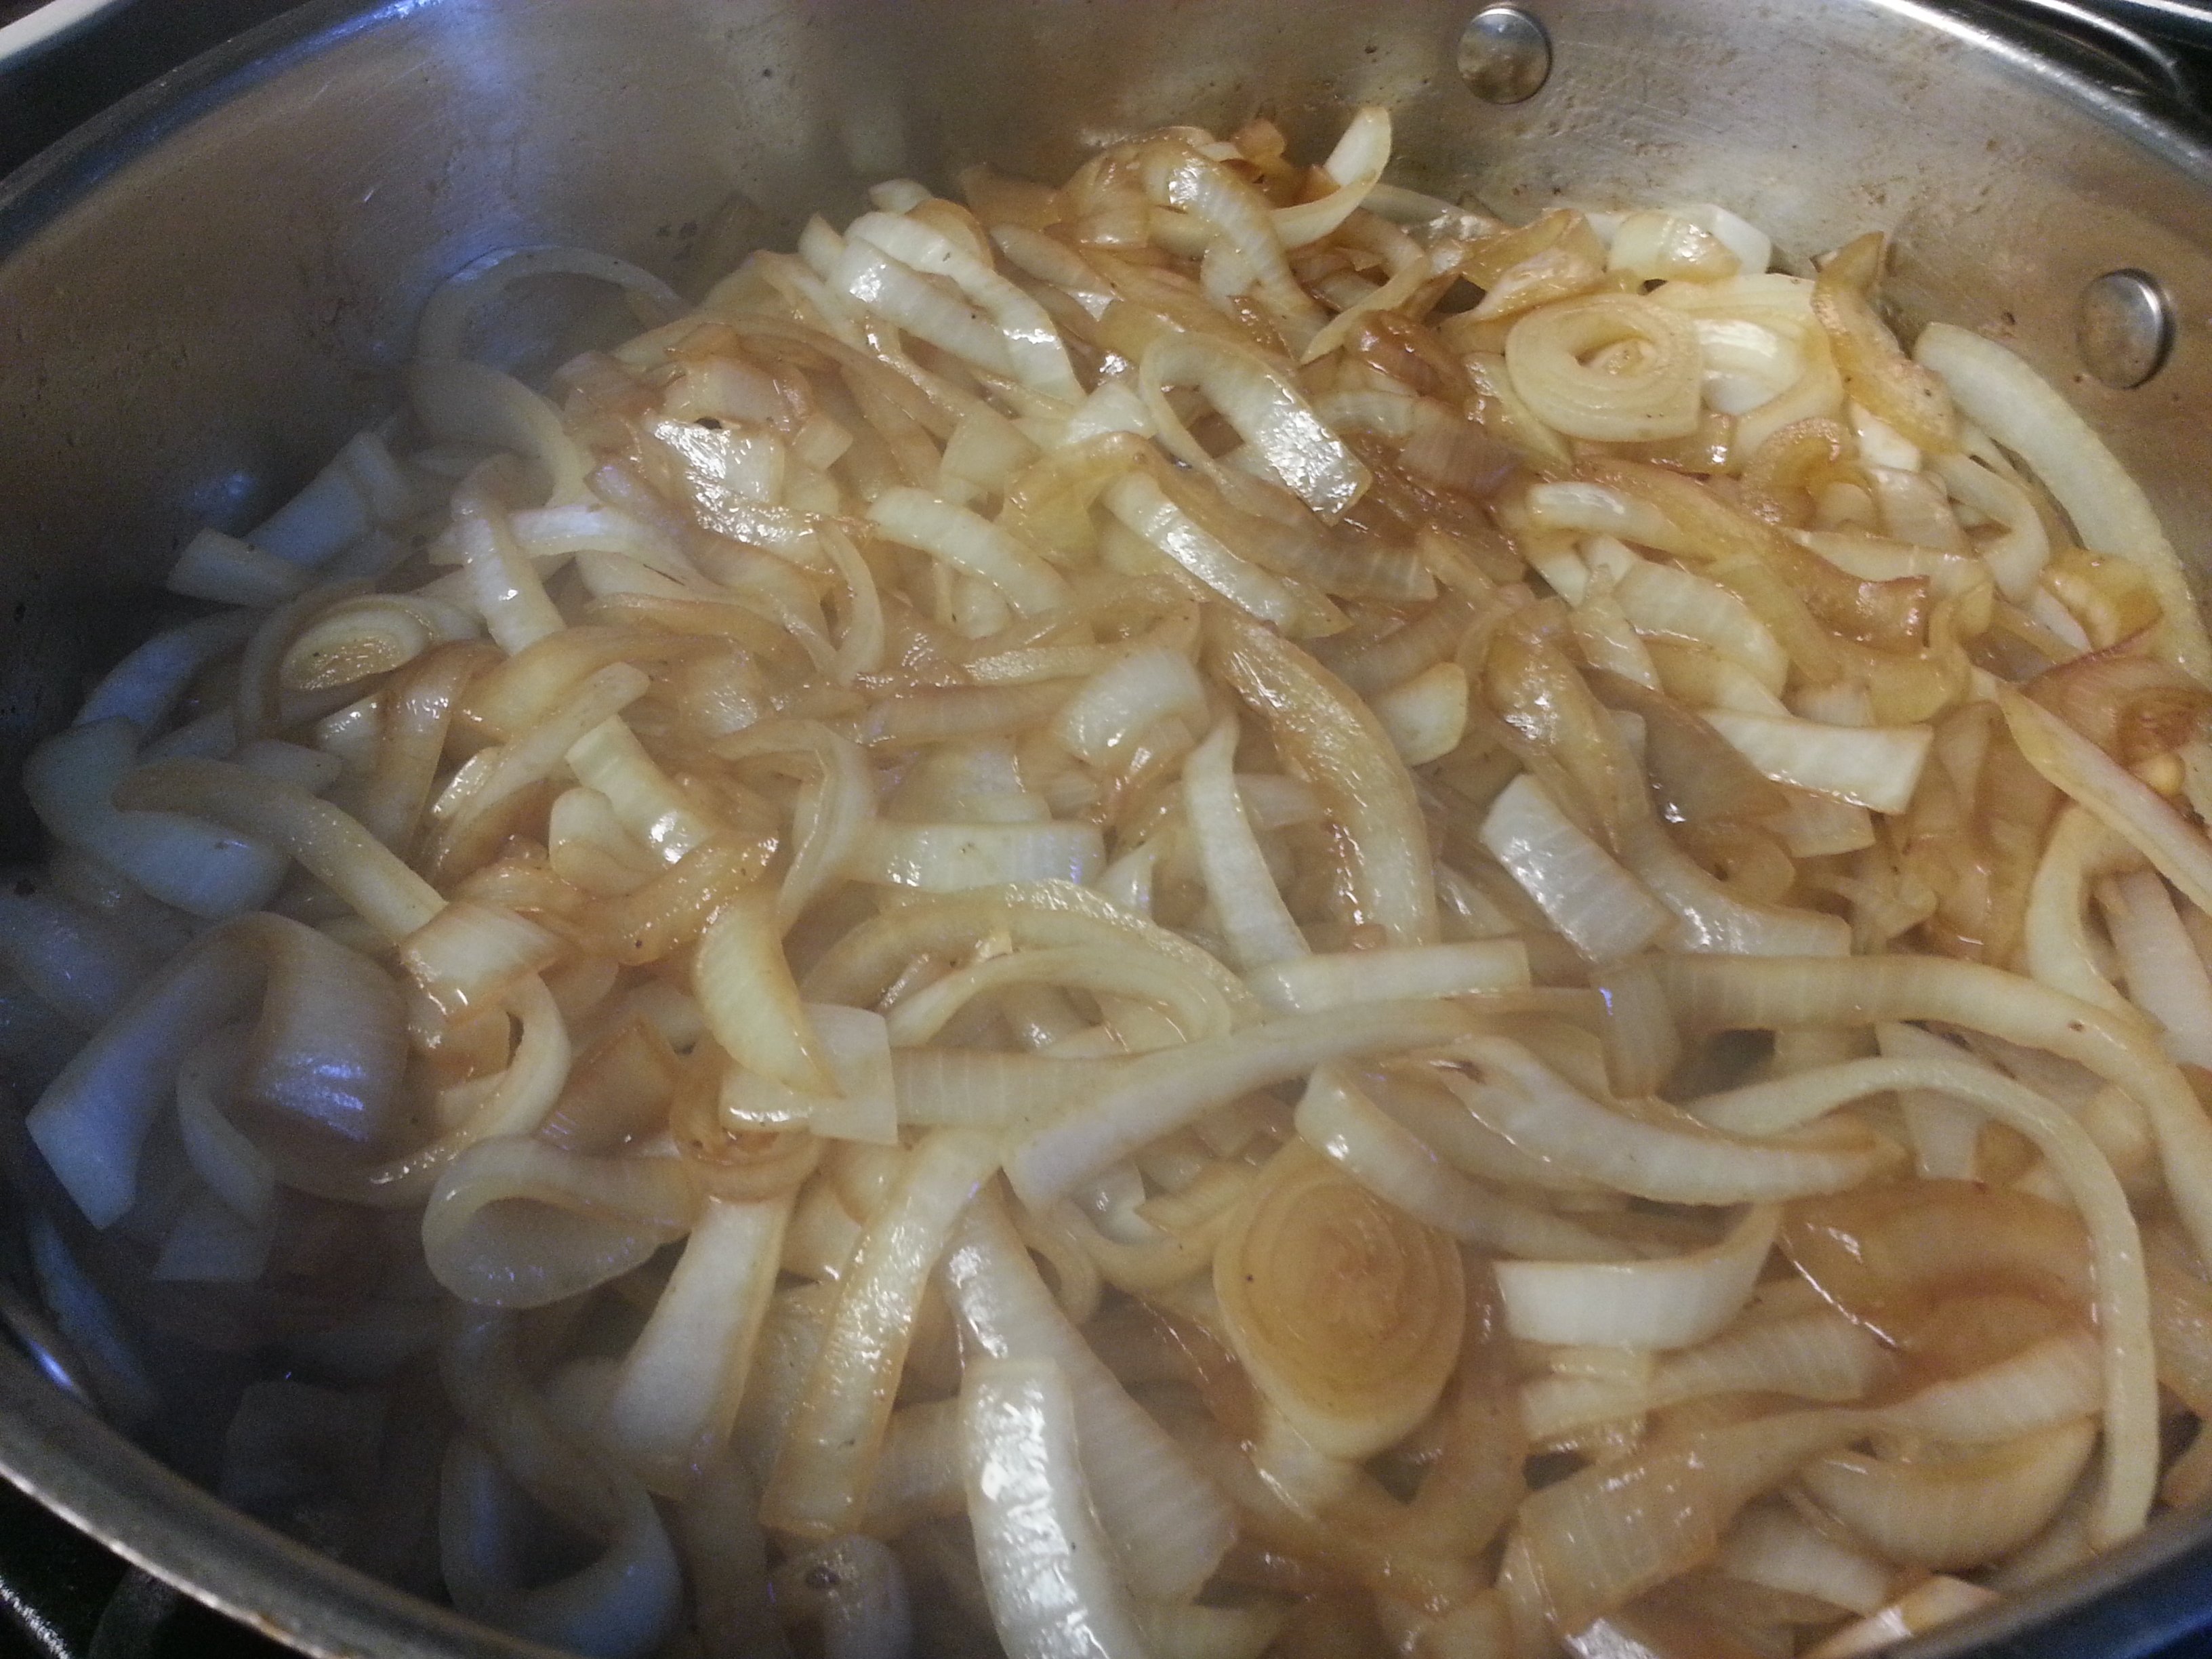
That looks good! Add the garlic and cook for another minute, stirring frequently so the garlic doesn’t burn. Add the tomato paste, paprika and cayenne. Stir to combine with the onions, then add the flour. Stir until the flour is incorporated into the onions and you no longer see white bits of raw flour. Add the wine/vinegar and chicken broth. Let the whole mixture come to a simmer. Make sure all the brown goodness at the bottom of the pan is scraped up.
Line a 9×13 baking dish with two pieces of heavy duty foil to completely cover the pan with lots of foil hanging over the edges. You want to make sure you have enough foil to wrap the brisket tightly.
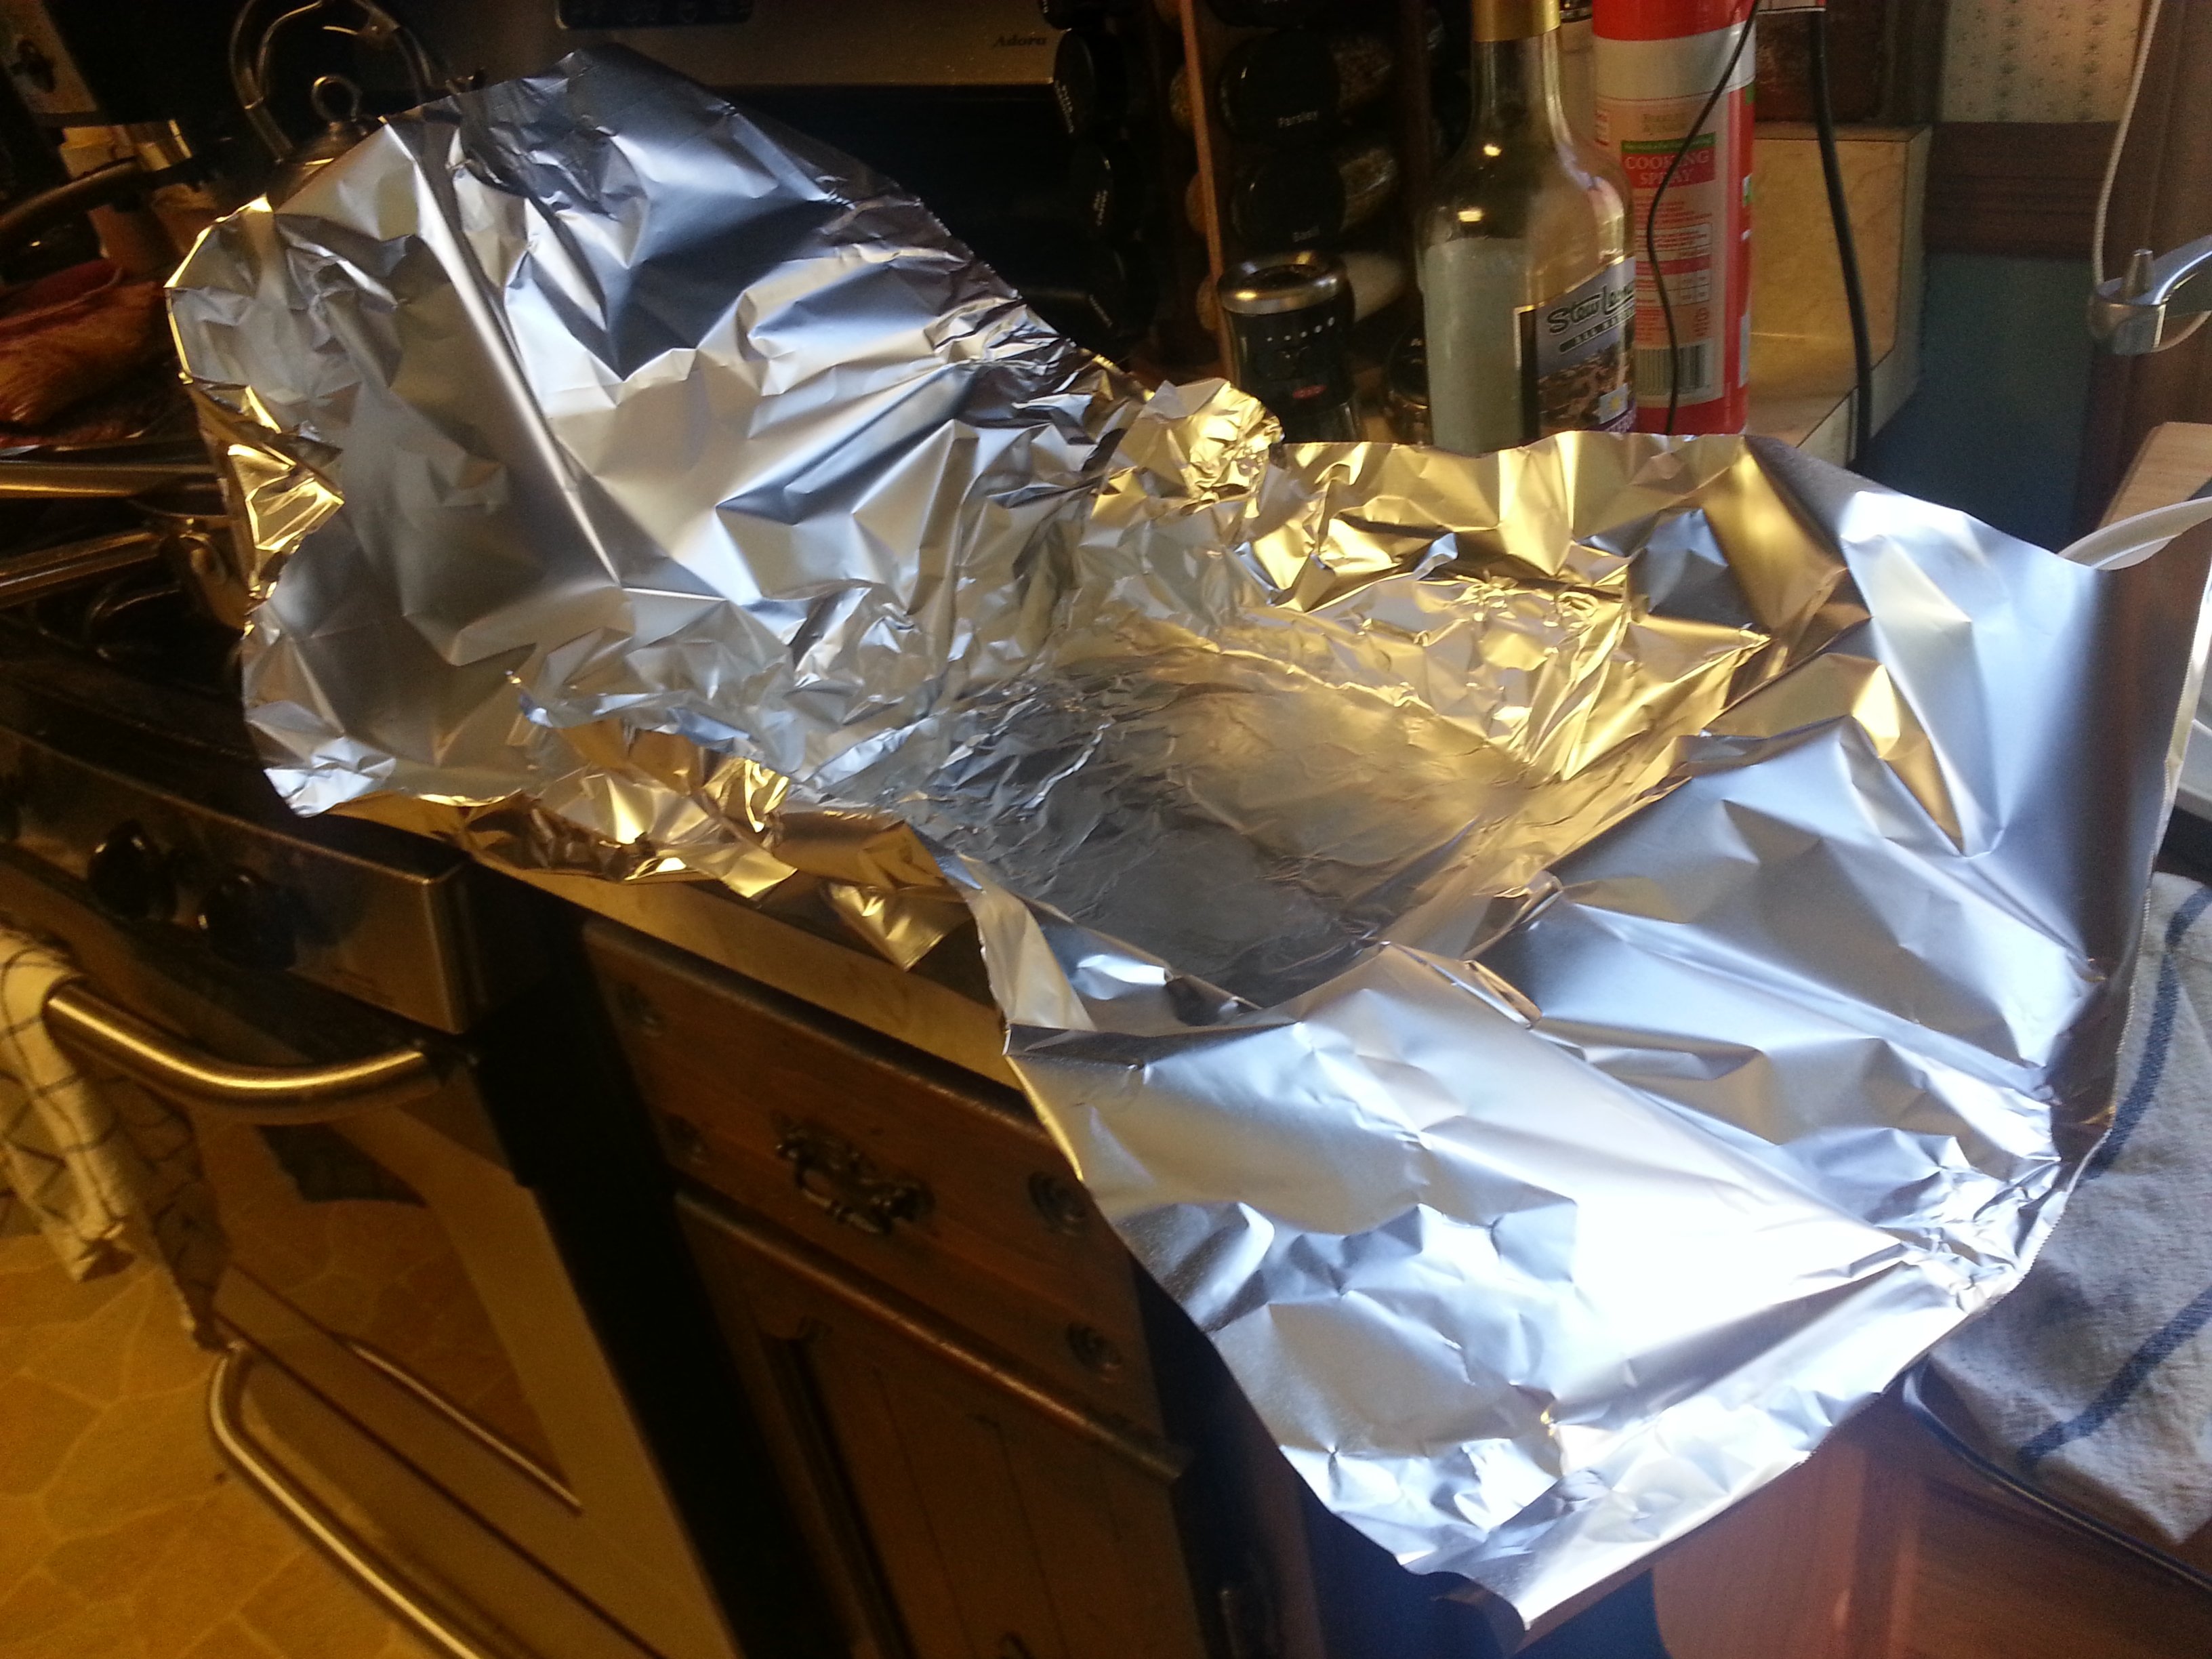
That is a lot of foil, I know.
Add the brisket to the baking dish and cover with the onion mixture.
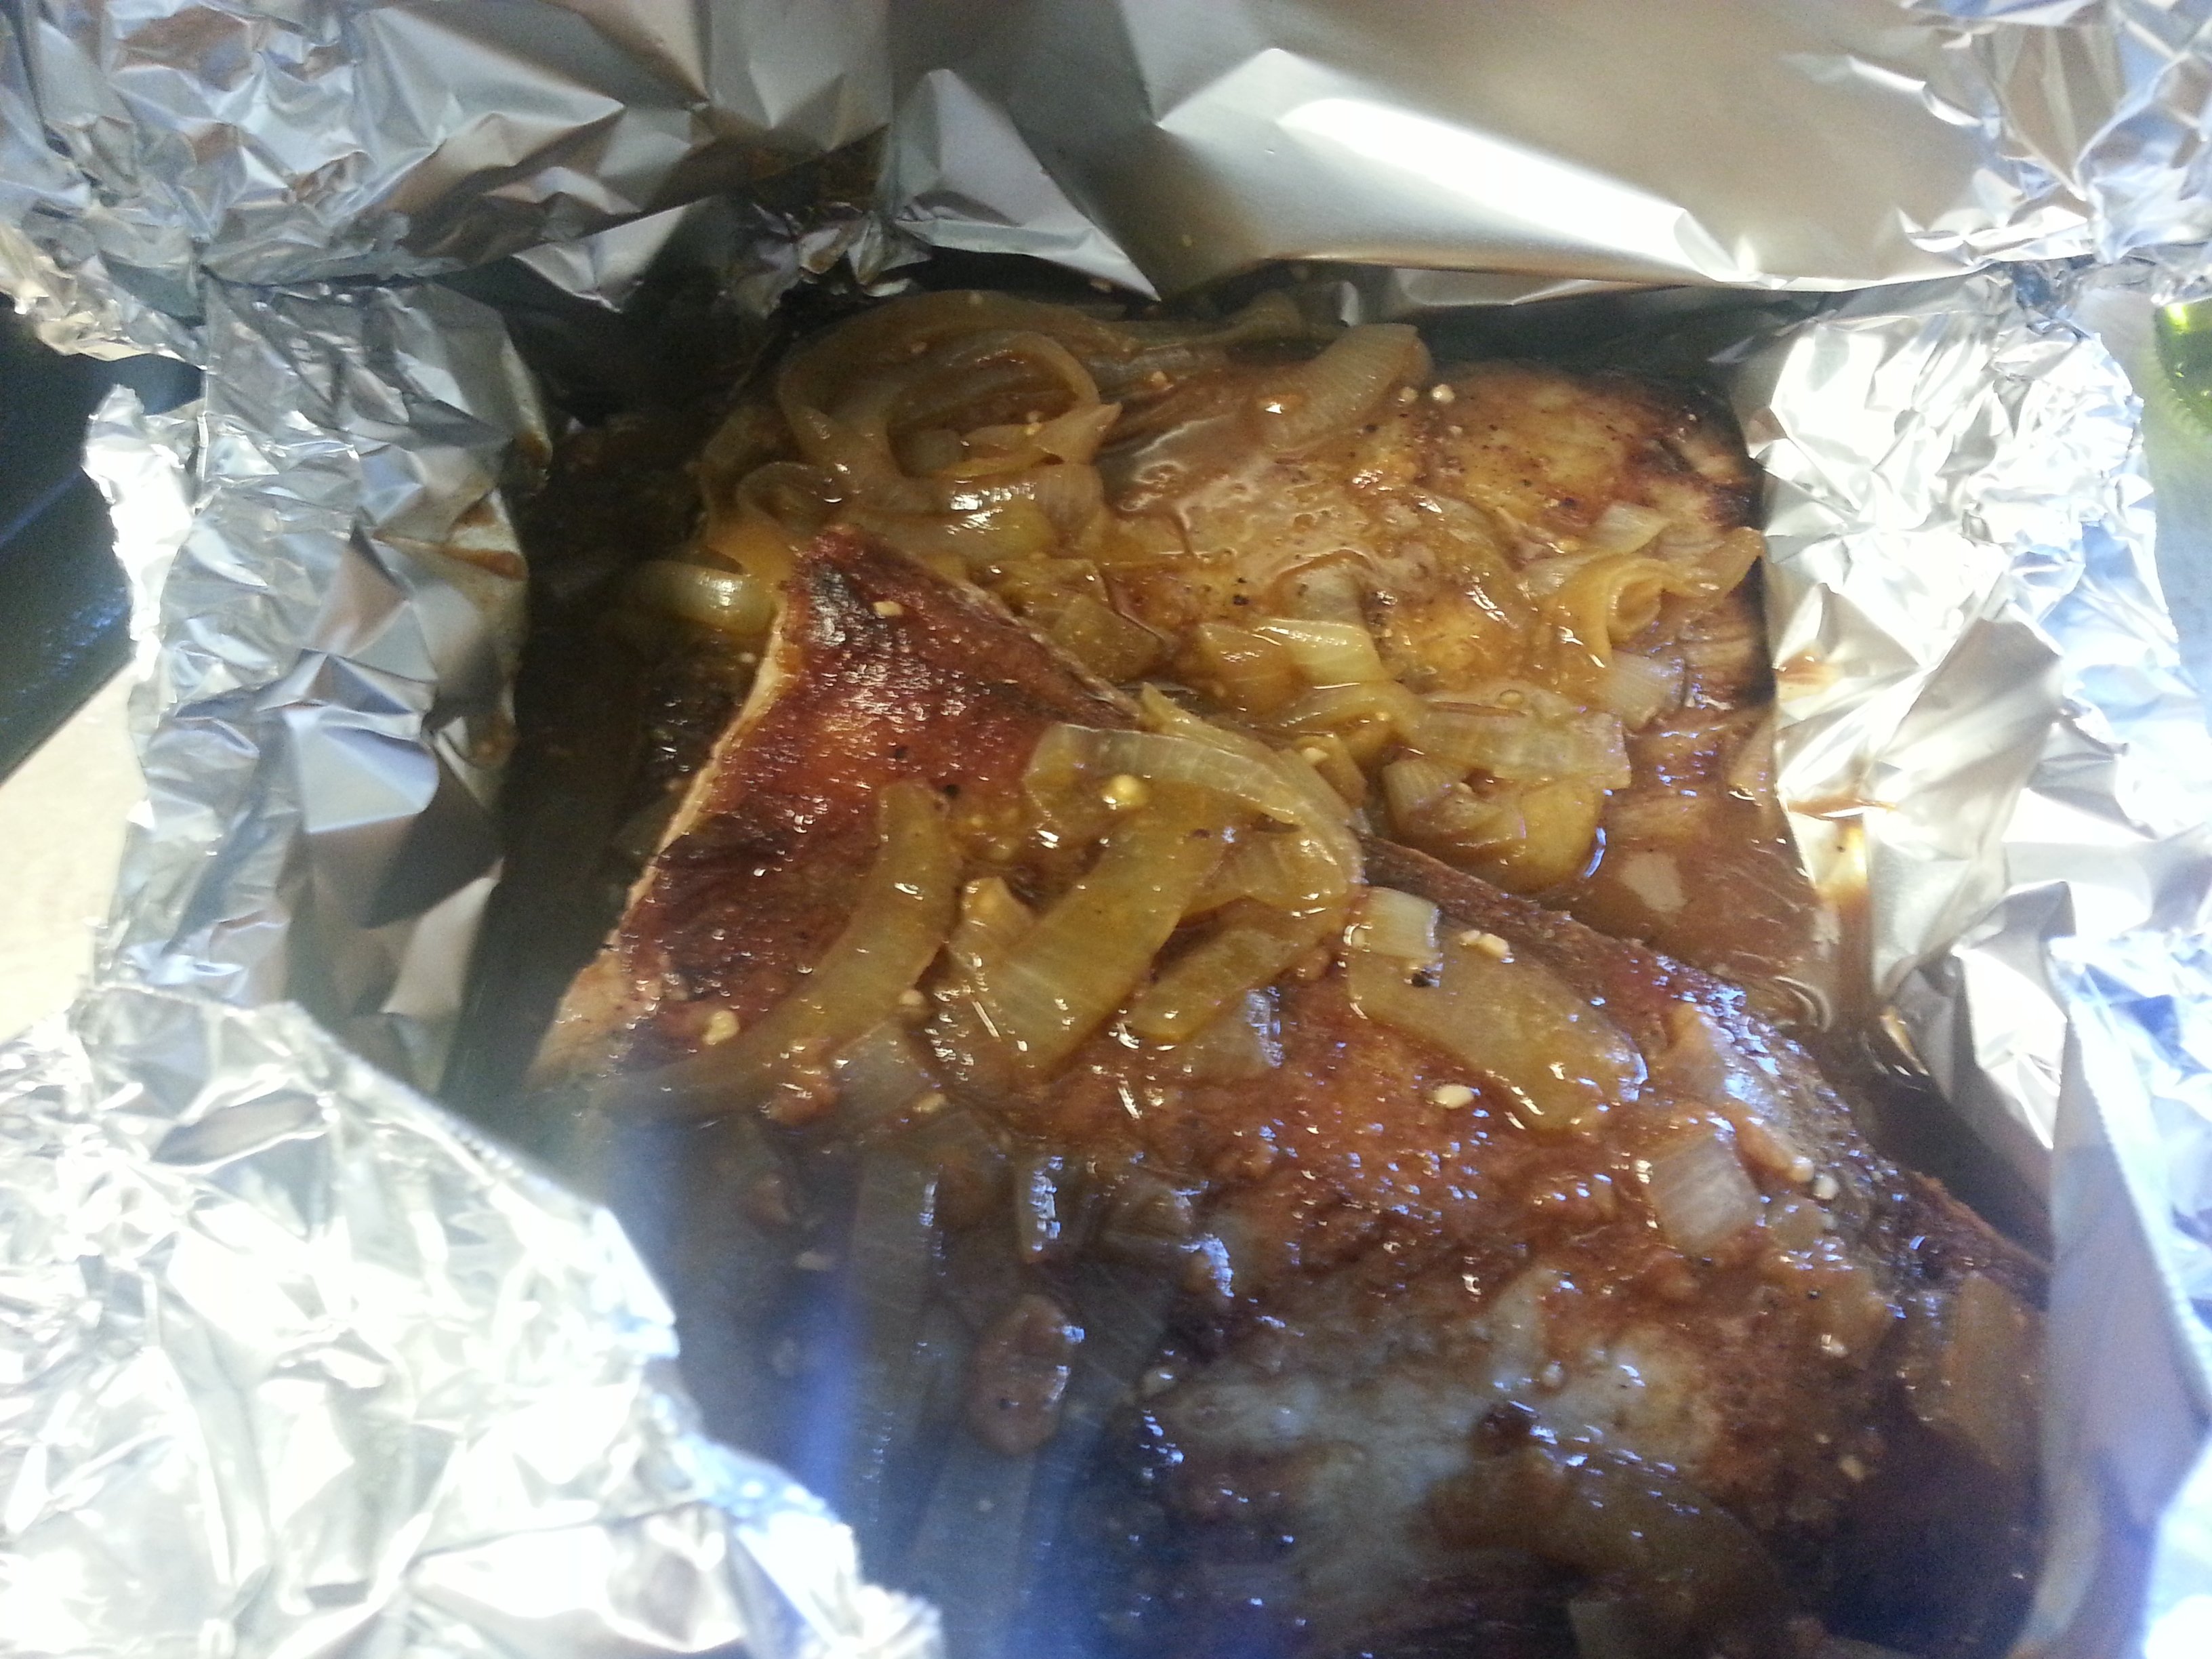
Then seal the package tightly.
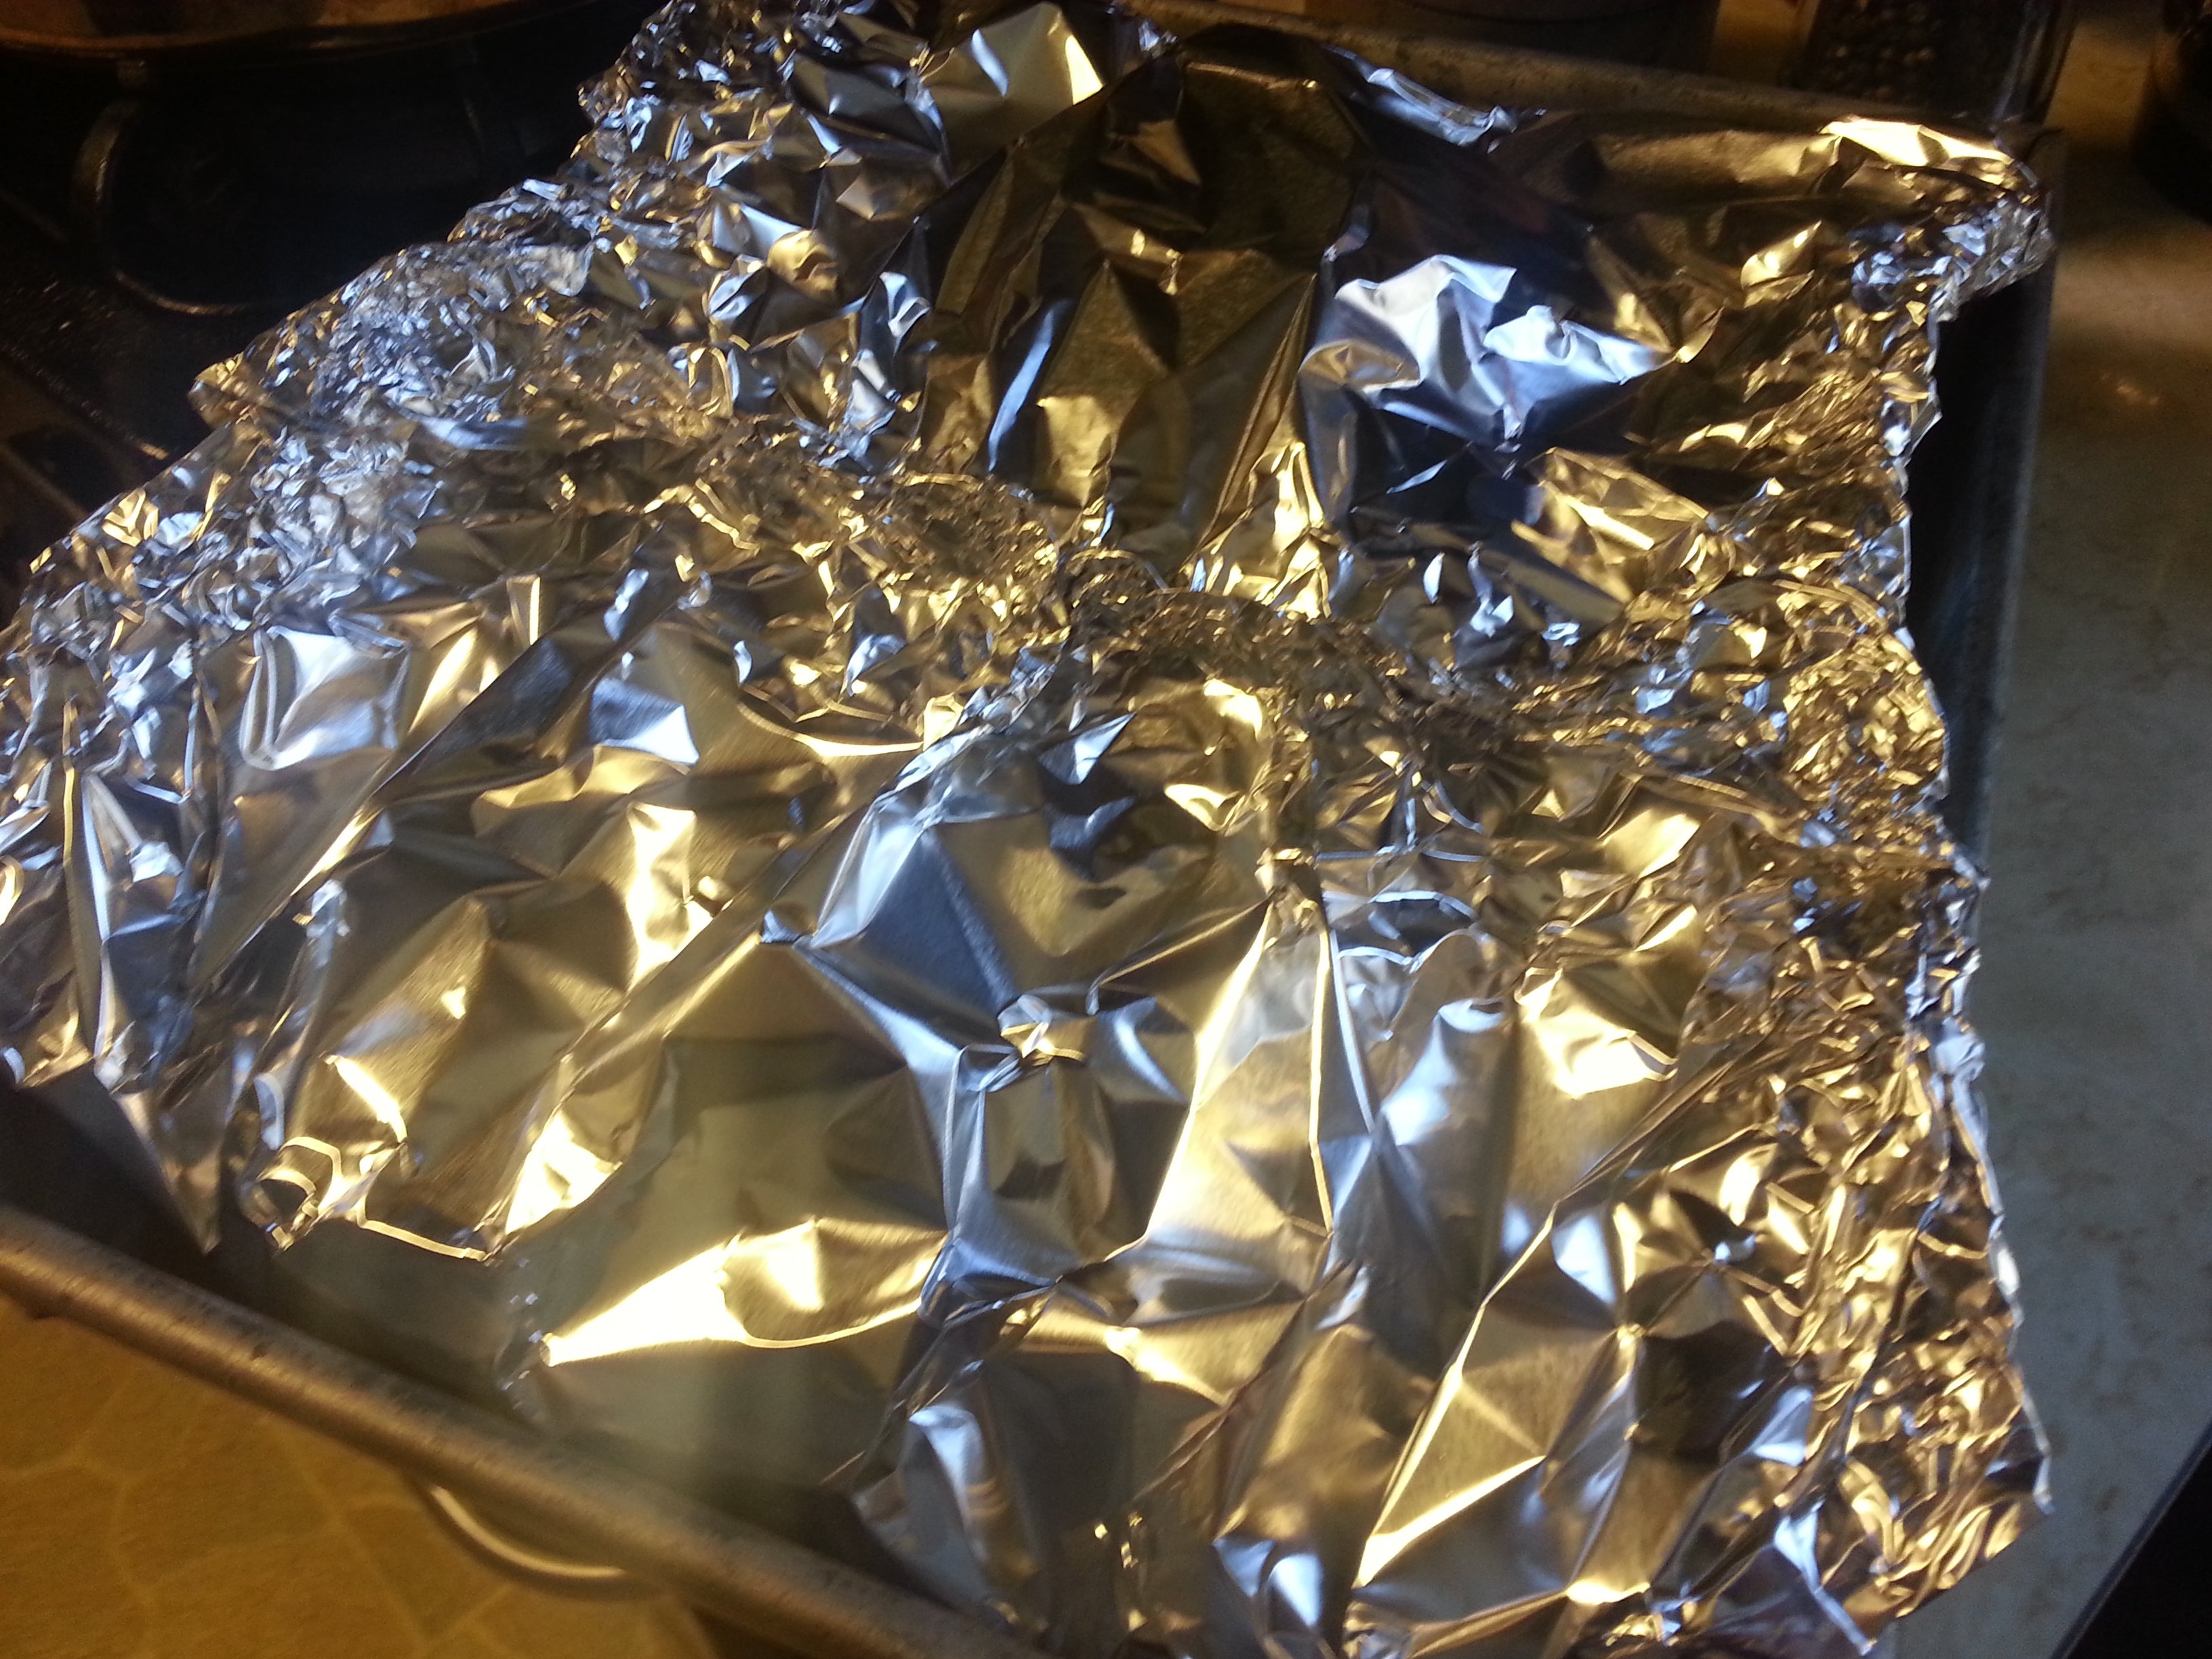
Bake at 300 degrees for 4 hours. Once the timer goes off, remove from the oven and let the whole thing sit for an hour. This is crucial because this is when the meat really starts to break down and get awesome.
Once the meat has rested, put the meat on a platter and cover with foil. Remove the thyme stems and bay leaves from the onion mixture and discard. Strain the onions from the sauce into a small sauce pan. Make sure to drain the onions well and set them aside for now (Sorry I don’t have anymore pictures at this point. I had company over and I completely forgot to get pictures of the rest!).
Skim any fat off the top of the sauce with a large spoon, then bring the sauce to a vigorous simmer. Reduce the sauce for about 10 minutes. This will help thicken the sauce a bit. Add the onions back to the sauce and reduce the heat to low.
Take out the meat and cut thin slices across the grain. You will see lines running through the meat. That is the grain. You can see it in this shot. See the grain running through the meat? Cutting across the grain, rather than with the grain, will increase the tenderness of the meat.
Serve the slices of meat topped with the onion sauce. I love this dish with mashed potatoes because the sauce is an awesome gravy.
Store any leftover meat separately from the sauce. Tomorrow’s post will include a great transformation recipe for the leftovers.