Yes, you can make amazing pizza at home. No it doesn’t take all day, although you do need some time for the dough to rise. No, you don’t need a special oven. And yes, you can do this. Oh, and did I mention it’s sort of healthy?
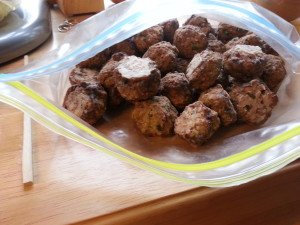
My husband is a pizza fiend. If he had to pick one meal to eat for dinner for the rest of his life, I am fairly certain it would be pizza. I’ve tried many pizza recipes over the years and we’ve both thought they were okay, but they never really killed the craving for the kind of pizza we can get from our local pizza place. When I stumbled upon this recipe, I knew we had a winner. My husband absolutely loved it. I’ve made it for friends and family and they love it too. Best of all, I use King Arthur White Whole Wheat Flour for 50% of the flour in the recipe which makes me feel a bit better about the whole thing. The other great thing about making pizza at home is you know exactly what is in it. There are no preservatives in the dough and you can control the sauce and the toppings. The possibilities are endless. I’ve made BBQ chicken pizza, meatball pizza (pictured above), pepperoni for the hubby, veggie for me. It’s a great way to use up whatever you’ve got left over, especially bacon!
If you are going to make homemade pizza a regular event in your house, you’ll need a few tools. None of them are very expensive and they will pay for themselves after two to three evenings making pizza at home rather than going out or getting delivery. First, you’ll need a good, heavy pizza stone![]() . You want one that is thick so it holds good heat and won’t break. I’ve gotten the cheap, round stones before only to have them break. I have these stone baking tiles
. You want one that is thick so it holds good heat and won’t break. I’ve gotten the cheap, round stones before only to have them break. I have these stone baking tiles![]() . I like them because they are much easier to store and remove from the oven. I’ve even used them on the grill on hot days. They are a bit pricey though. If you are trying pizza for the first time, you can use an inverted half-sheet pan
. I like them because they are much easier to store and remove from the oven. I’ve even used them on the grill on hot days. They are a bit pricey though. If you are trying pizza for the first time, you can use an inverted half-sheet pan![]() to see if pizza making is for you. Just keep in mind that the crust will not get as crispy with the sheet pan.
to see if pizza making is for you. Just keep in mind that the crust will not get as crispy with the sheet pan.
You will also need a pizza peel![]() to get the pizza in and out of the oven. Since you need to slide the pizza onto your stone, a pizza peel is very handy. I’ve tried other methods but there is nothing better than a peel. Make sure the peel is large enough to accommodate the pizzas you want to make. I own the one linked above. I’ve gone through multiple crappy pizza stones (before I bought the tiles), but that is the only peel I’ve owned. I’ve had it for over three years now and it’s still going strong.
to get the pizza in and out of the oven. Since you need to slide the pizza onto your stone, a pizza peel is very handy. I’ve tried other methods but there is nothing better than a peel. Make sure the peel is large enough to accommodate the pizzas you want to make. I own the one linked above. I’ve gone through multiple crappy pizza stones (before I bought the tiles), but that is the only peel I’ve owned. I’ve had it for over three years now and it’s still going strong.
The last thing you’ll need is parchment paper. This is crucial to making your life easier. You can dust the peel with cornmeal but I’ve found that can make a huge mess in your kitchen and your oven. It is also prone to smoking in a hot oven, which is always fun. Plus, if you don’t use enough, your dough will still stick to the peel. I’ve never had problems with parchment. It’s worth the investment.
Homemade pizza
1/2 cup warm water (approx 110 degrees)
2 and 1/4 teaspoons of yeast (1 envelope)
1 and 1/4 cups room temperature water
2 tablespoons olive oil
2 cups bread flour*, plus more for dusting your work surface
2 cups white whole wheat flour (or 2 additional cups bread flour)
1 and 1/2 teaspoons salt
sauce, cheese and toppings of your choice
Combine warm water and yeast in a measuring cup. Let this sit for a few minutes, then add the remaining water and oil to the measuring cup.
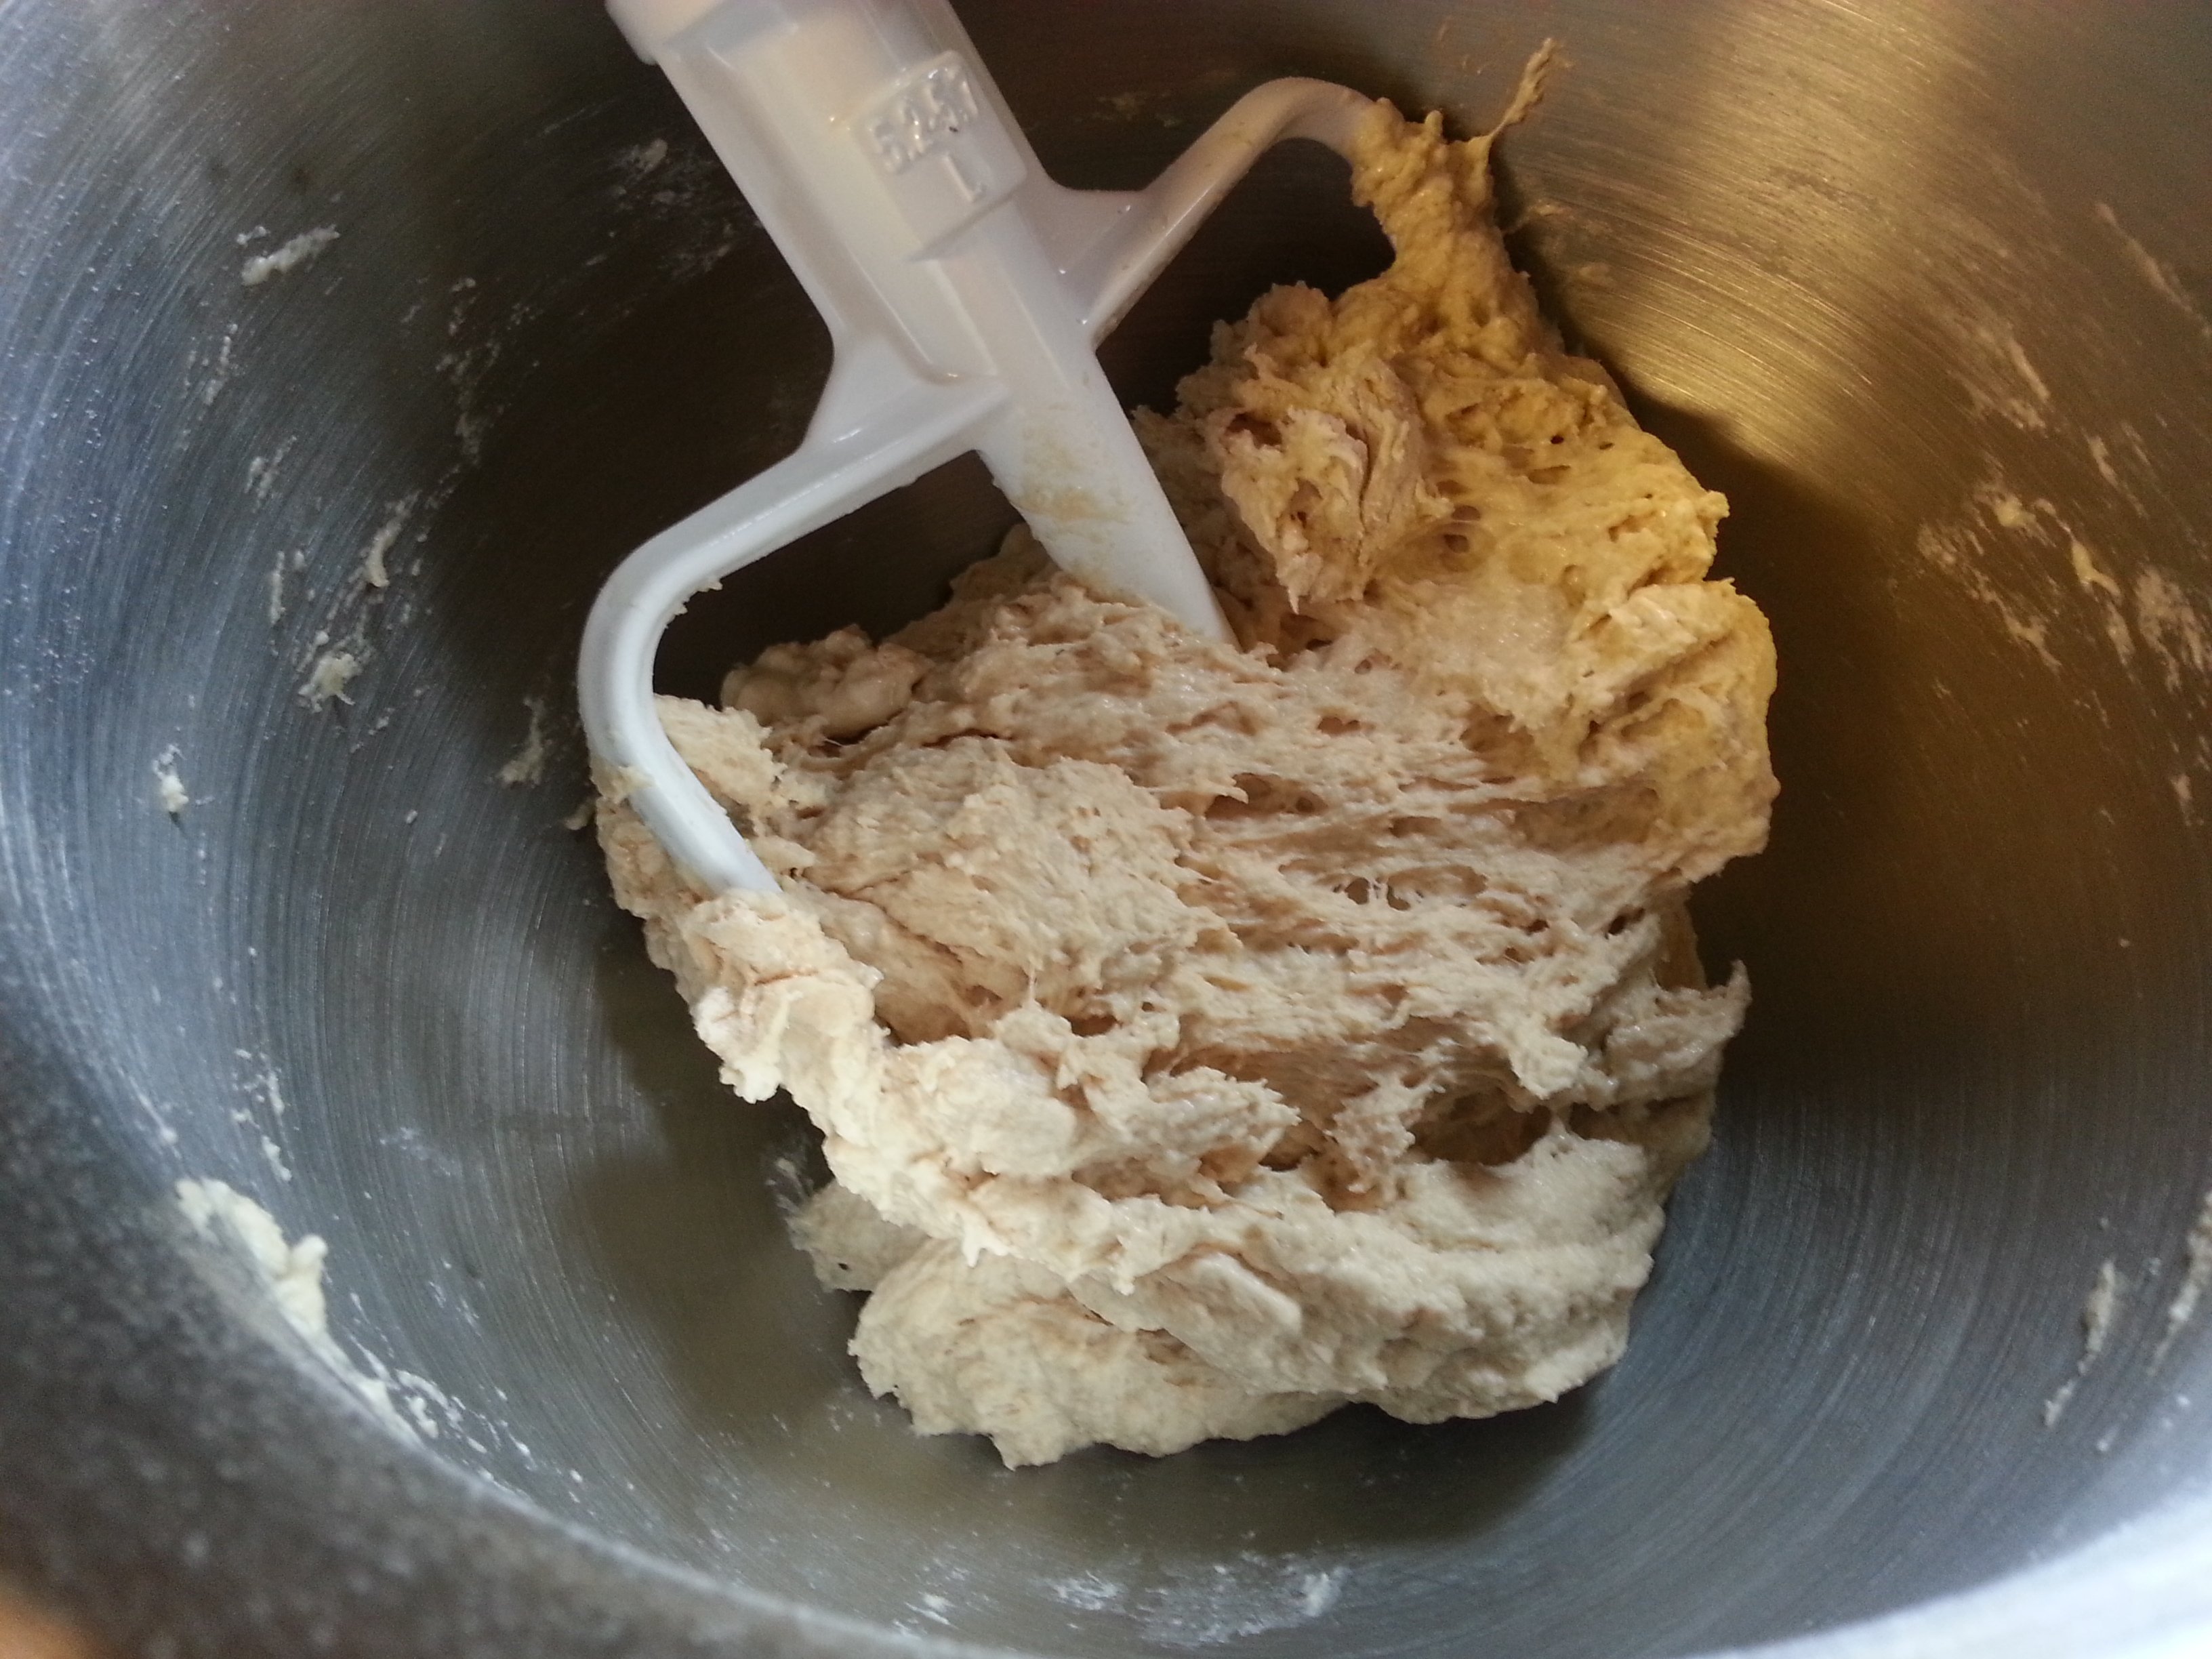
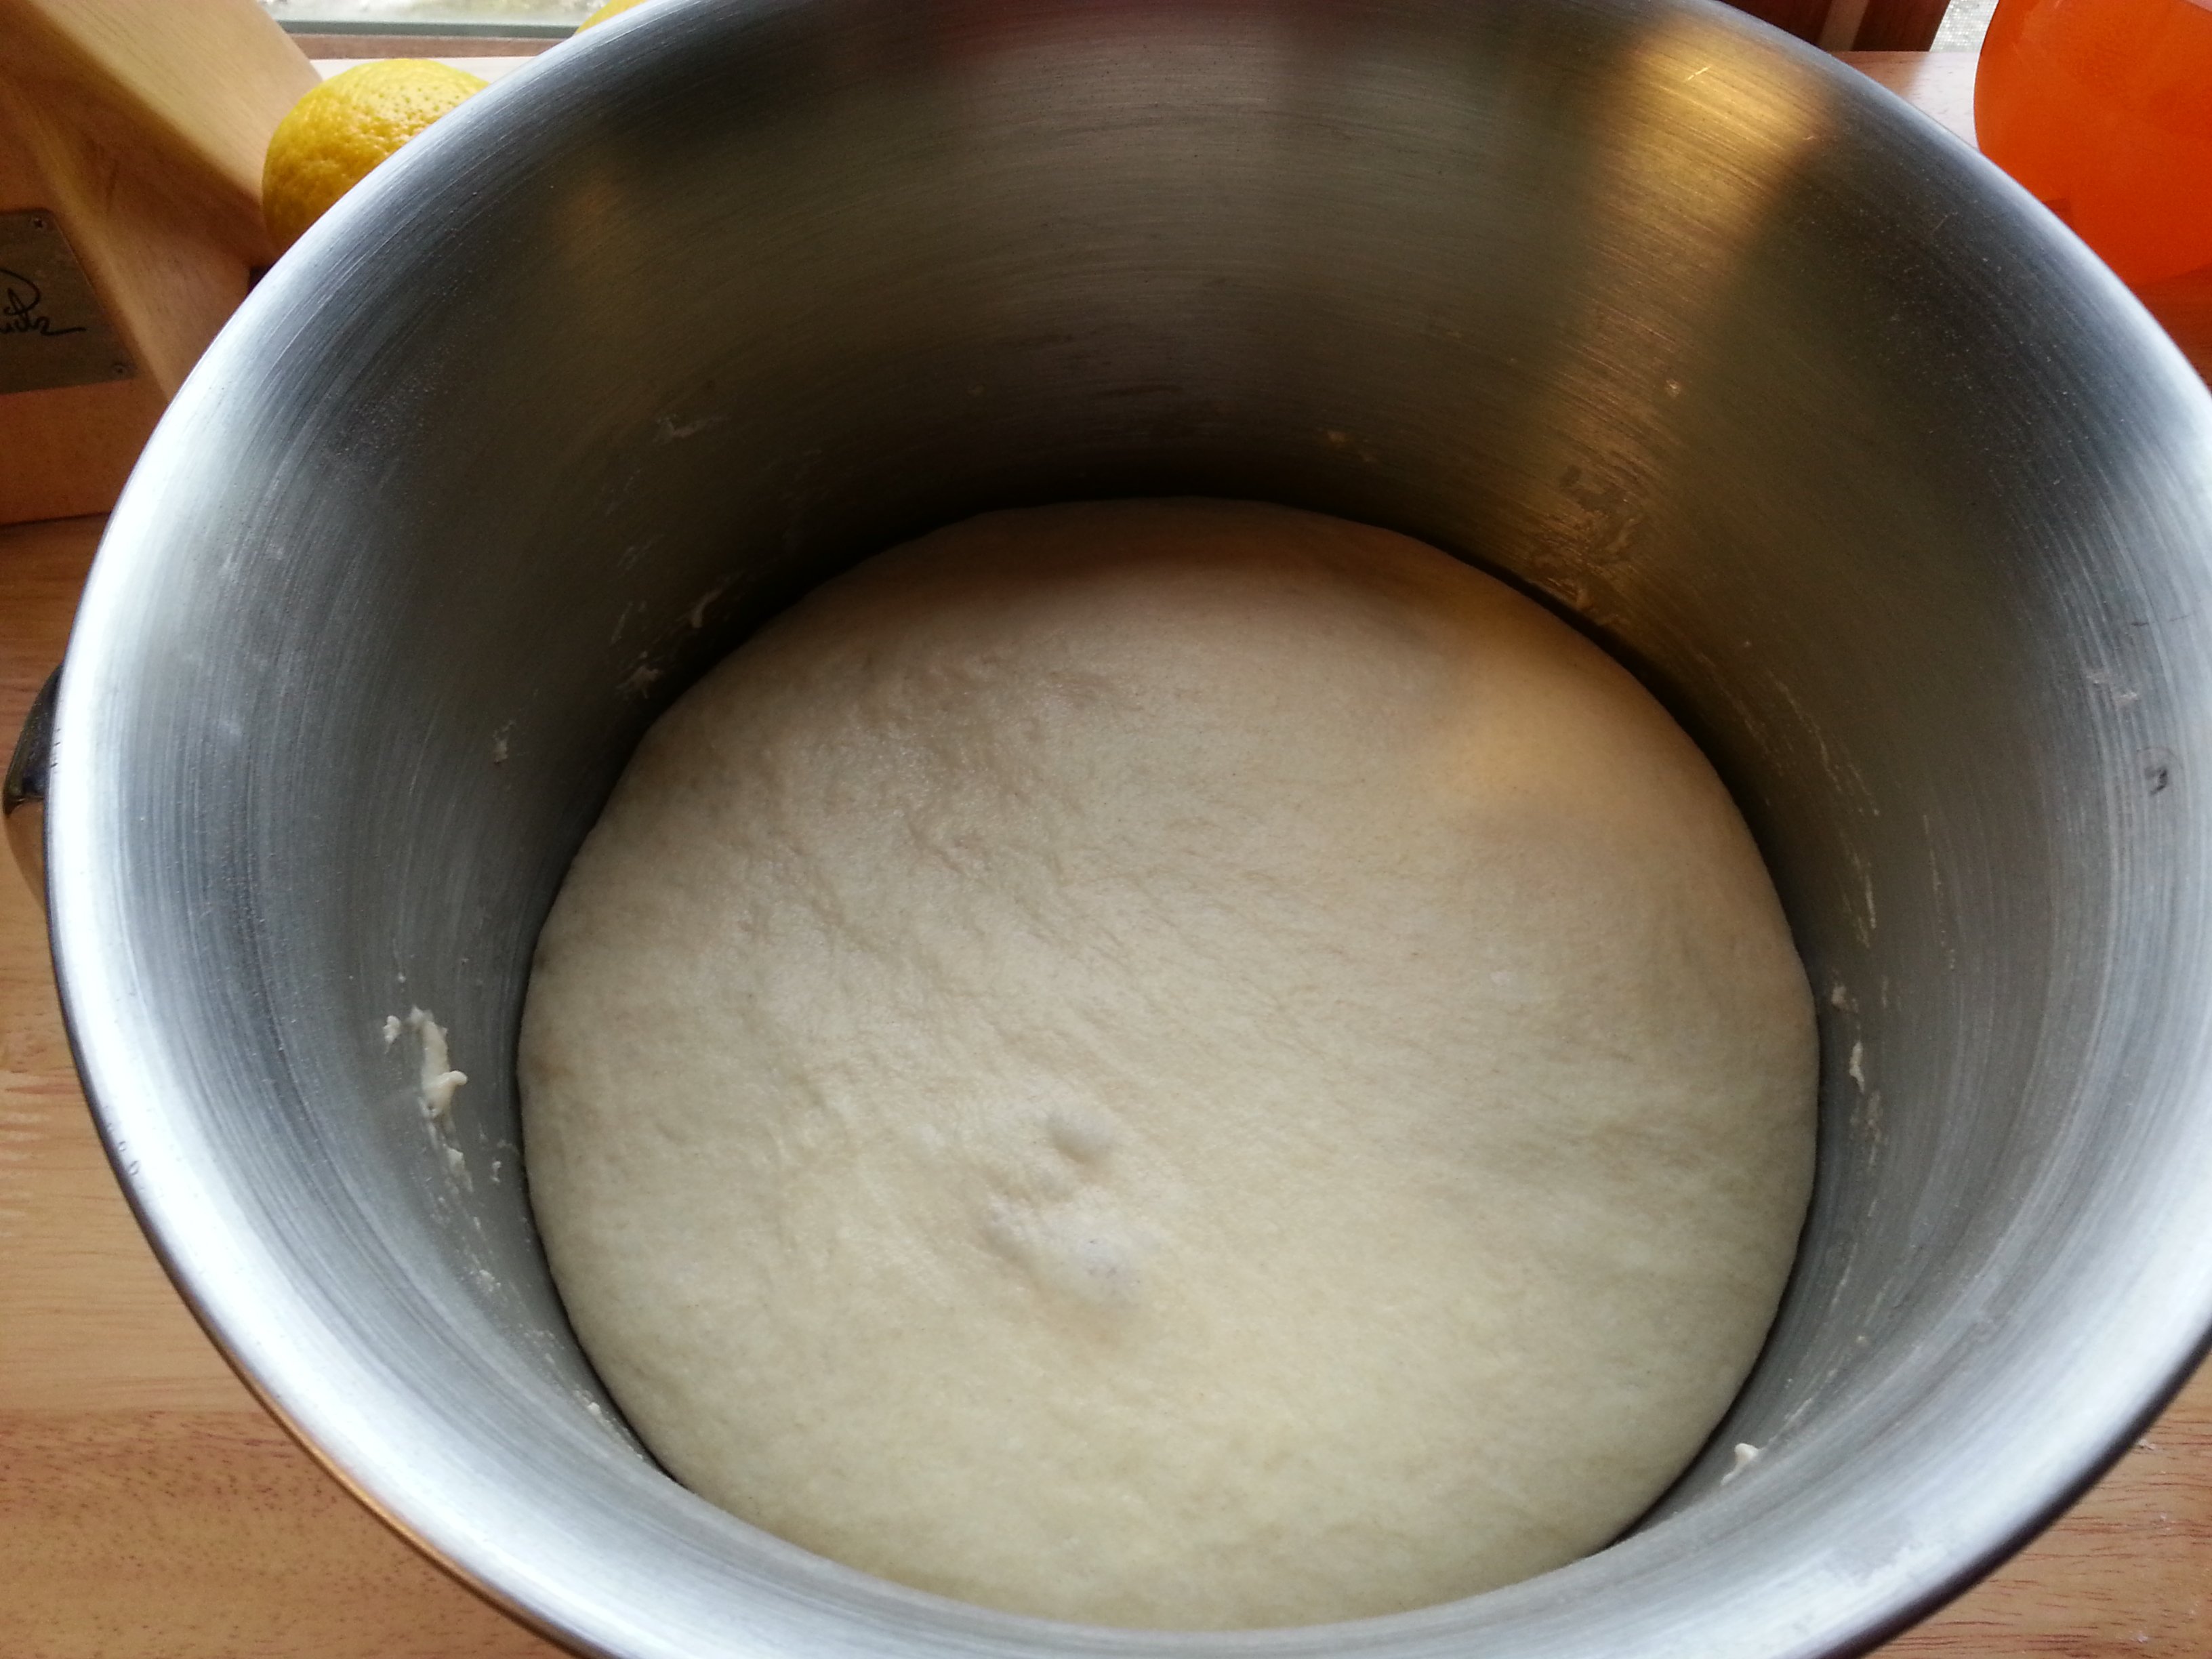
Add half the flour (1 cup of each) and the salt to your stand mixer with the beater blade attached. Start the mixer on low and slowly add the liquid. The mixture will be very wet. Stop the mixer and add the remaining flour. Mix on medium speed for about three minutes. It will look like this.
Dust your surface with flour and turn out the dough. Kneed the dough until it all comes together and starts to look smooth, about 3-5 minutes. Don’t add too much flour. It should still be sticky.
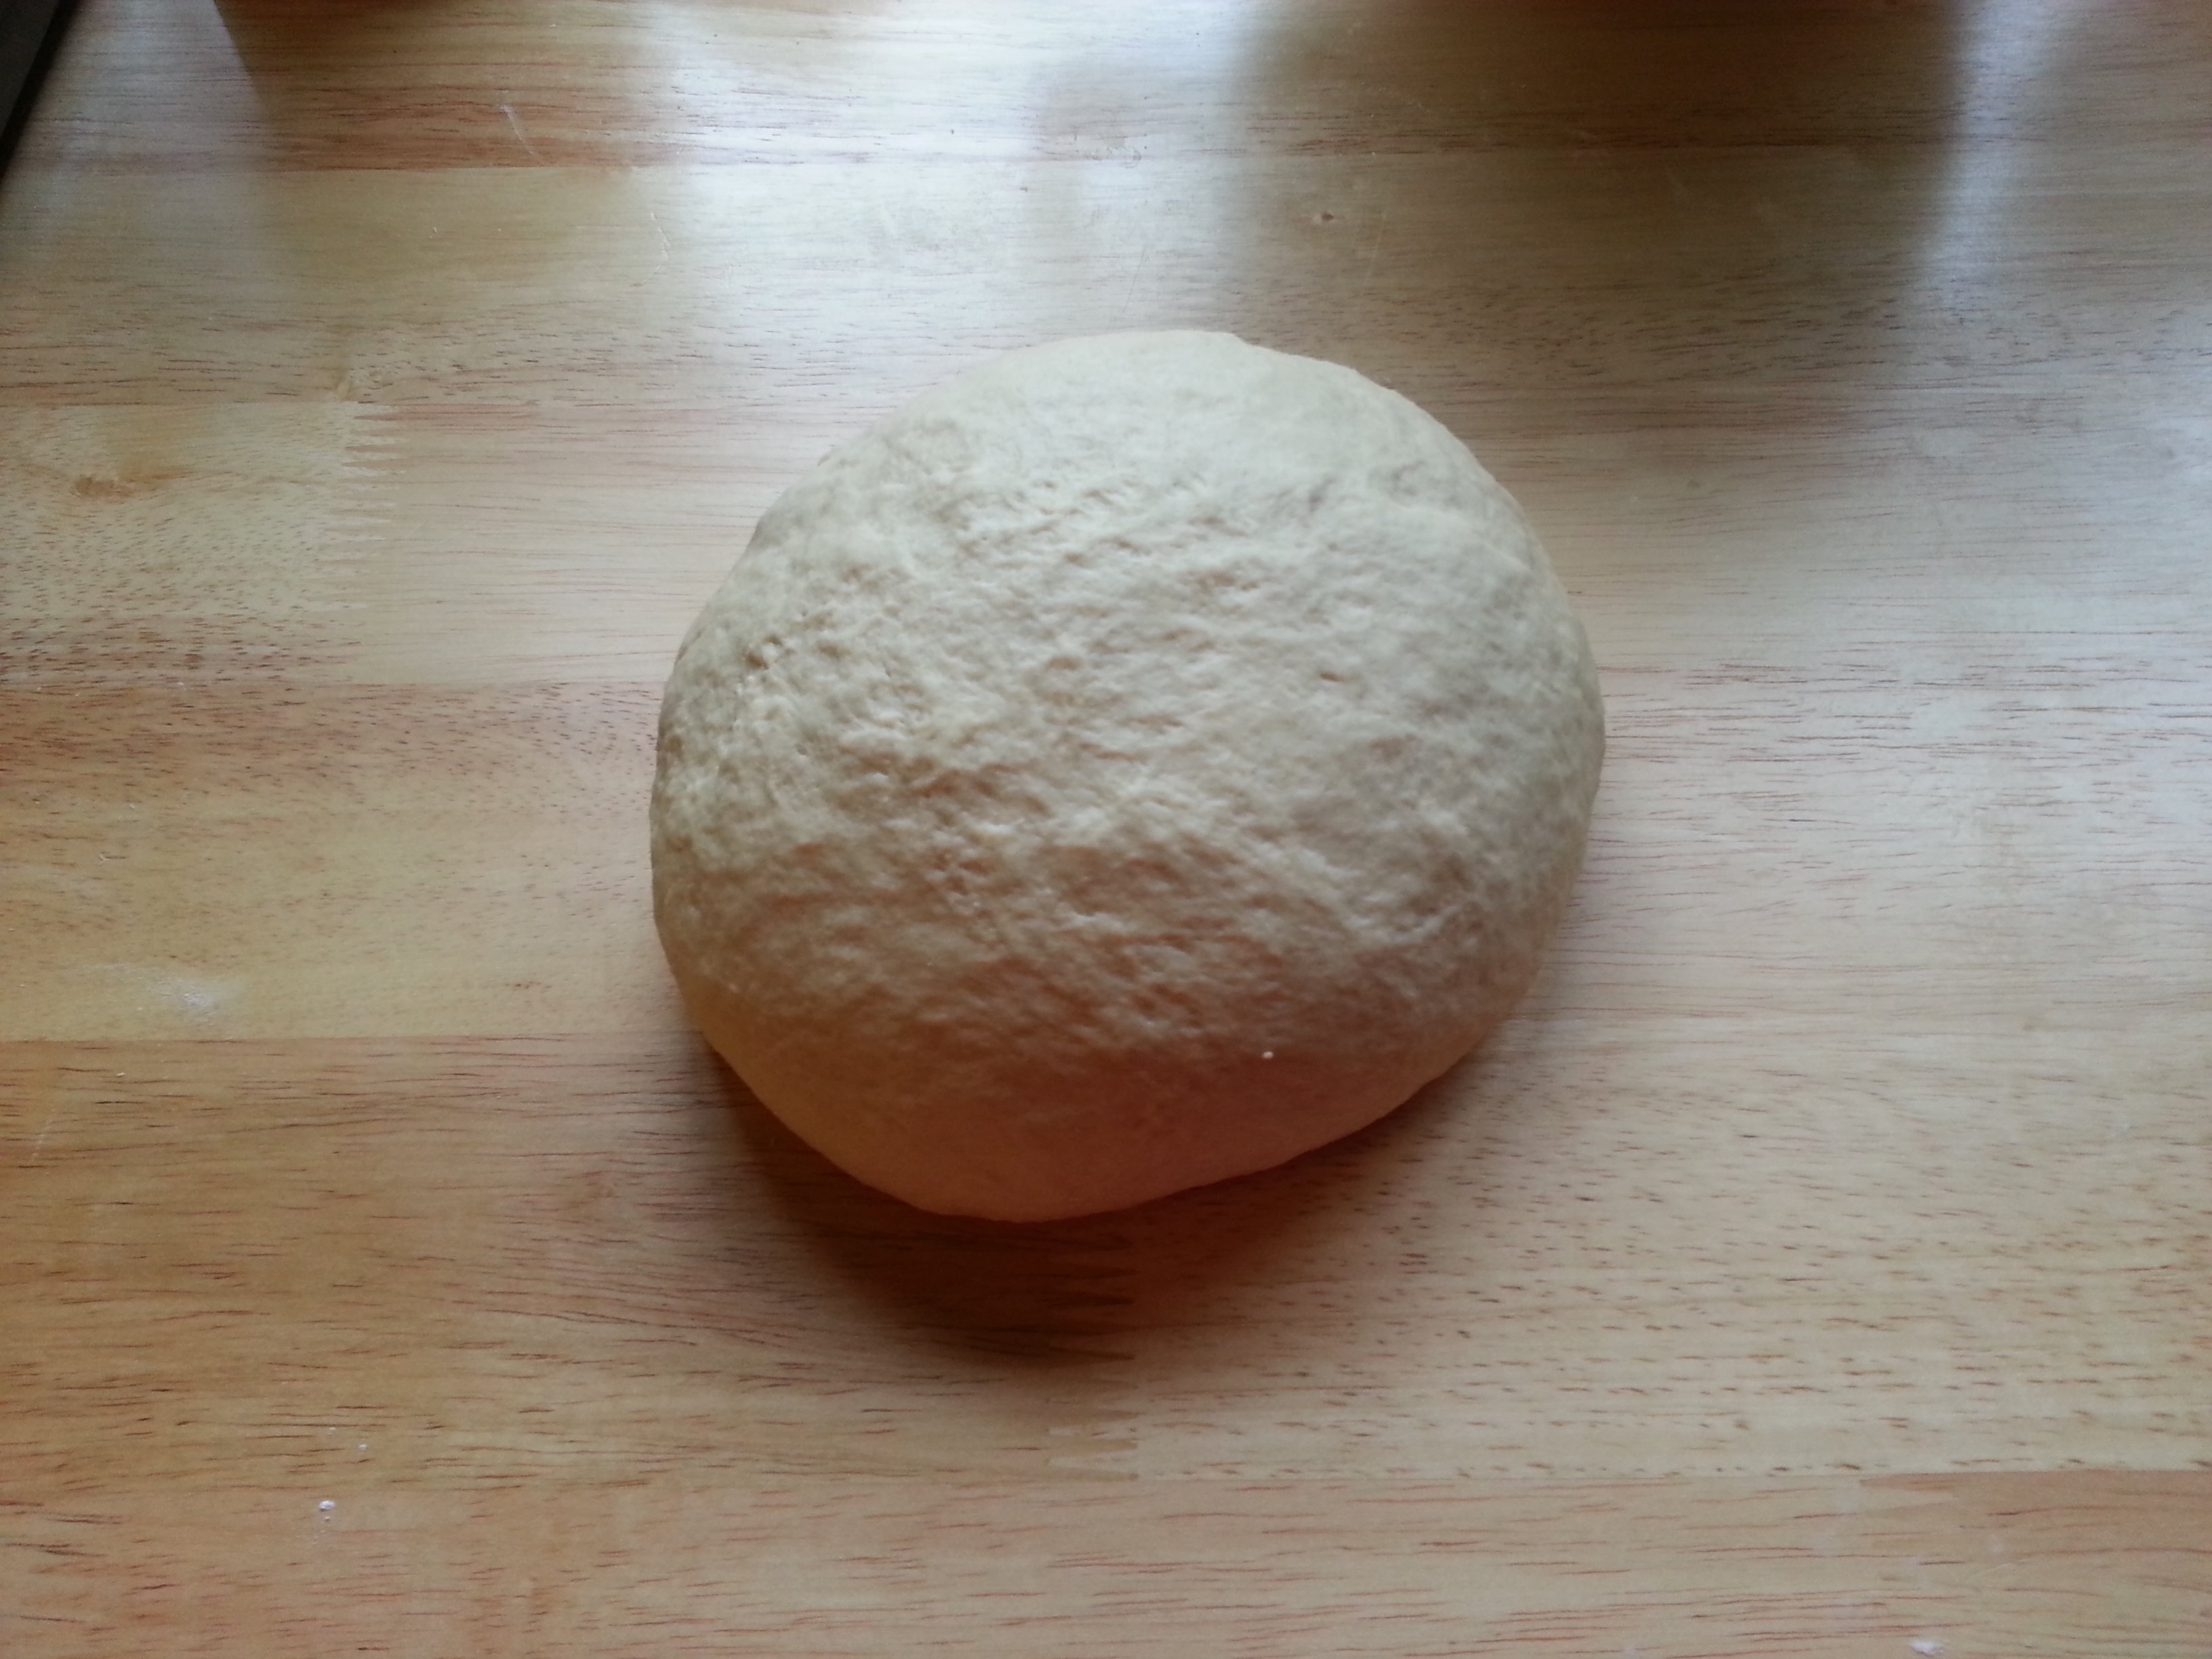
Place the dough back in the bowl and cover with a wet tea towel.
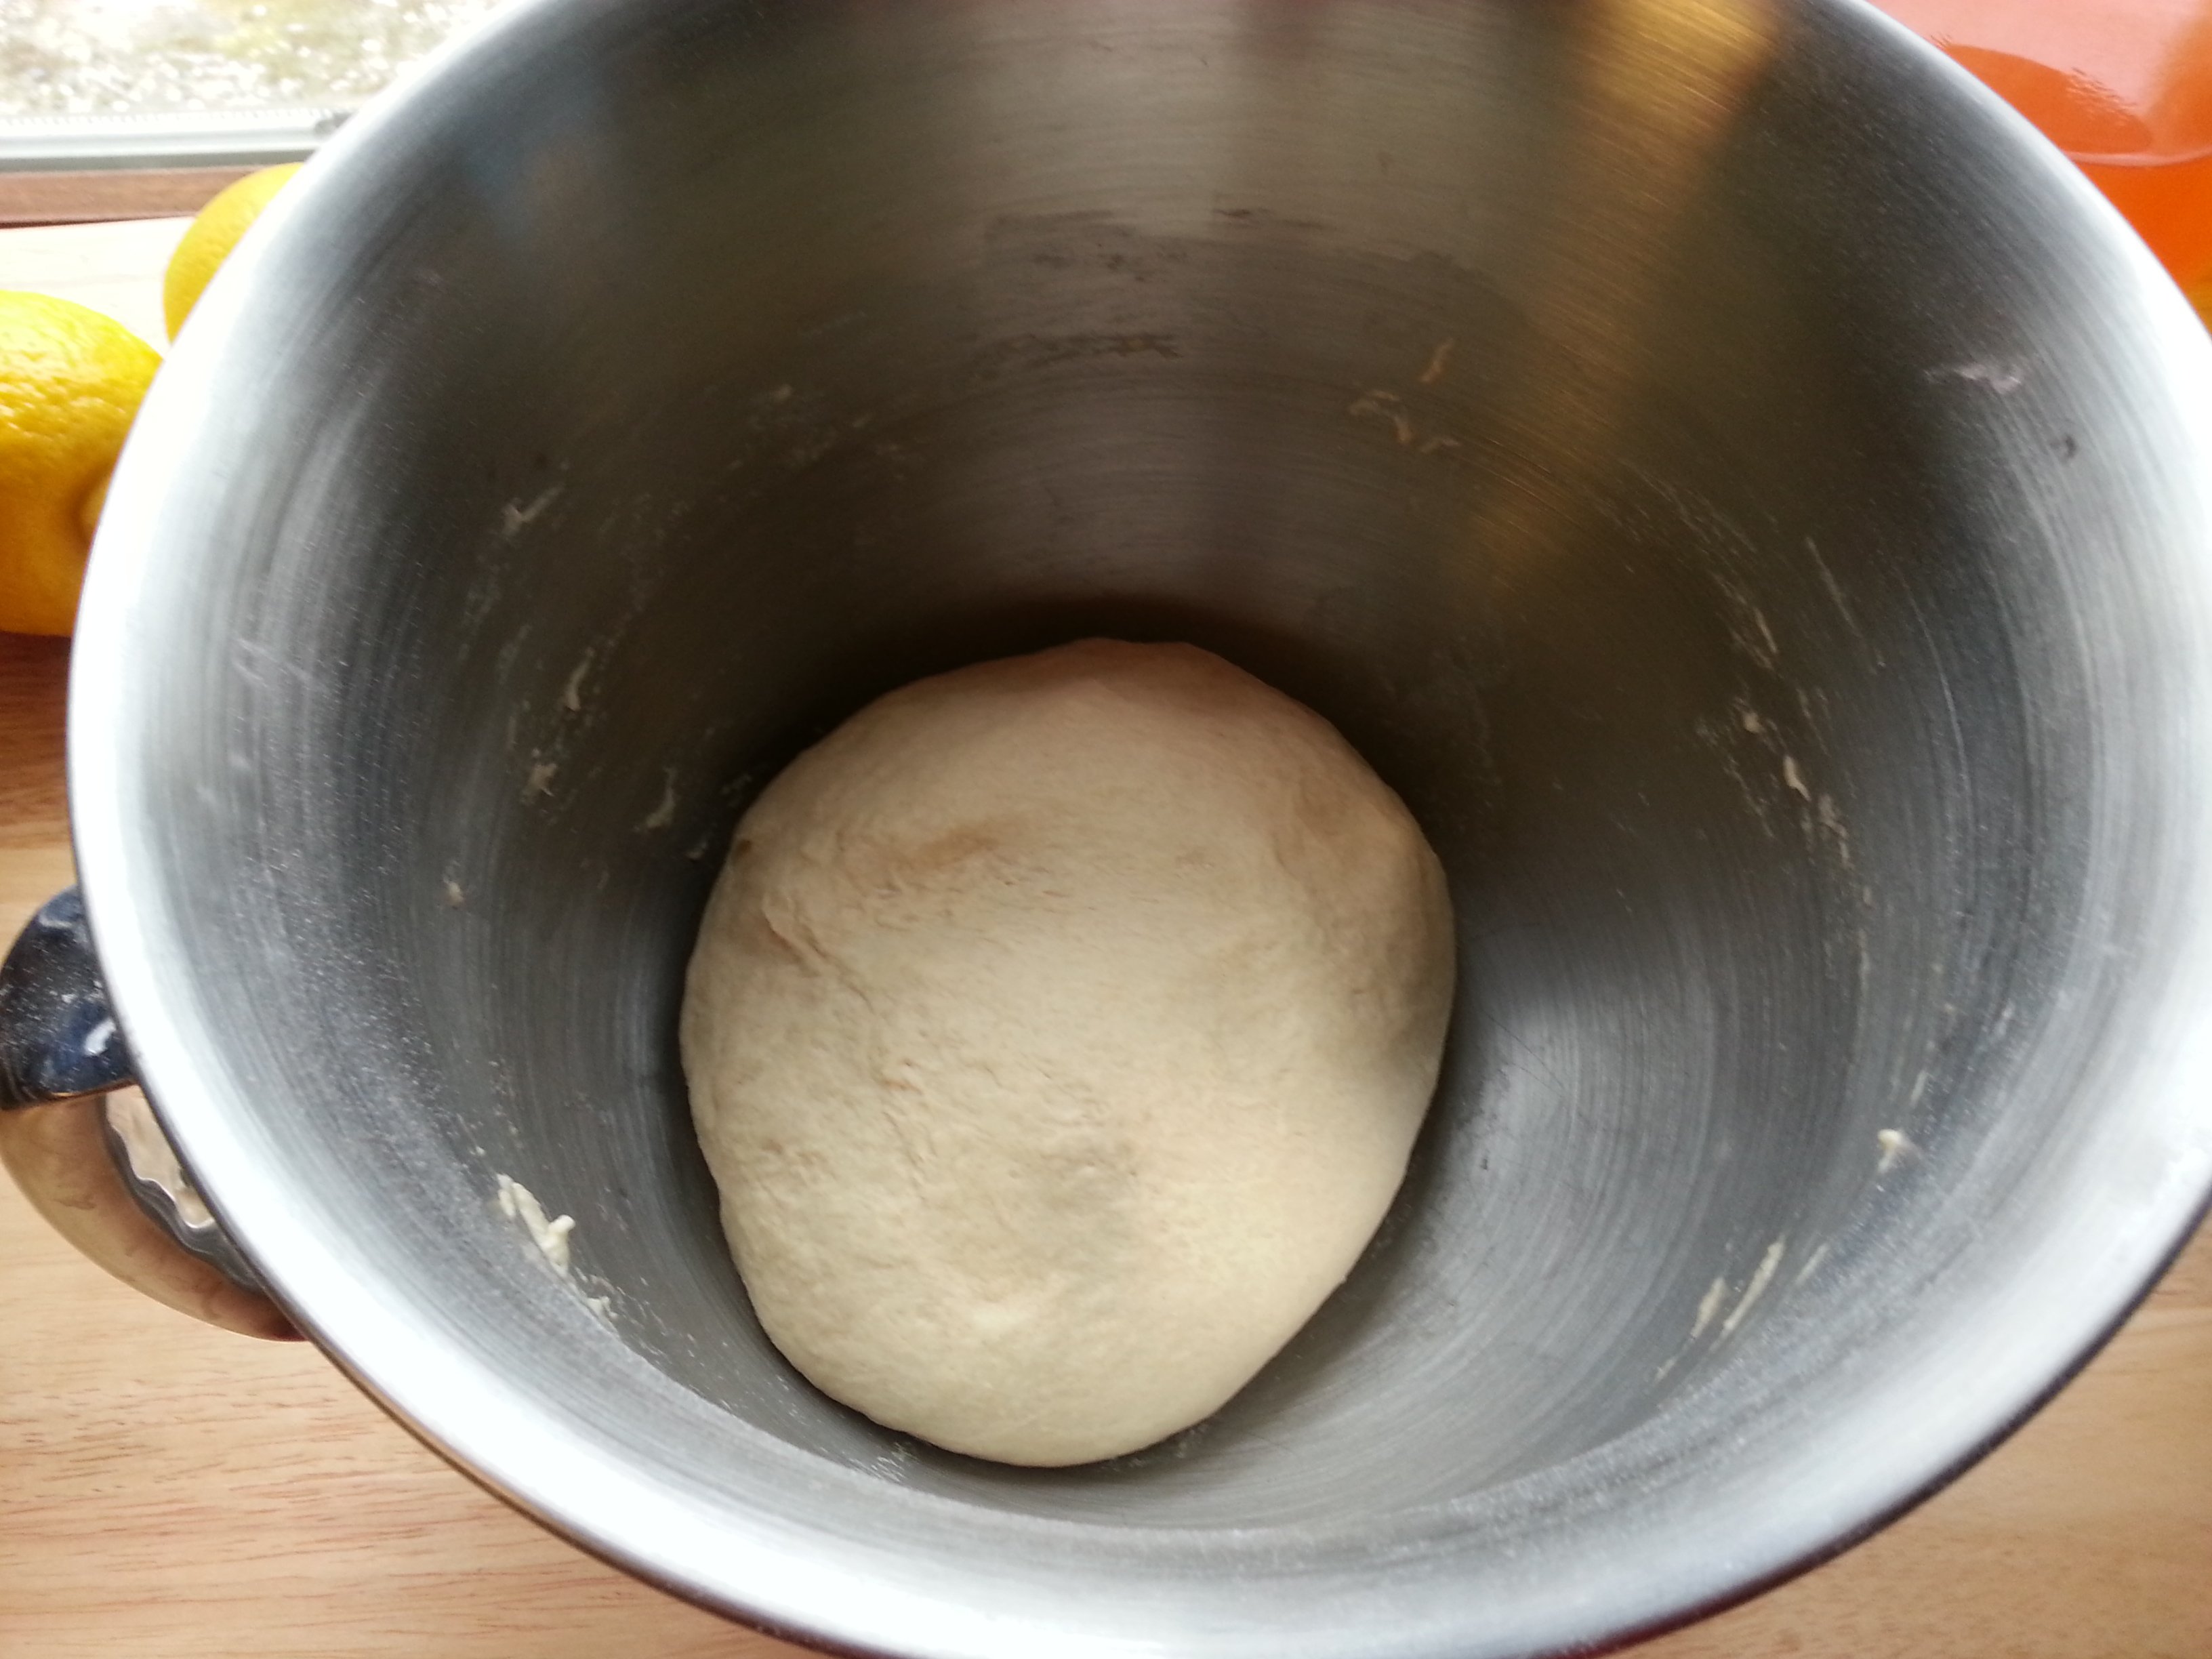
Let the dough rise for one and a half hours in a warm spot or overnight in the fridge. The dough will be much bigger now. About one hour into this rise or about 30 minutes before you want to bake the pizza, preheat your oven with the pizza stone to 500 degrees. You need to let the stone preheat for about 30 minutes to get really good crust.
Punch the dough down and then scrape the dough out of the bowl.
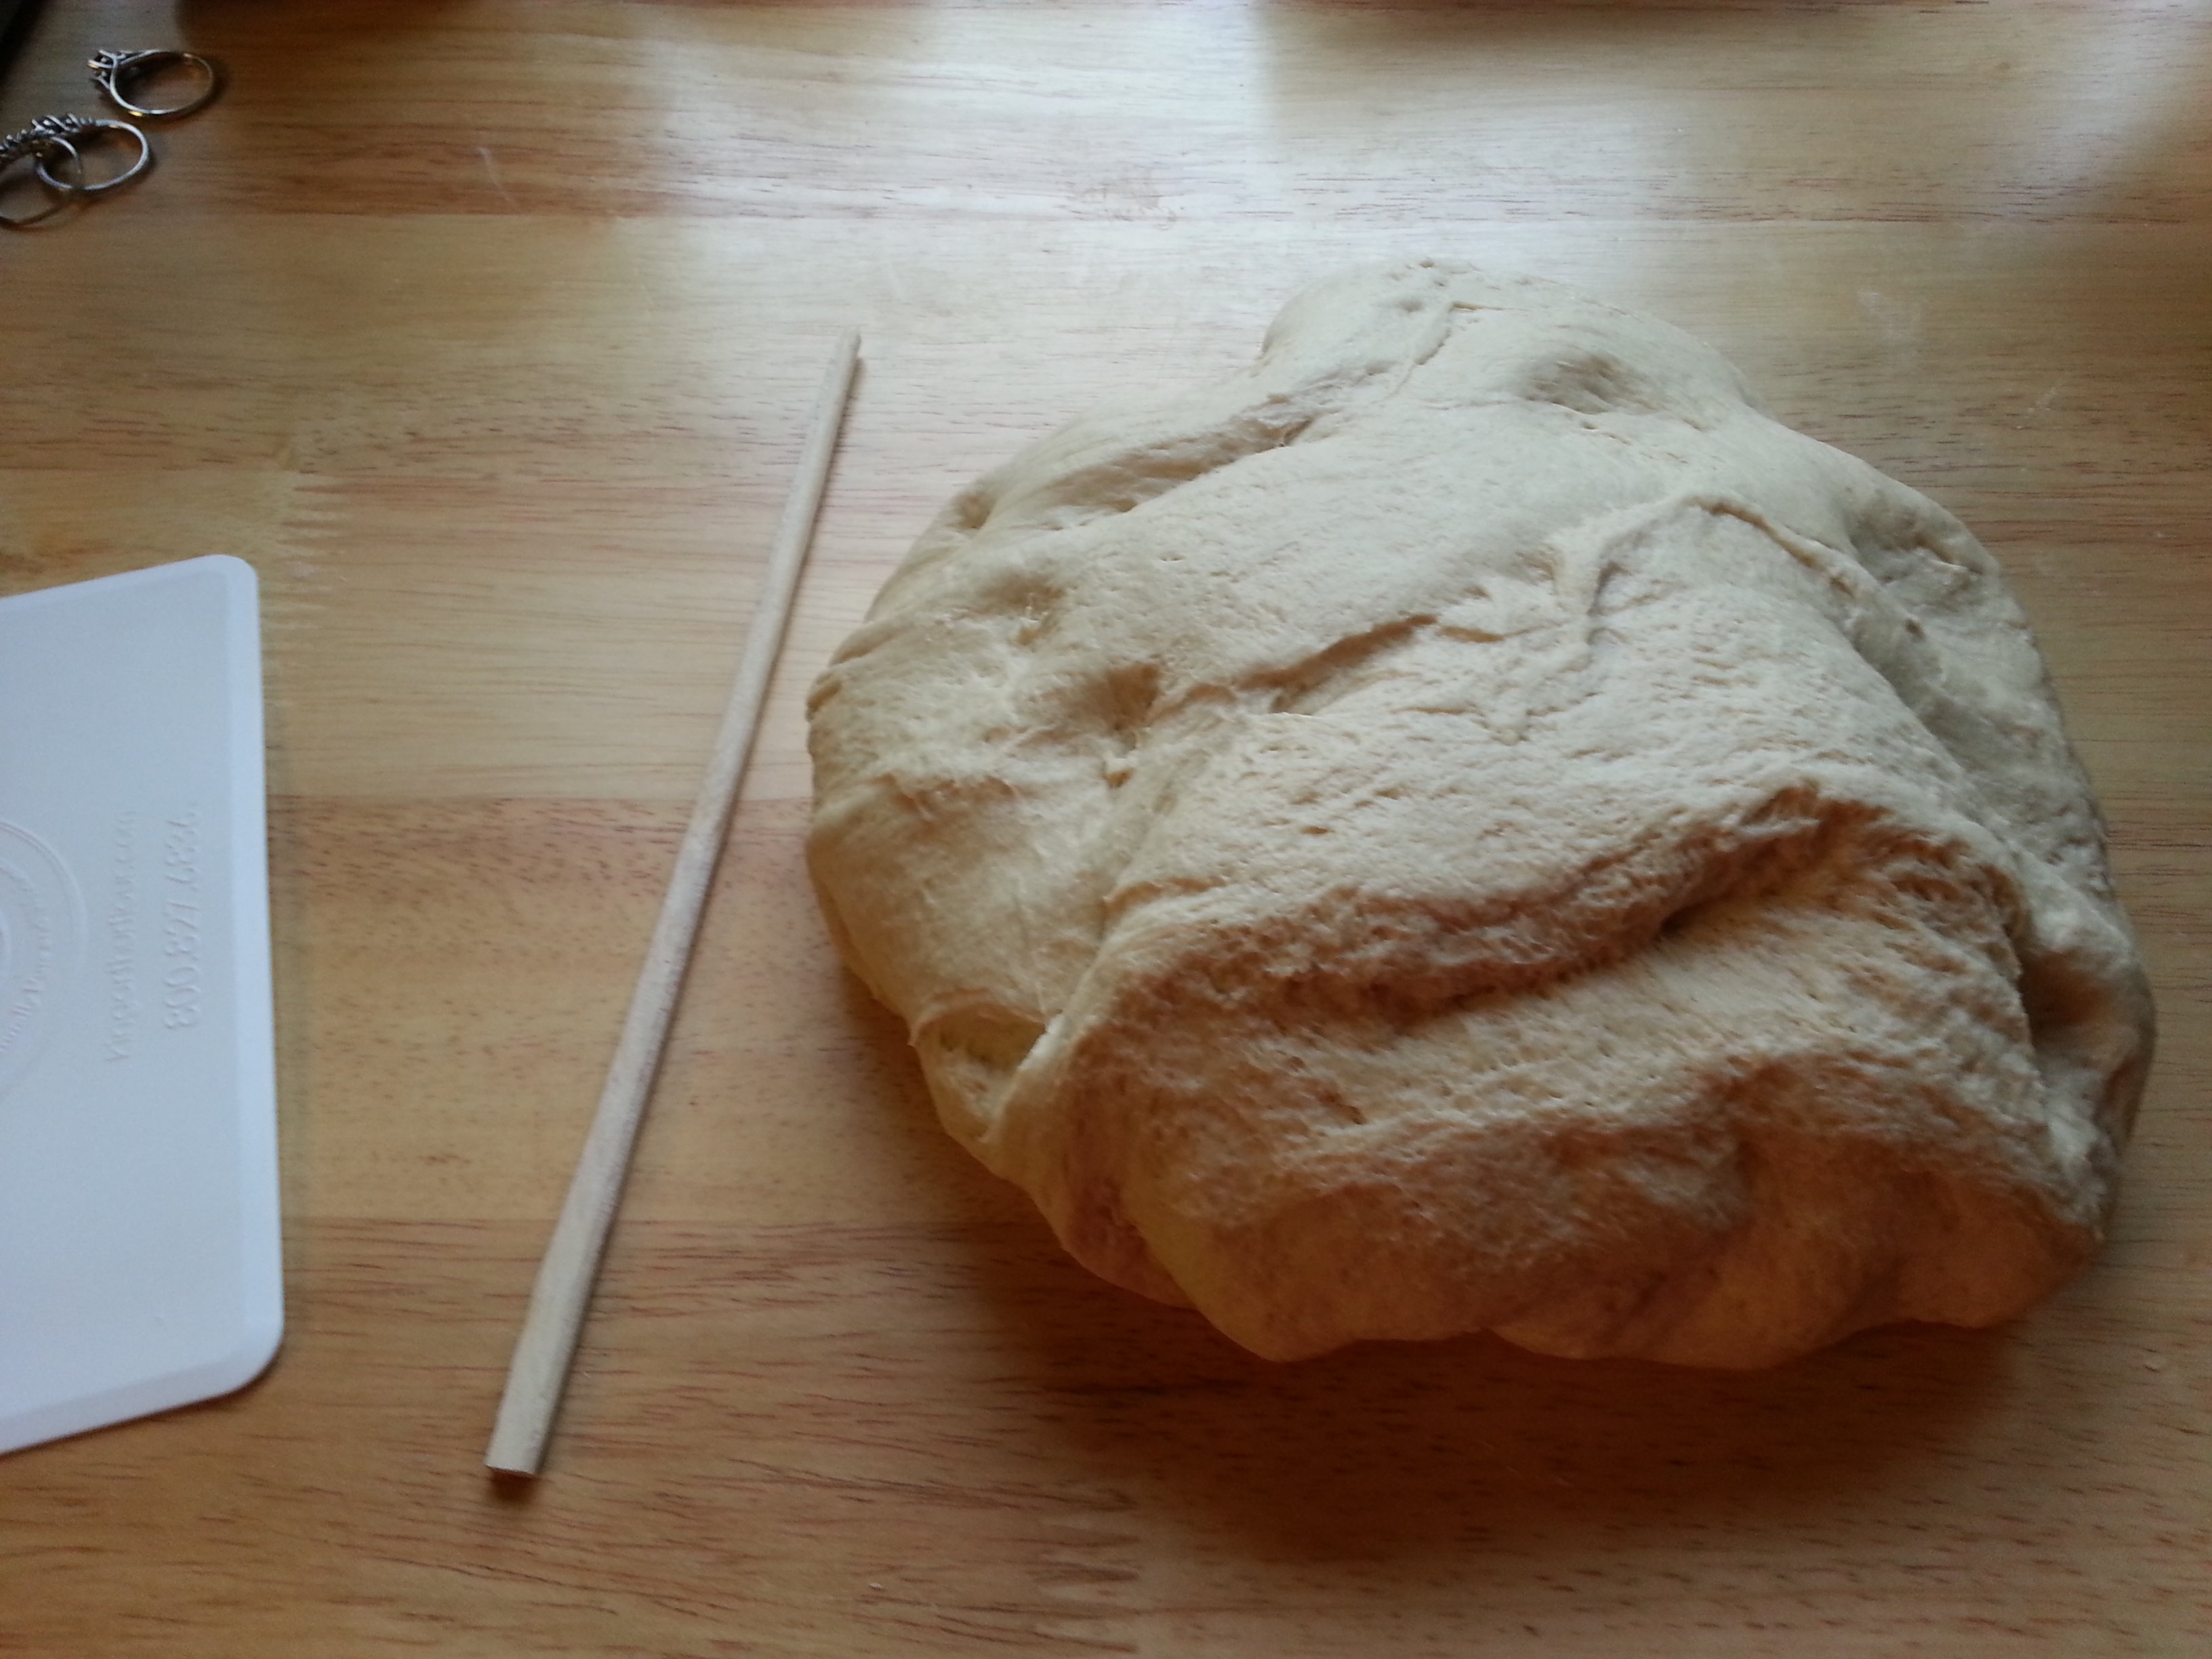
This recipe makes enough dough for two 14 inch thin (NY Style) pizzas with enough dough left over to make a small loaf of bread or some breadsticks. Divide the dough into three pieces. If you like thicker pizza, divide into two pieces. This is something you have to play with to see what thickness you like and how much dough you’ll need for each pizza. I roll each piece of dough into a ball and then flatten into a disk with my hands. Once the dough is about an inch thick, I use a rolling pin to roll the dough to the desired thickness. When rolling dough, always start in the middle of the dough and roll to the edge. Imagine the dough is a clock. Start in the center and roll toward 12 o’clock. Turn the rolling pin 45 degrees and roll between 12 and 3 (1:30). Turn again 45 degrees and roll toward 3 o’clock. Keep turning your rolling pin 45 degrees, always starting in the center until you get the thickness you desire. Make sure to keep checking your dough to ensure it is not stuck too much to the work surface. I occasionally flip the dough over, dusting the work surface as needed.
I know this seems like a long process but once you get the hang of it, you can roll out a pizza in 2 to 3 minutes. Remember, this does not have to be perfect. My pizzas are often odd shaped. They still taste wonderful.
Once you’ve got your dough rolled out, place it on your pizza peel which should be covered with a piece of parchment. You have an opportunity here to stretch the dough out a bit to fix the shape.
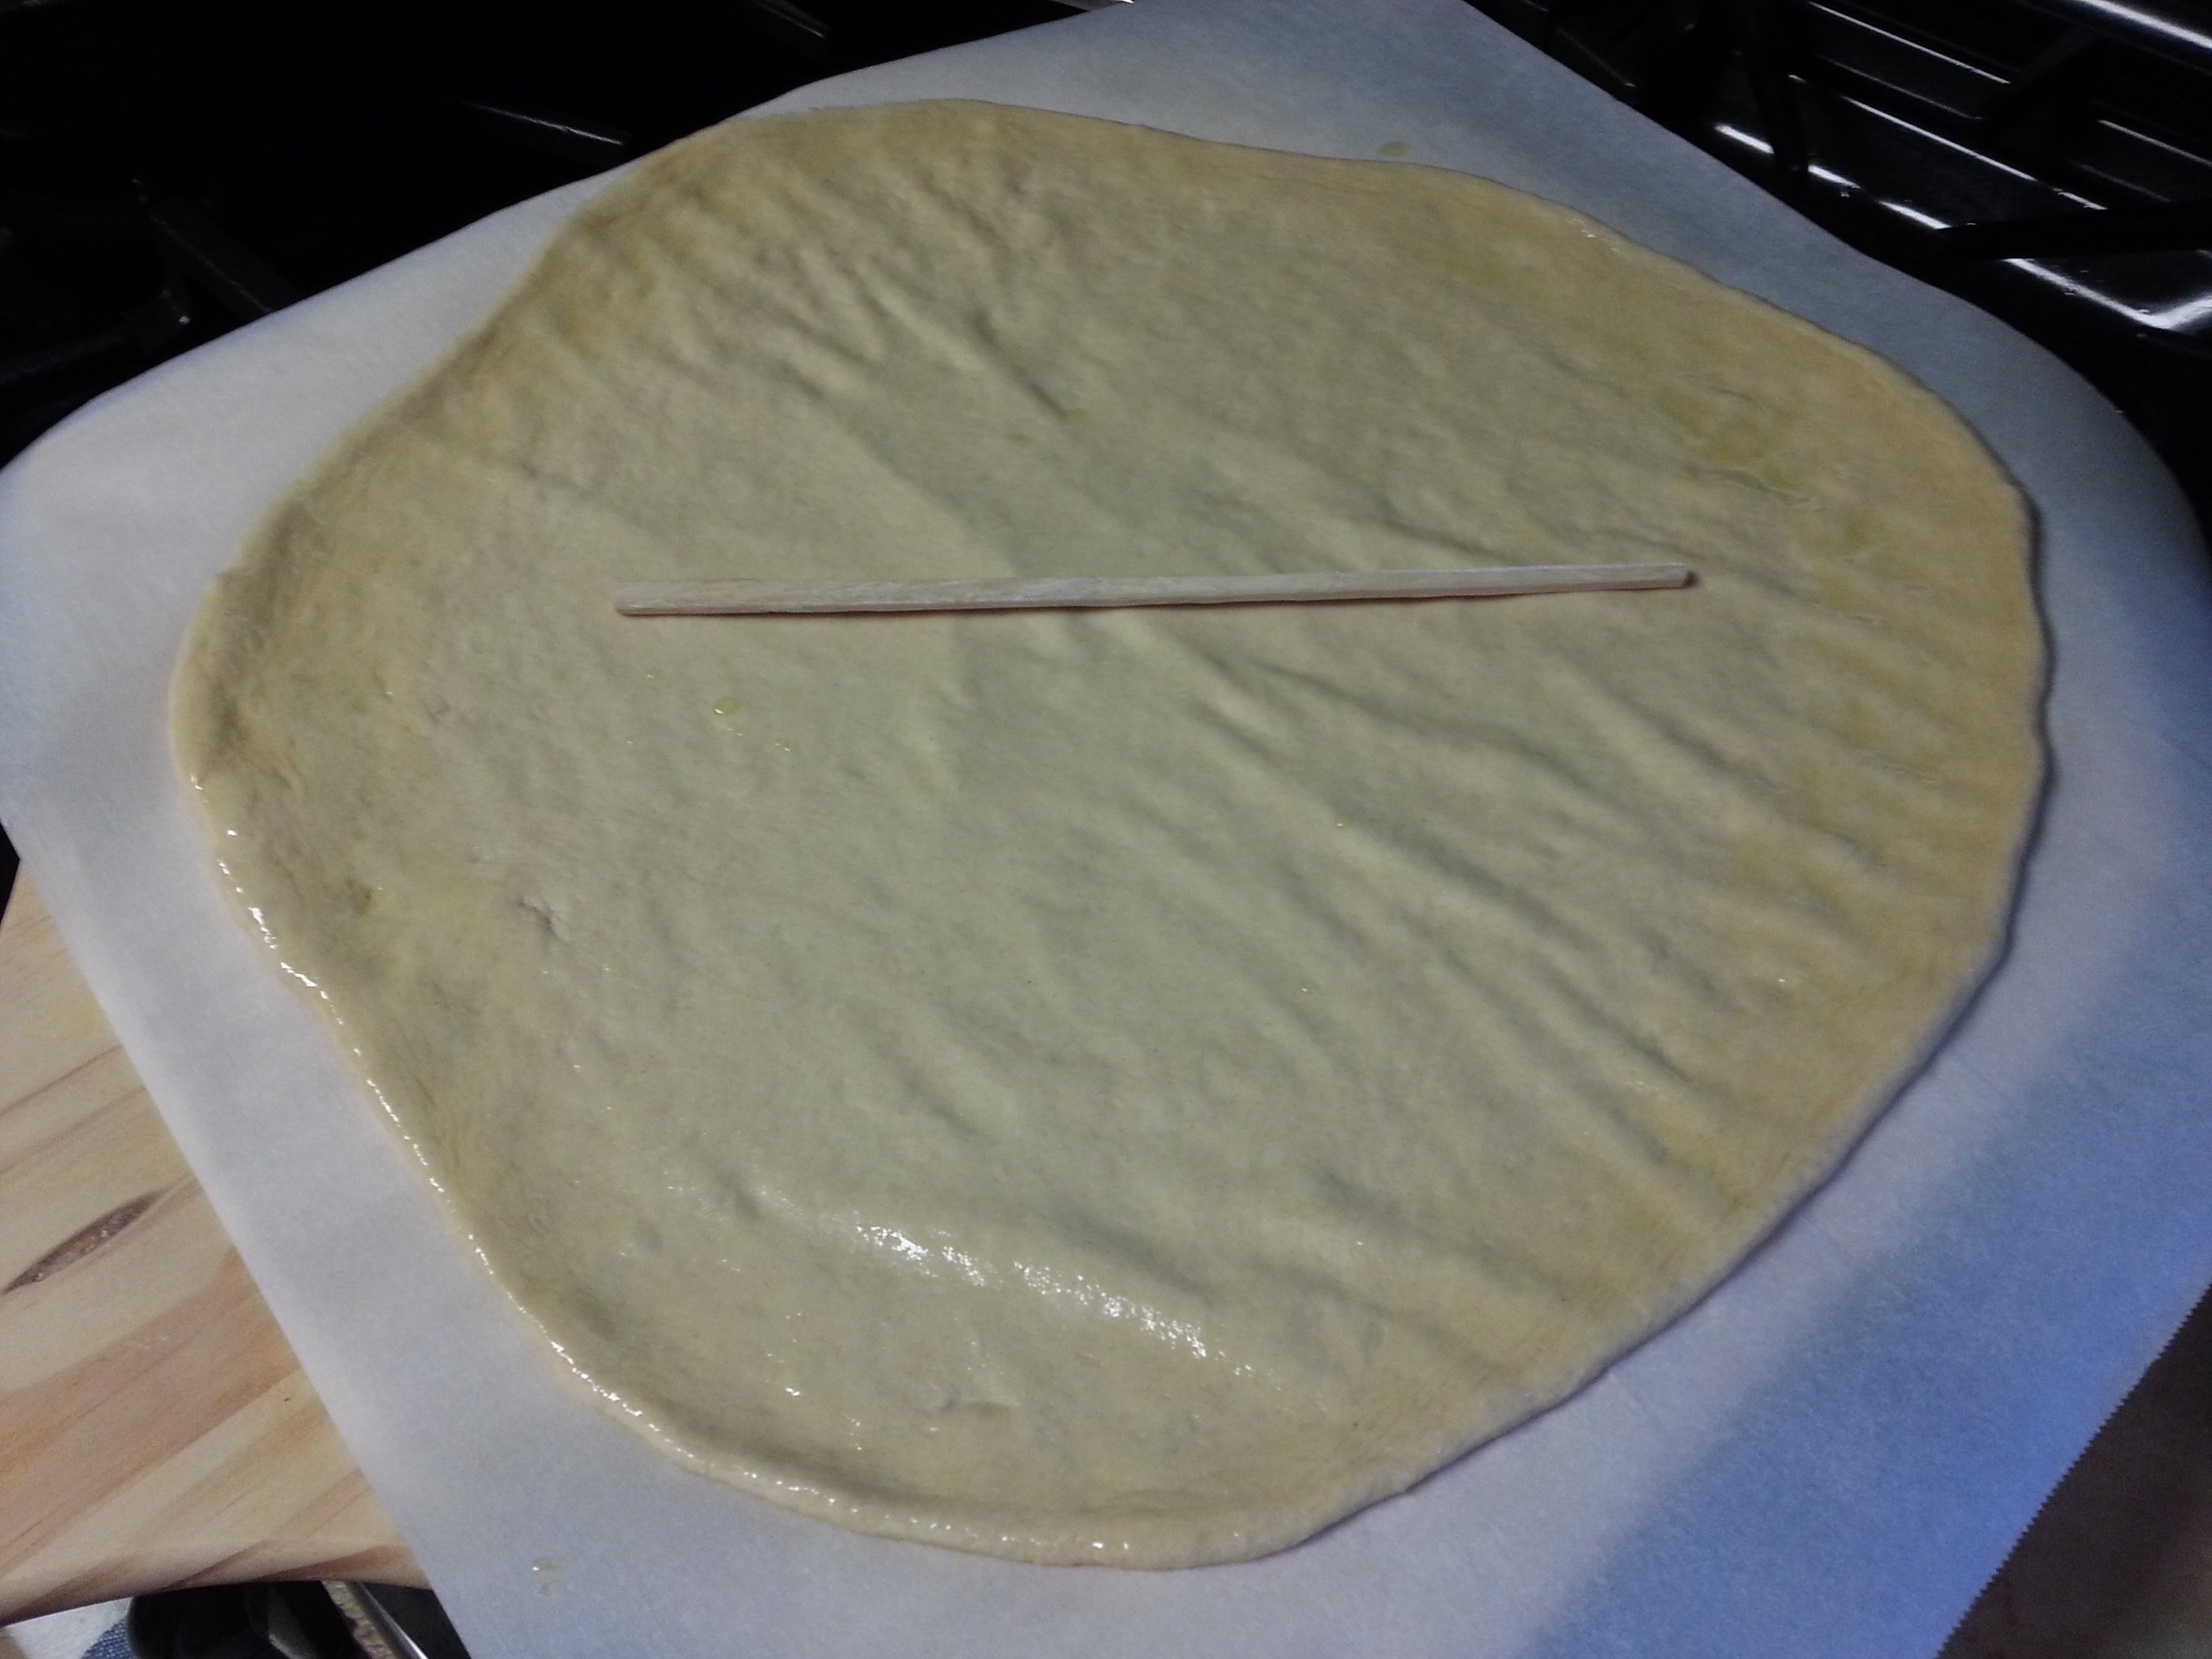
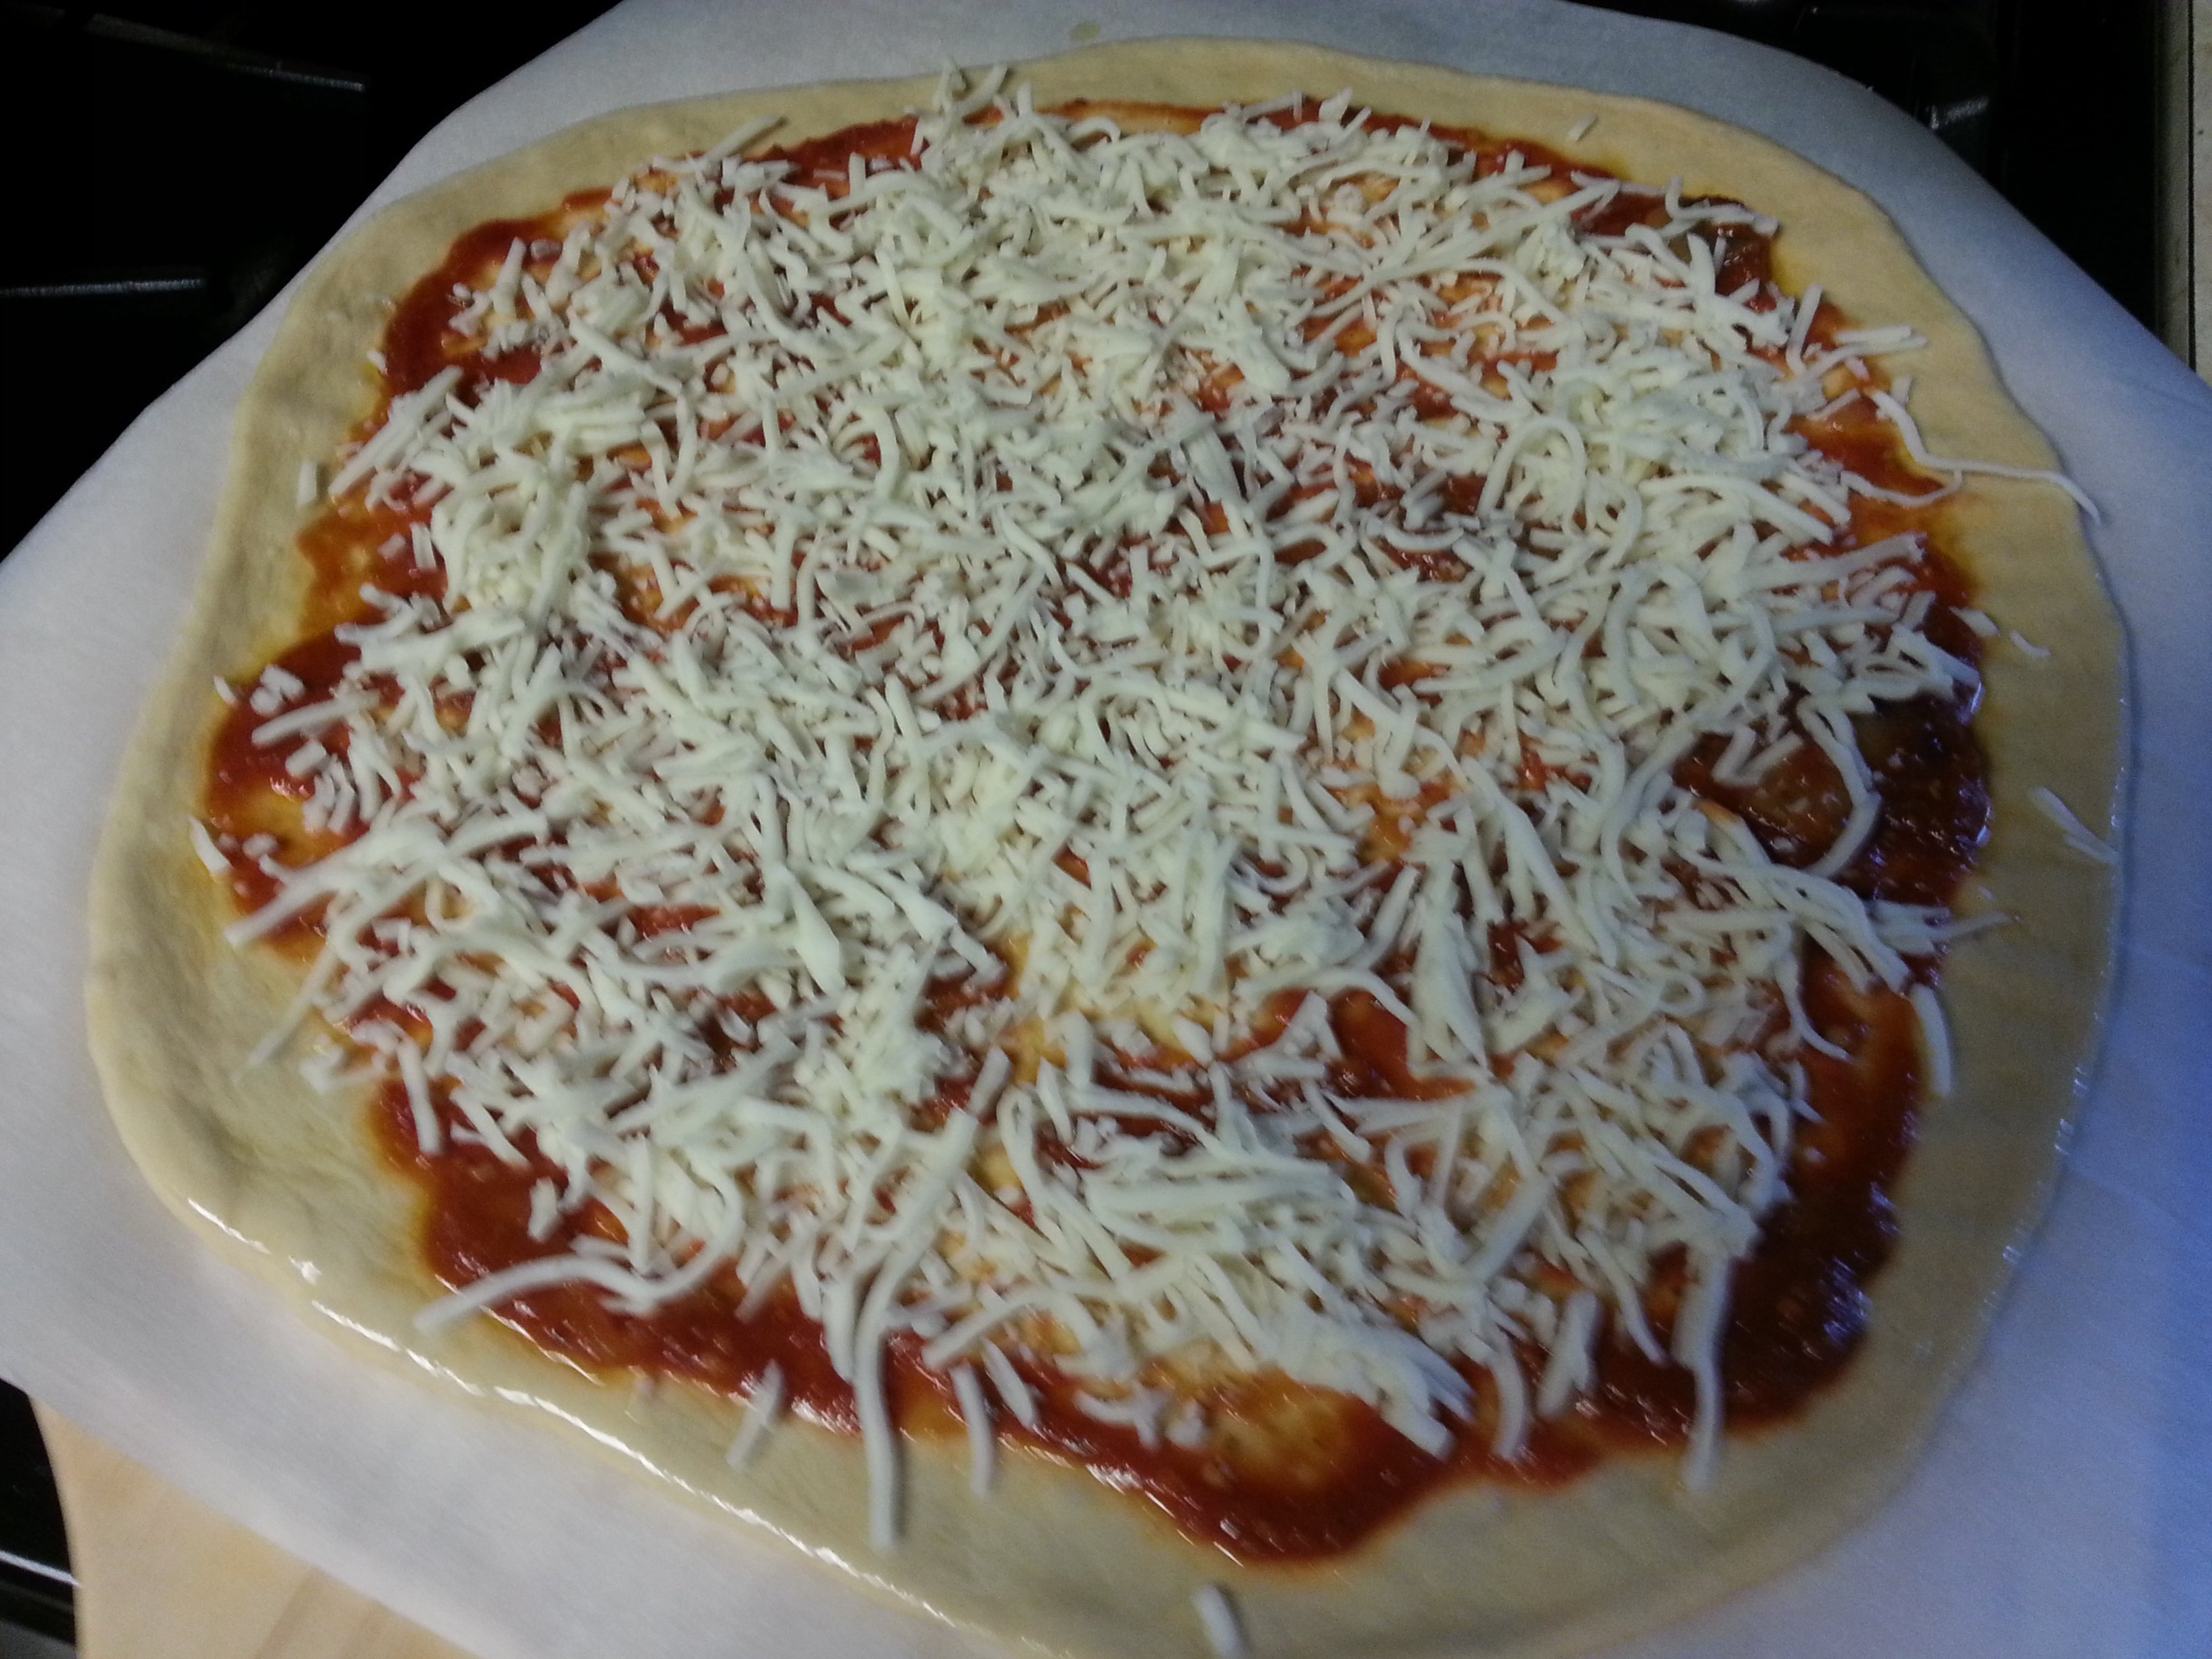
Brush the edges of the dough with olive oil (this helps with browning), then spread a thin layer of sauce over the dough leaving an edge.
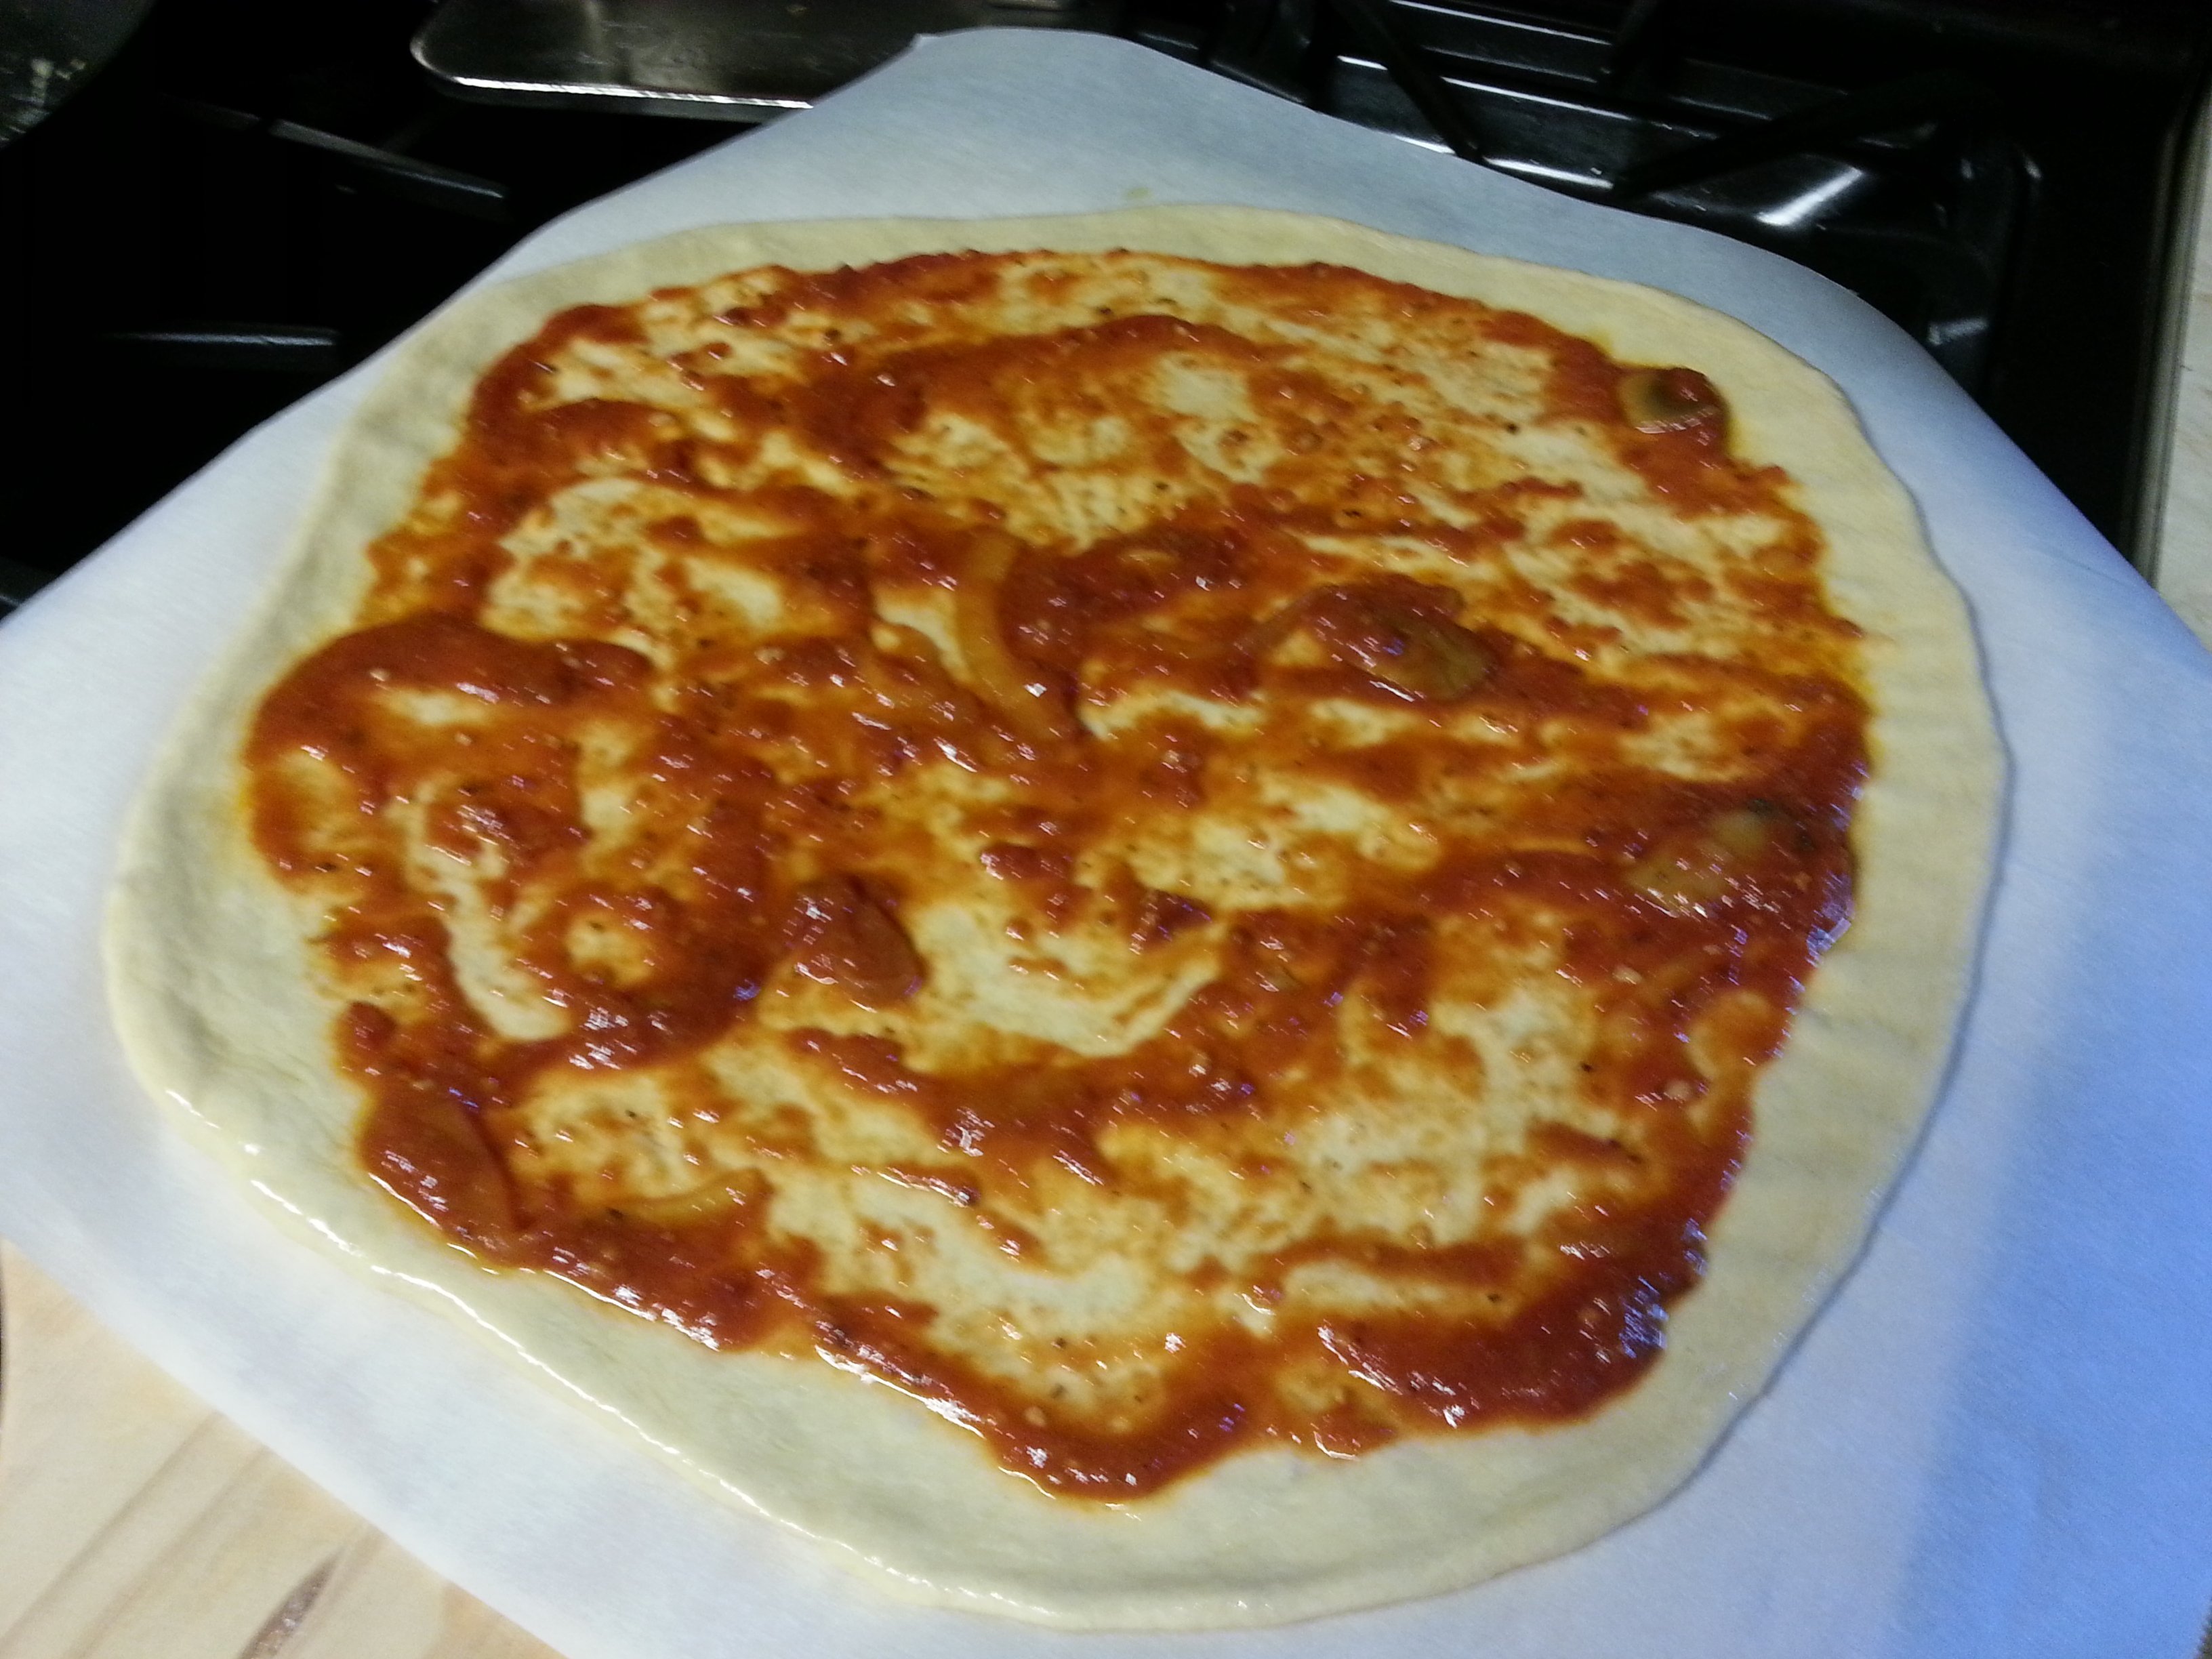
Cover the sauce with cheese. Make sure to use a low moisture mozzarella. You can use sliced mozzarella, but again, make sure it is low moisture.
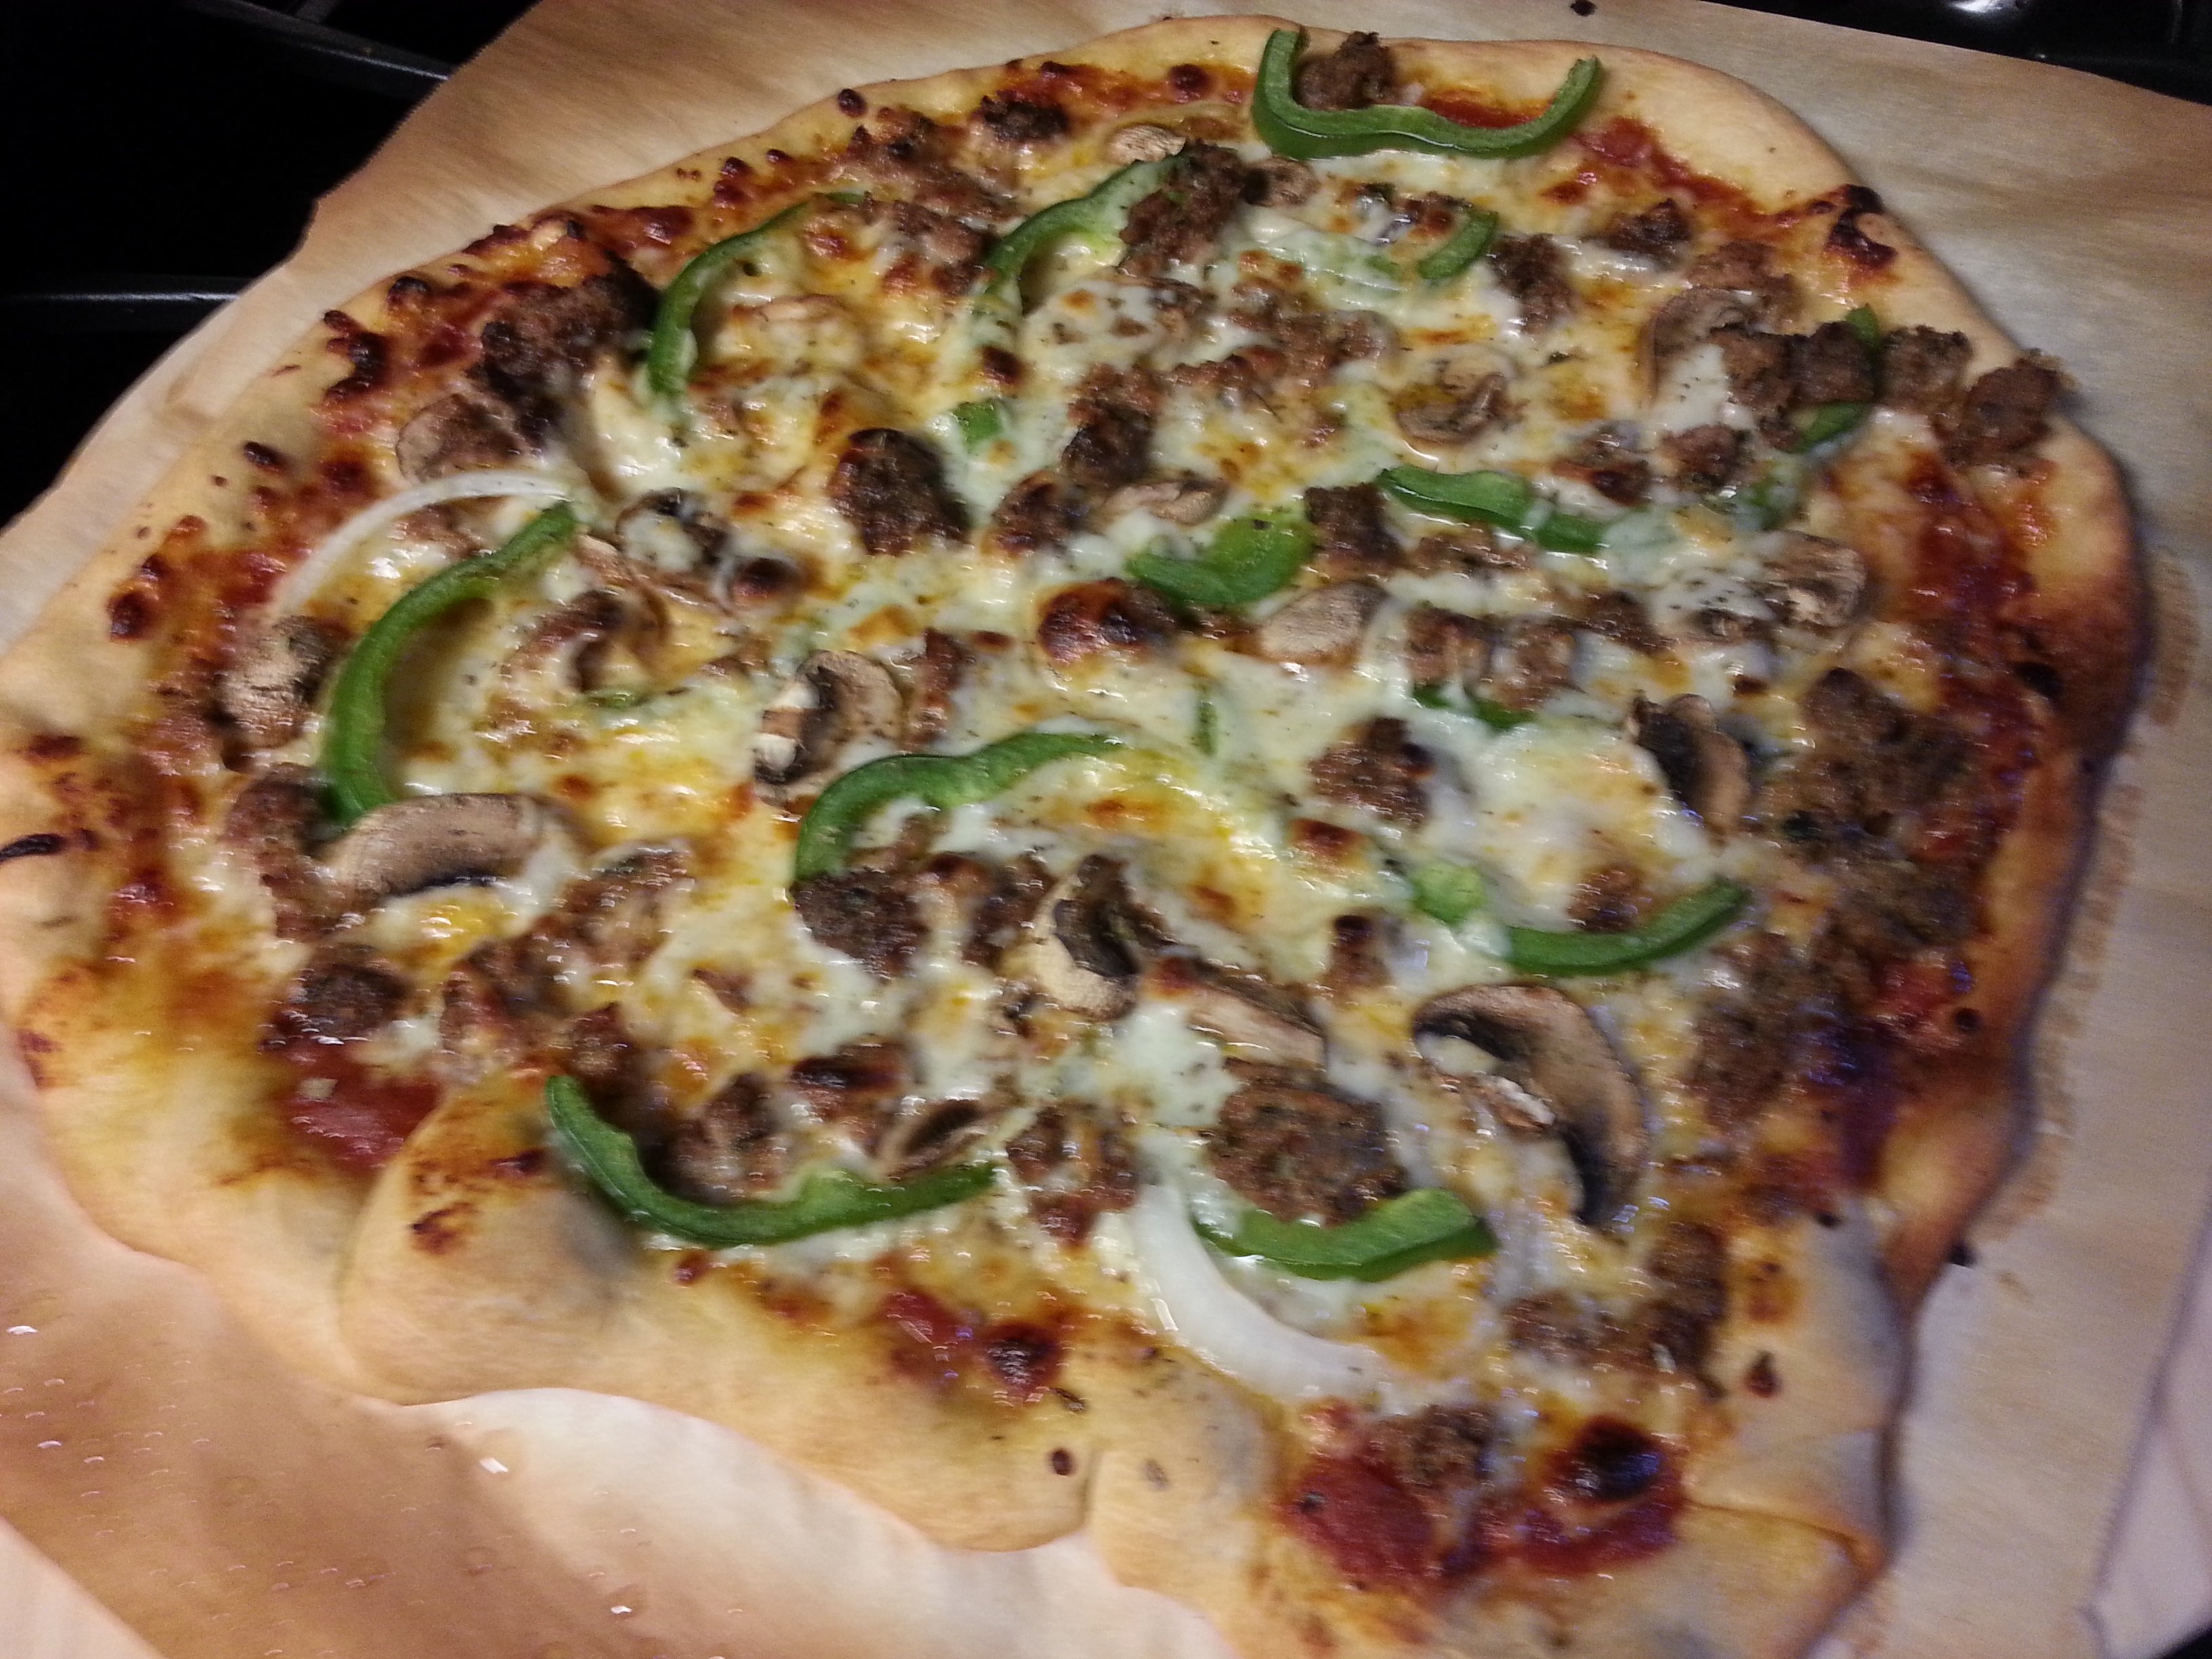
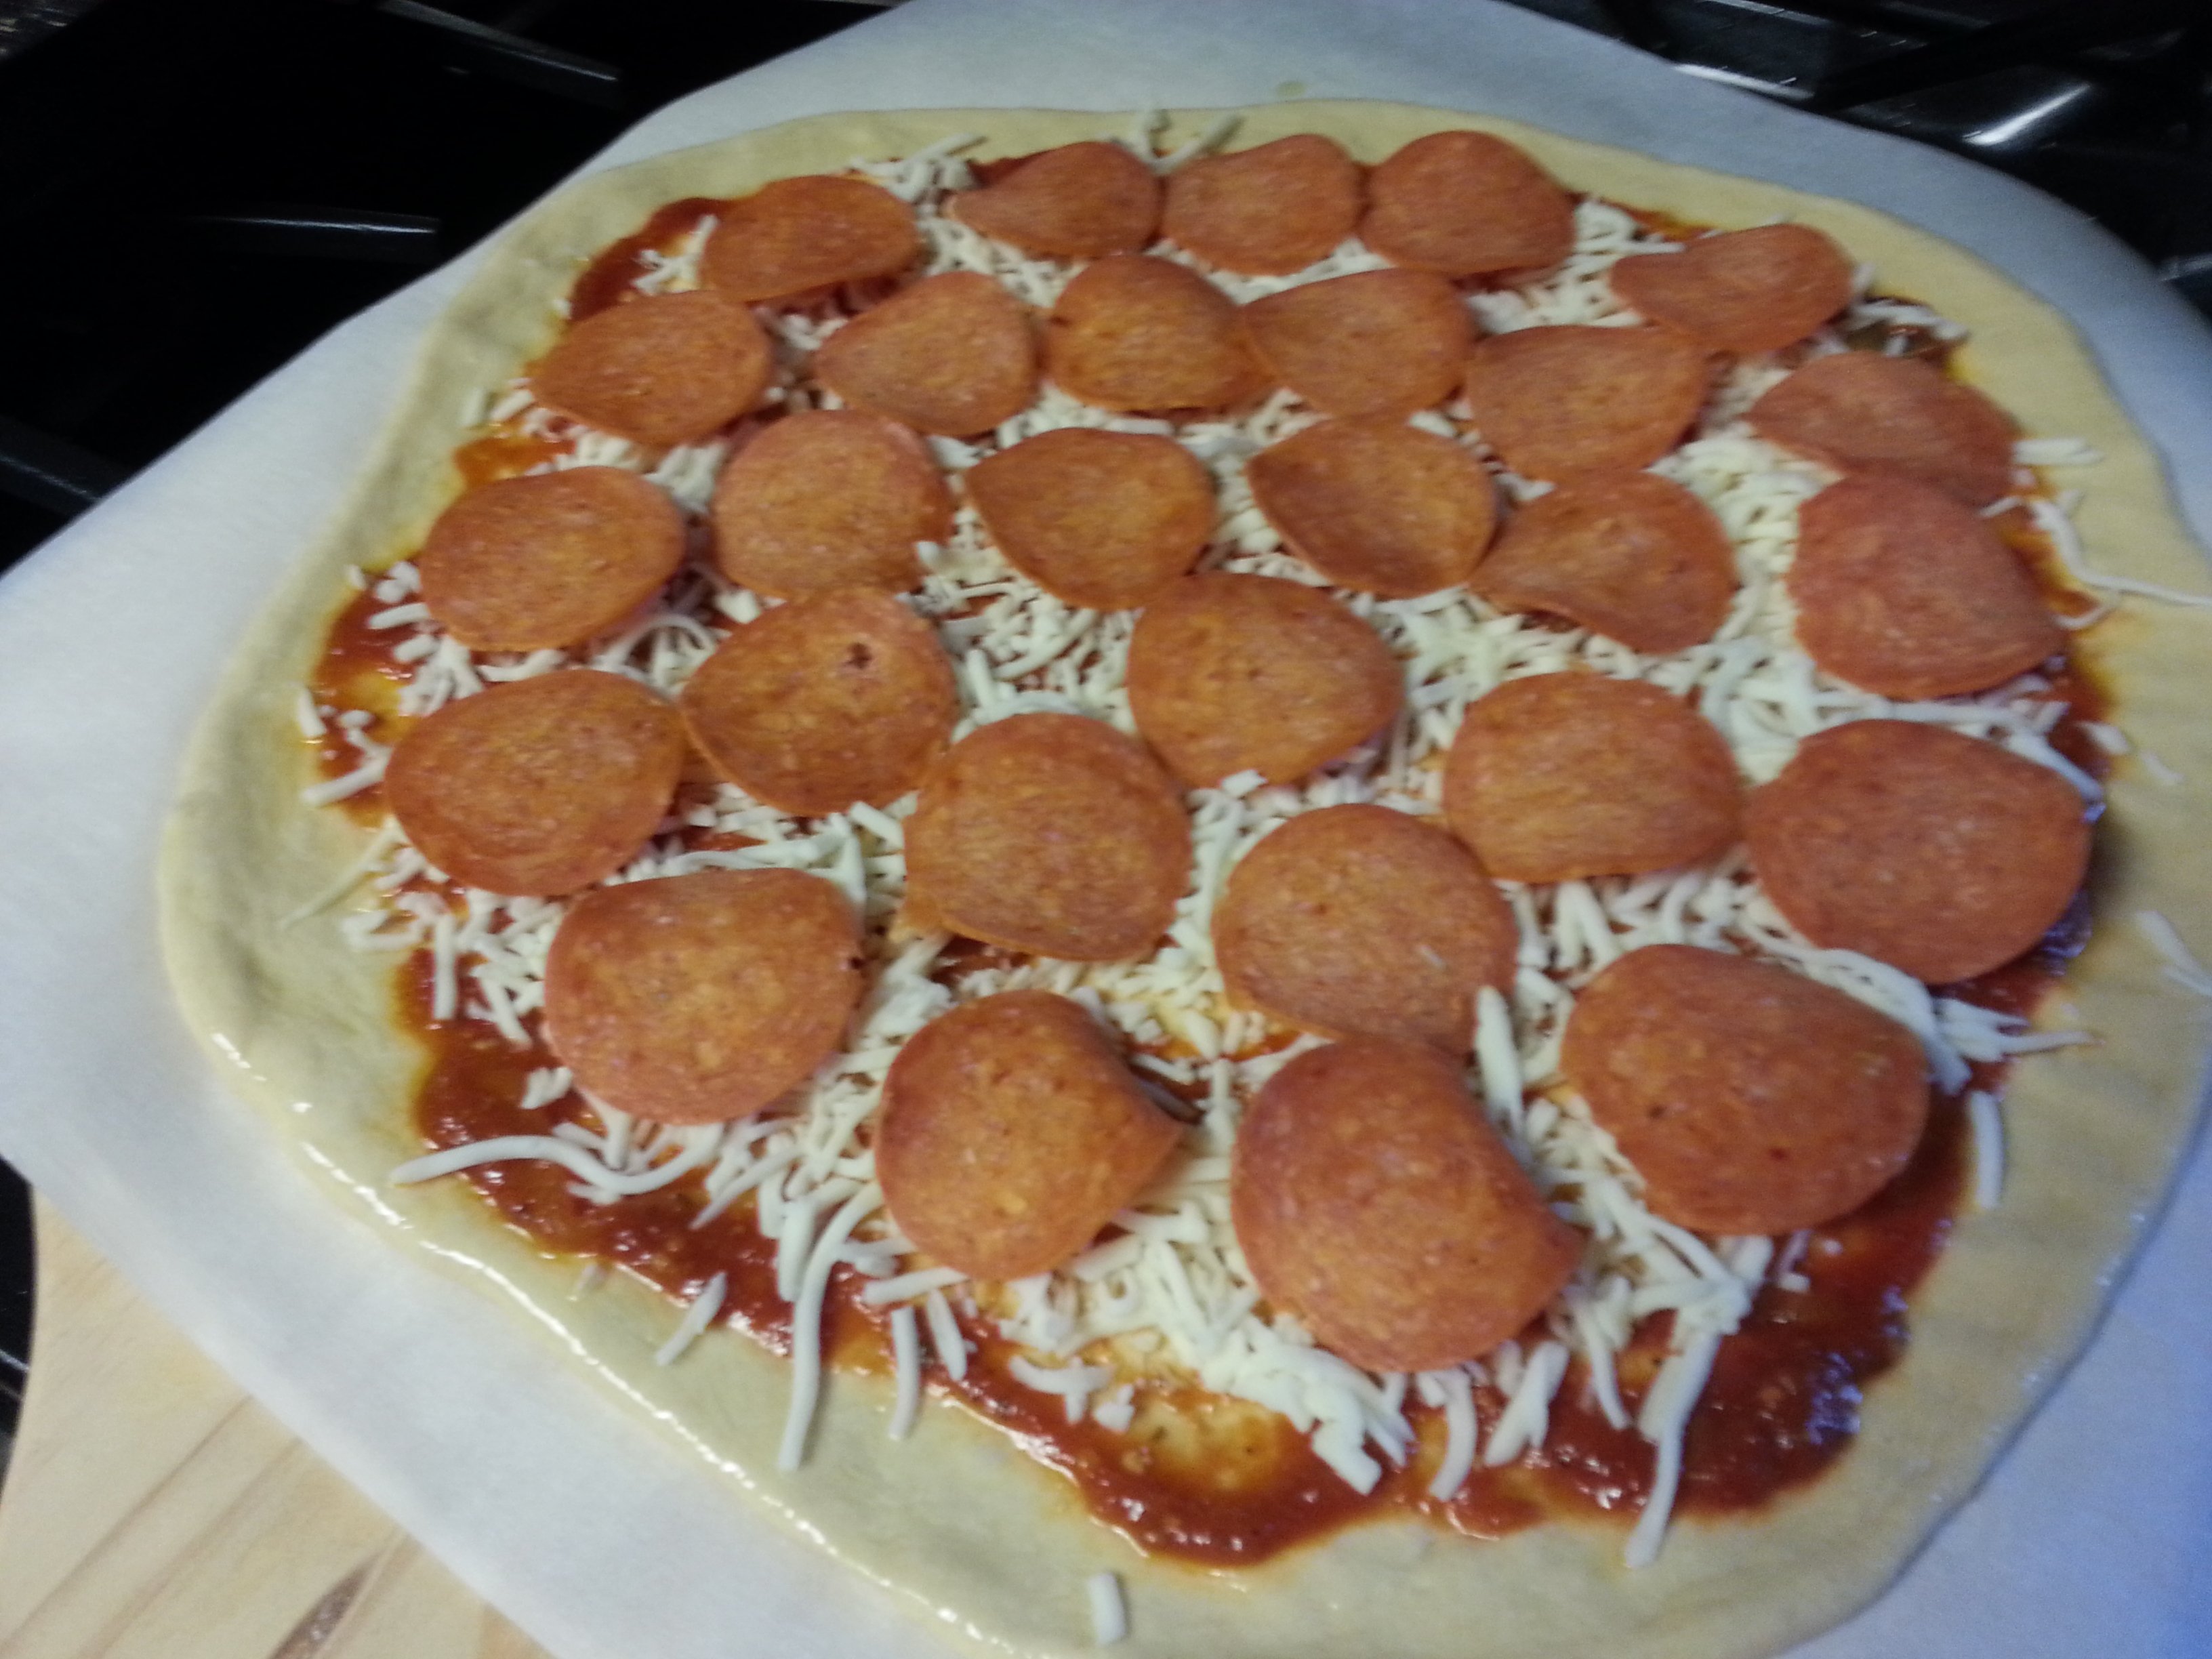
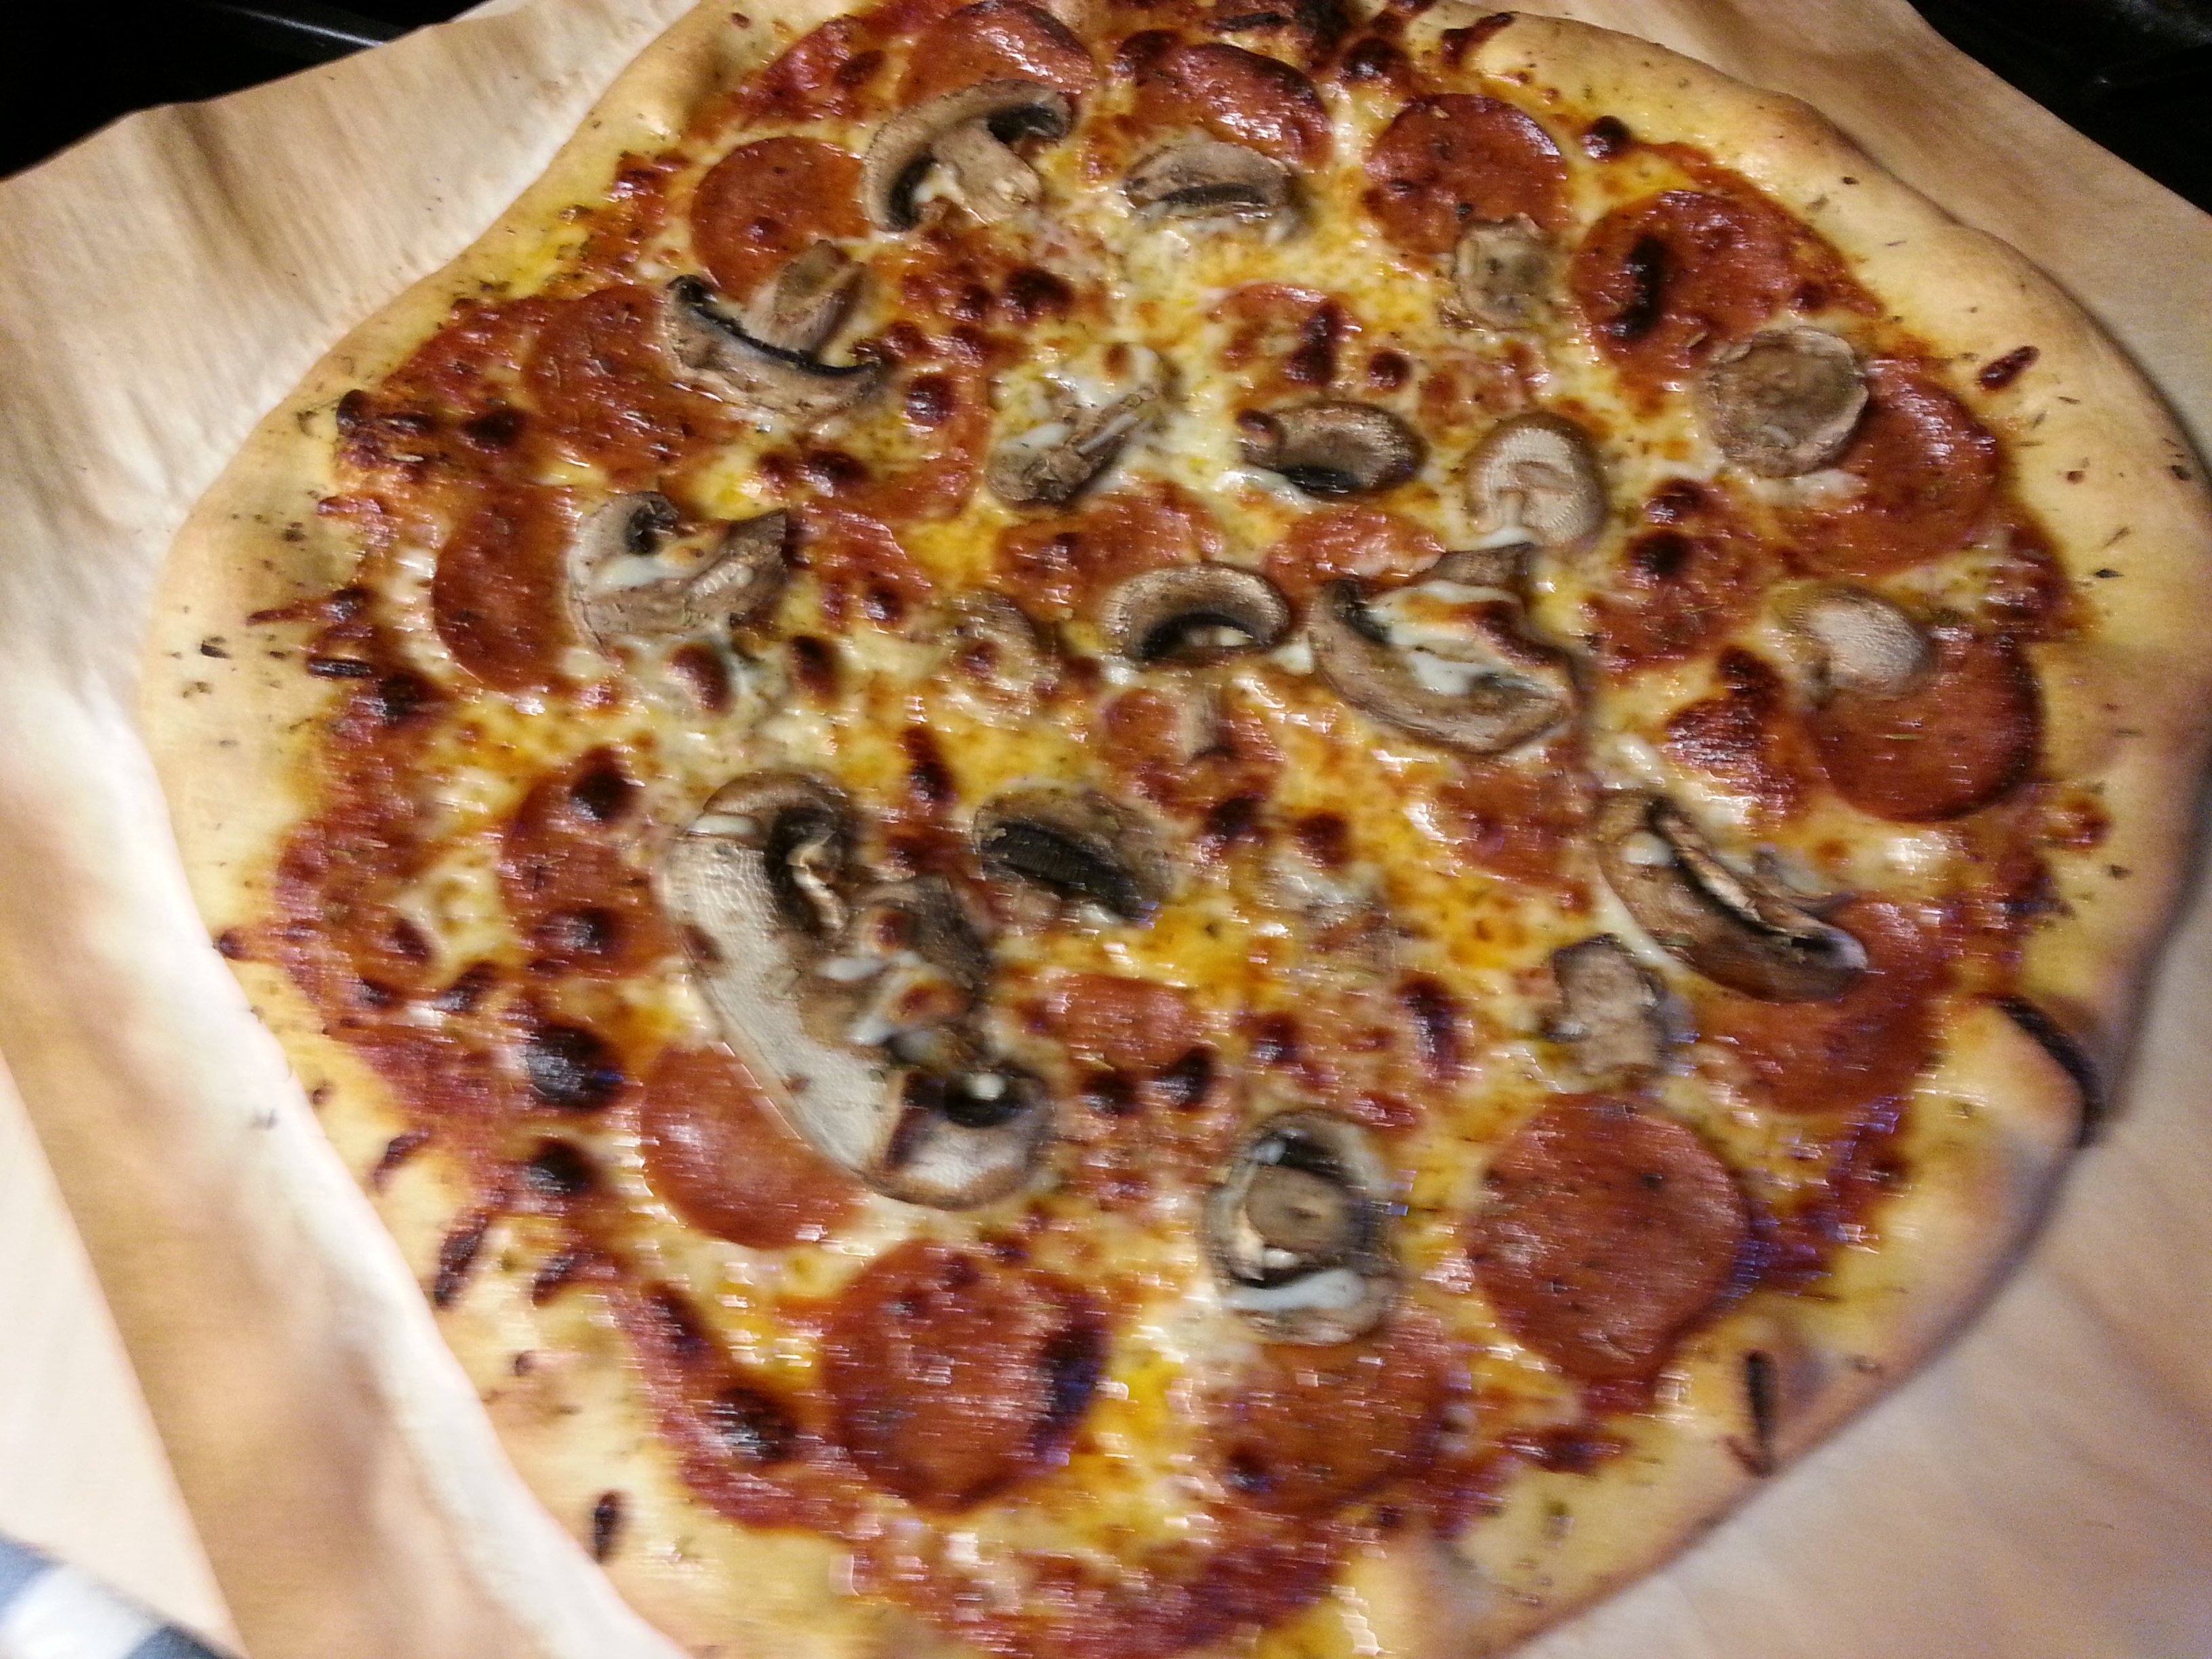
Now add your toppings. My husband loves pepperoni on his pizza.
I took some of Auntie’s meatballs out of the freezer and defrosted them for my pizza
Add the remaining toppings and cover with more cheese. I like to sprinkle my pizzas with a bit of Italian seasoning. Slide the pizza off the peel, onto the stone. You have to use a bit of a flicking motion to slide the pizza off the peel and onto the stone.
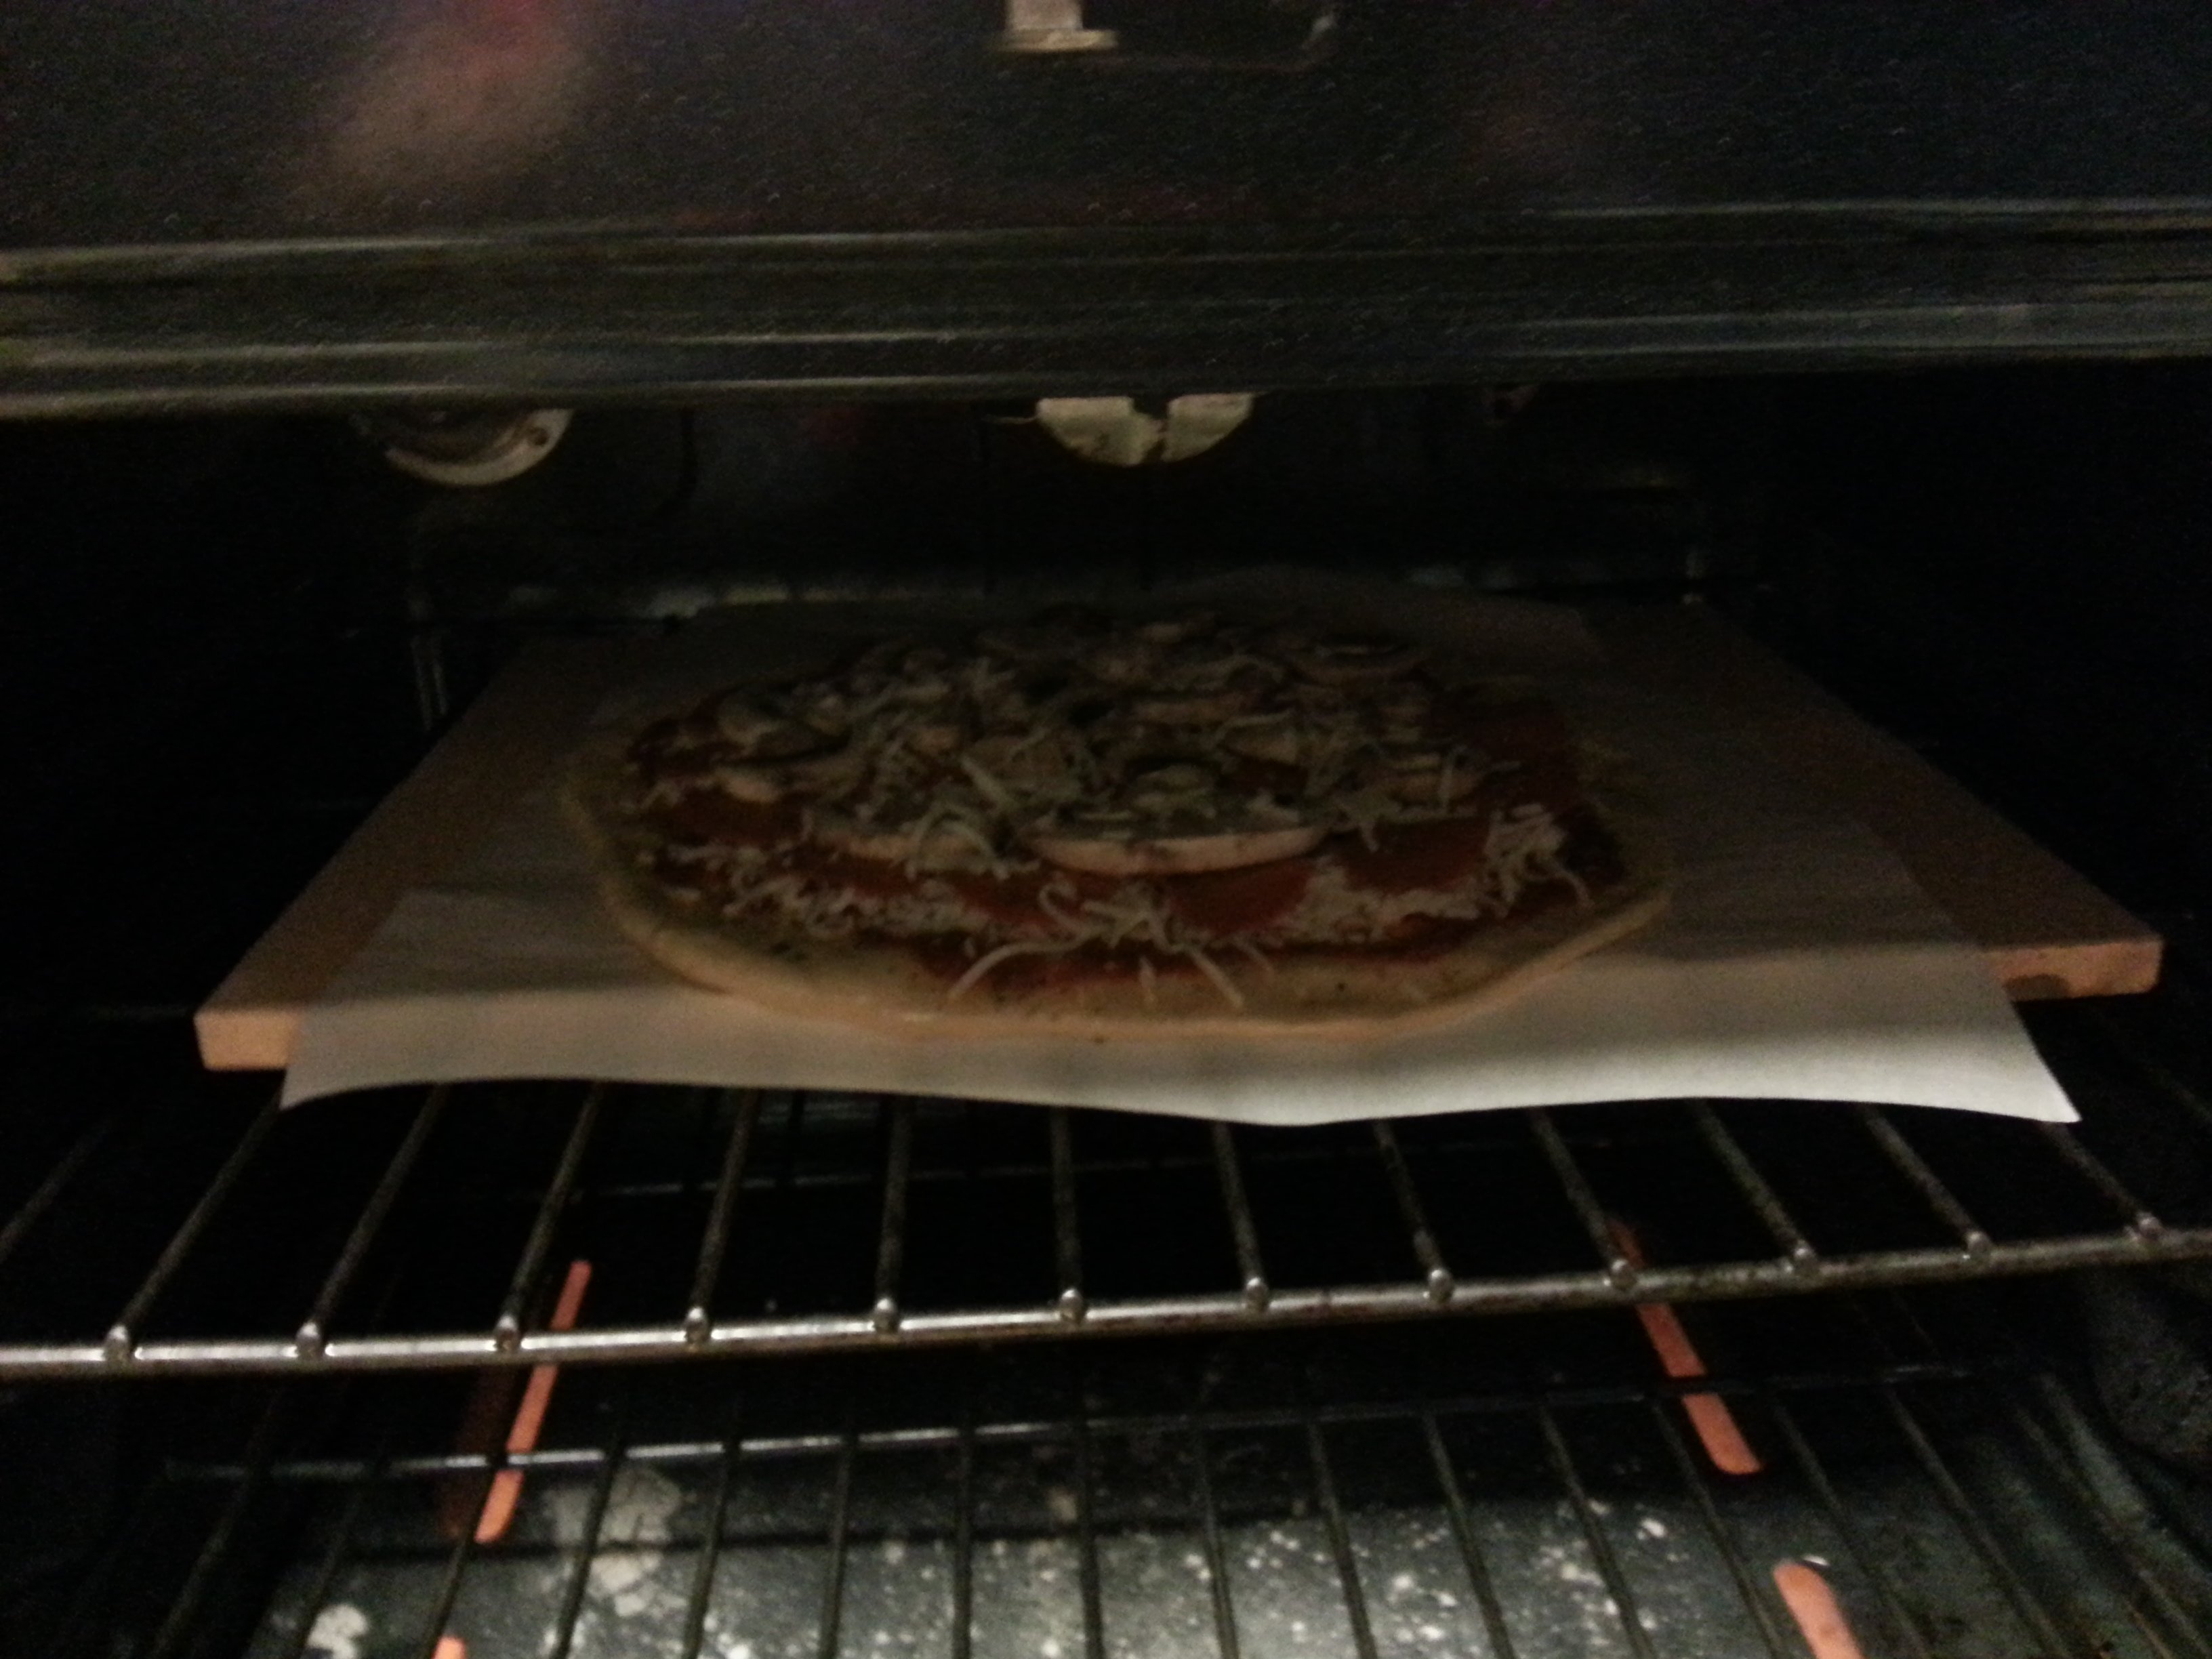
Bake for 8-12 minutes, until the crust and cheese are browned. You’ll want to wait a few minutes before you cut it or else the cheese will melt back together and it will be difficult to pull apart.
You can also make smaller individual pizzas for a crowd. This will allow you to bake multiple pizzas at once. When making multiple large pizzas, I just make the second pizza while the first is baking.
*I am usually an all purpose flour girl, but after making a lot of pizzas that were just okay, I will only use bread flour from now on. The pizza is just so much better with bread flour. It is completely worth the additional cost. I always use King Arthur flour.