I love to cook. It gives me peace to put together a creative meal. When I first started baking, I was not a big fan. Baking requires precision, something not necessary in cooking. As I learned more about baking and the precision needed to accomplish it, I became better at it and less frustrated with the process. I still prefer cooking, but I now enjoy baking bread and other items.
This is not an exhaustive list, but things that I believe I have learned which has made me a better baker over the years. I would love to get your insights in the comments below. What have you done to improve your baking skills?
1. Use the proper ingredients
Because baking is about precision, make sure you use what is called for in the recipe. For example, if a recipe calls for large eggs and you use extra large eggs, your finished product will be off a bit. If the recipe calls for room temperature butter and you use cold or melted butter, your cookies will not come out the way they look in the picture. That doesn’t mean you can’t do substitutions in your recipes, but you must know what effect the substitutions will have on your finished product.
2. Flour is important: use the correct kind
There are so many types of flour out there: all-purpose, self rising, bread, cake, whole wheat, white whole wheat, semolina, and others. Each type of flour has different characteristics and will provide different results in a given recipe. There are a lot of bread recipes out there that use all-purpose flour, but if the recipe calls for bread flour, either use it or find a different recipe. I keep three types of flour in my house: all-purpose, white whole wheat and bread flour. I don’t actually use the bread flour to make bread, but to make pizza. White whole wheat and all-purpose are fairly interchangeable. When trying a new recipe, I try to incorporate about 25% white whole wheat to see how it affects the finished product. So far, I have been very successful substituting 50% white whole wheat in most recipes.
3. Know your measurements
This one seems pretty basic but sometimes measuring is more difficult than it appears. Have you ever tried to bake something, measuring everything perfectly and the finished product comes out too dry or too moist? It might be your measurements. All measuring cups are not the same. You need to have a set of wet measuring cups![]() and a set of dry measuring cups
and a set of dry measuring cups![]() . I would recommend metal or stamped dry measuring cups. I’ve found that if the measure is painted on, it will eventually rinse off, leaving you trying to figure out which cup is which. You also need a good set of measuring spoons
. I would recommend metal or stamped dry measuring cups. I’ve found that if the measure is painted on, it will eventually rinse off, leaving you trying to figure out which cup is which. You also need a good set of measuring spoons![]() . Again, beware of those where the measurements might wash off. Also make sure that the spoon you pick will fit in the majority of your spice jars. I’ve made a mess trying to pour spices and powders into small spoons that were too wide to fit in the jar. The most accurate way to measure is by weight with a good electronic kitchen scale
. Again, beware of those where the measurements might wash off. Also make sure that the spoon you pick will fit in the majority of your spice jars. I’ve made a mess trying to pour spices and powders into small spoons that were too wide to fit in the jar. The most accurate way to measure is by weight with a good electronic kitchen scale![]() . Look for one with a tare button you can use on the fly. If a recipe calls for 10 oz of flour, you can put that in the bowl on the scale, hit tare and then add your 5oz of sugar. No need for multiple bowls!
. Look for one with a tare button you can use on the fly. If a recipe calls for 10 oz of flour, you can put that in the bowl on the scale, hit tare and then add your 5oz of sugar. No need for multiple bowls!
4. Know how your author measures
This is particularly important with flour. Every cook measures things differently. For example, the authors of Artisan Bread in Five Minutes a Day![]() use the scoop and sweep method for measuring flour. This means that you put the measuring cup into your flour bin, fill it up and sweep the top flat. I use a chop stick to sweep my measuring cups. This method results in your flour being much more densely packed, therefore using more flour. King Arthur Flour’s recipes use a fluff and spoon method, which means you fluff up your flour with a spoon to incorporate air when spoon the flour into your cup and level it off with a knife or chop stick. This results in lightly packed flour. It makes a big difference. When visiting a site for the first time, I will search for methods used. I found King Arthur’s method after someone complained in a comment that the recipe was dry. Someone from the Company responded asking if the poster had used the fluff and spoon method, which is the method used for their recipes.
use the scoop and sweep method for measuring flour. This means that you put the measuring cup into your flour bin, fill it up and sweep the top flat. I use a chop stick to sweep my measuring cups. This method results in your flour being much more densely packed, therefore using more flour. King Arthur Flour’s recipes use a fluff and spoon method, which means you fluff up your flour with a spoon to incorporate air when spoon the flour into your cup and level it off with a knife or chop stick. This results in lightly packed flour. It makes a big difference. When visiting a site for the first time, I will search for methods used. I found King Arthur’s method after someone complained in a comment that the recipe was dry. Someone from the Company responded asking if the poster had used the fluff and spoon method, which is the method used for their recipes.
5. Knead it, knead it good!
When making anything that requires kneading, pay special attention to how long you should knead it for. Some recipes, like biscuits, require very little kneading. Breads require lots of kneading. When kneading bread, you want to knead until your dough is smooth.
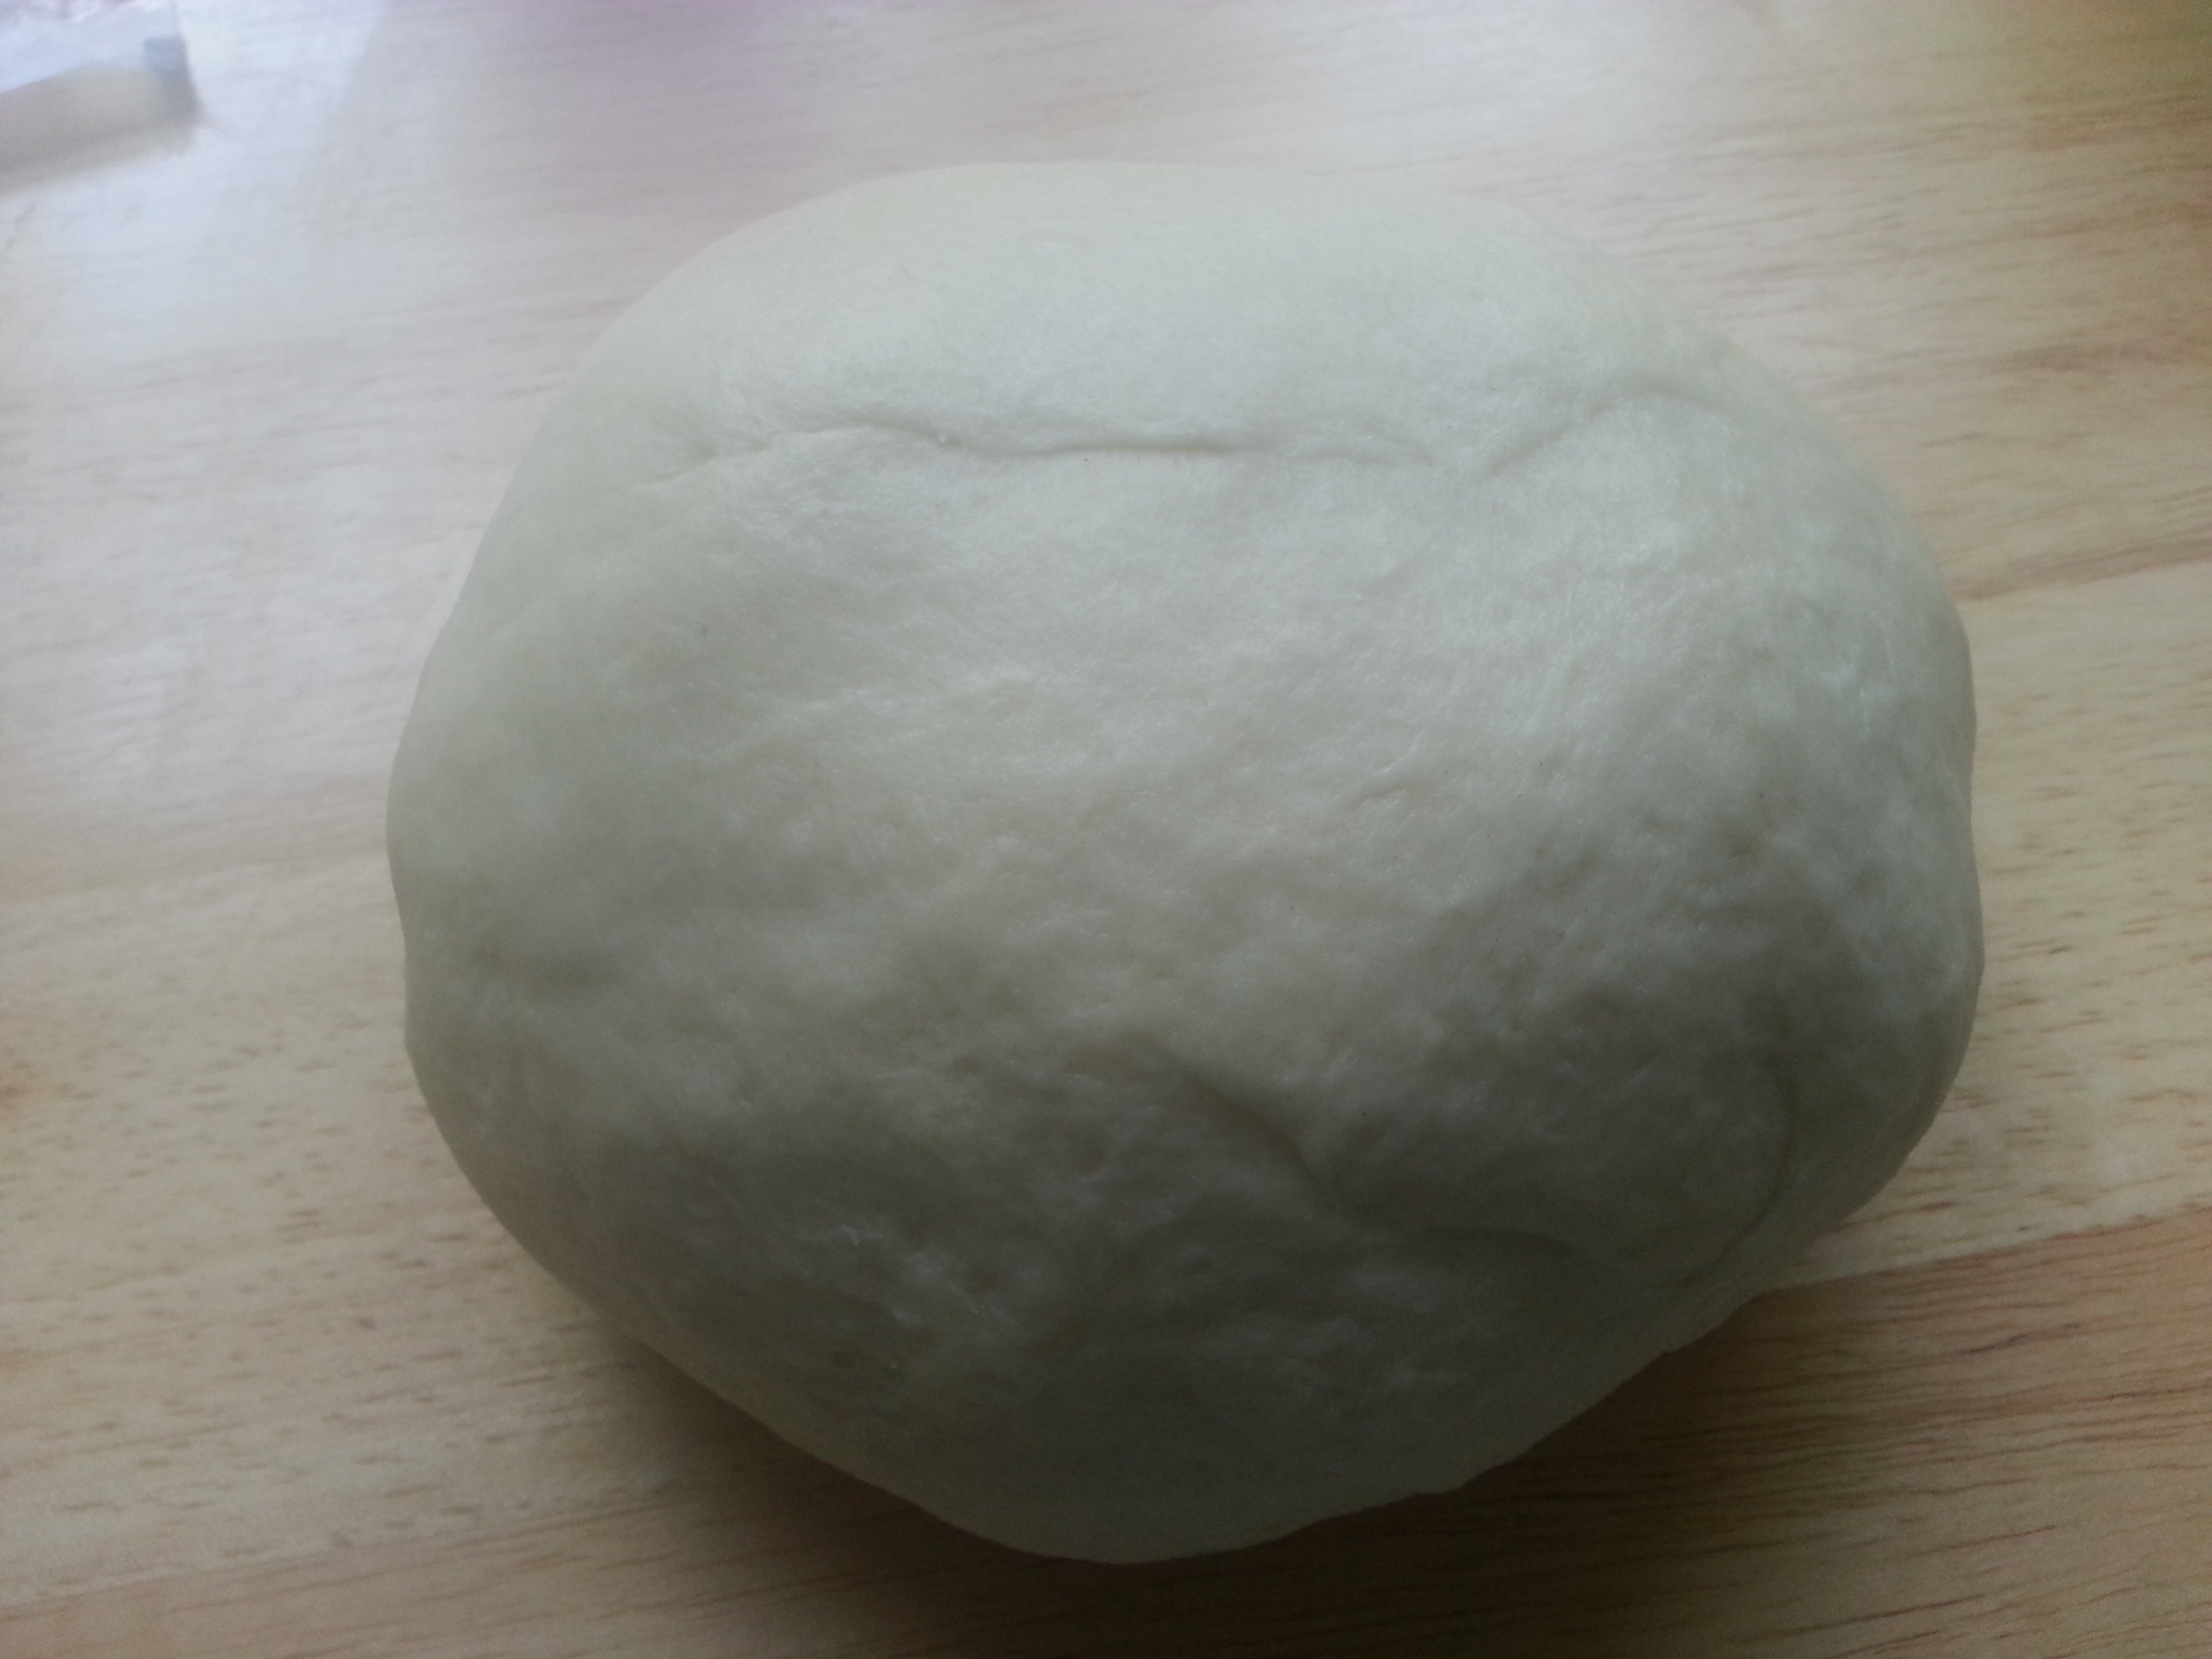
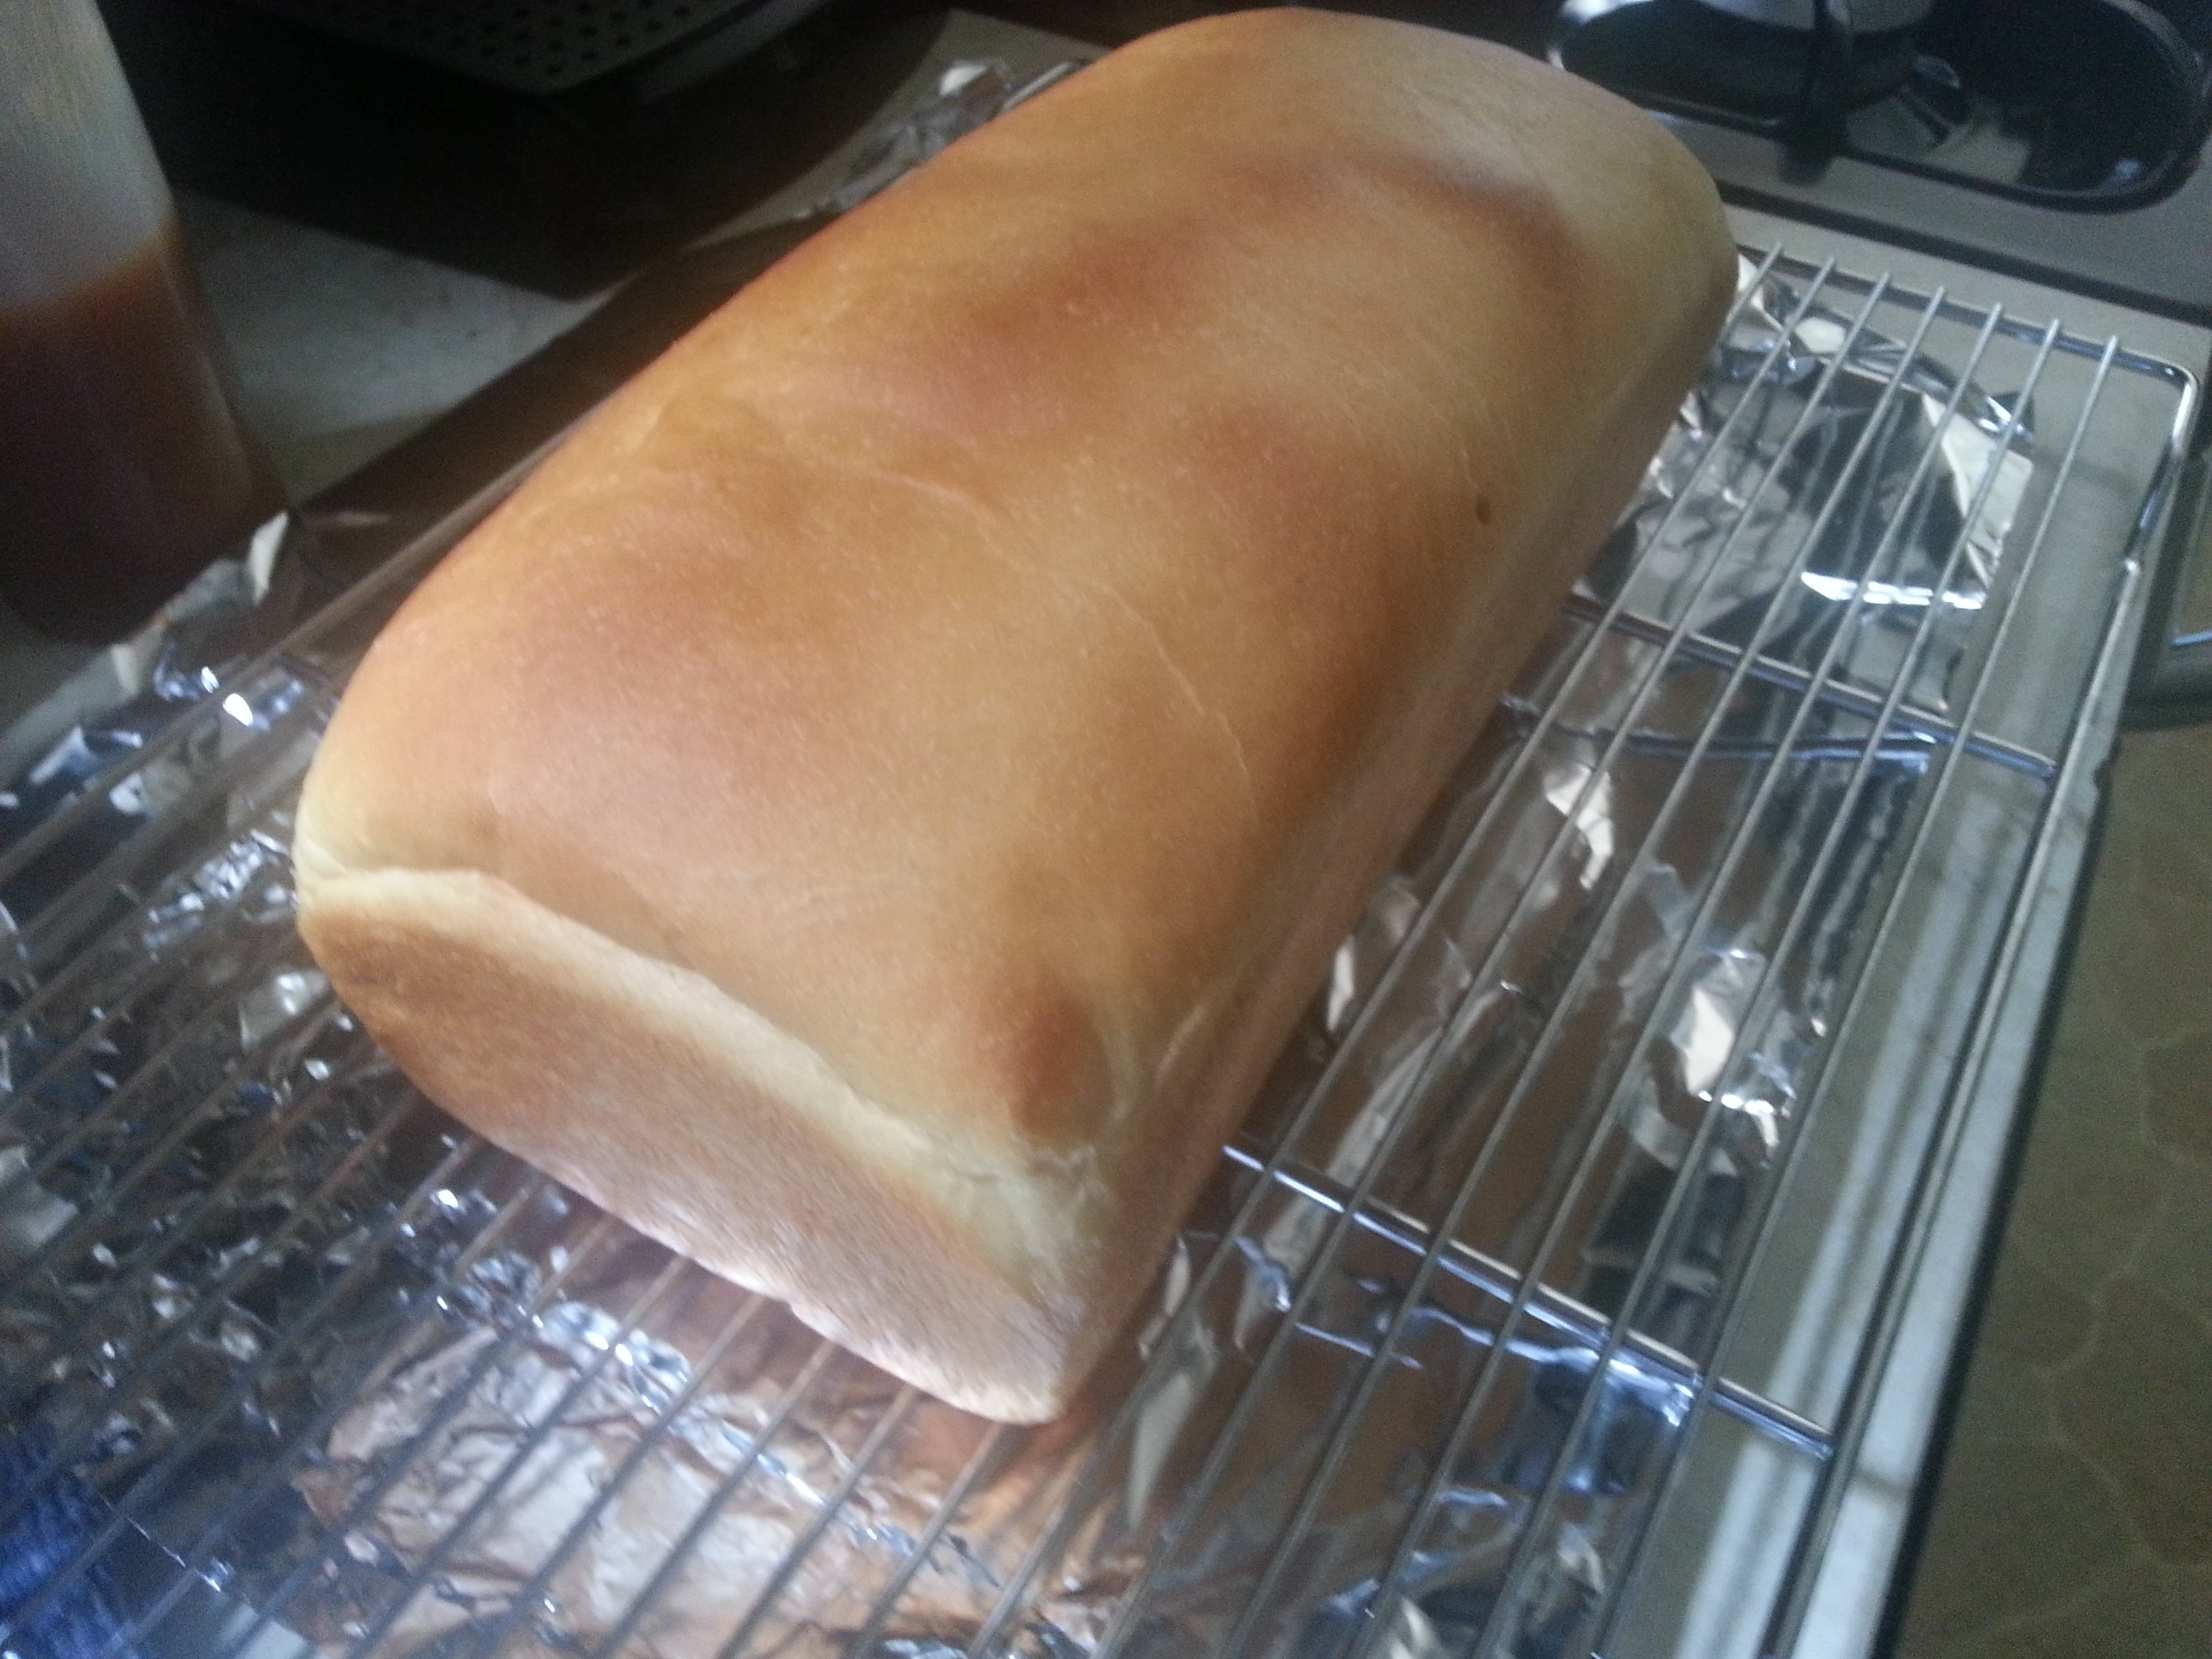
This batch was kneaded for approximately 5 minutes in the mixer and then another 5 minutes by hand. Kneading develops gluten, which is what makes bread, like well bread, and not crumbly like cake. The bonds formed by the gluten make the bread stay together. Biscuits do not require a lot of kneading because you want them to be flaky. Know when to keep kneading and when to stop.
6. Rise for size, not for time
Most recipes will state “let the dough rise for one hour or until doubled in bulk.” The most important part is for the dough to double in bulk. I’ve had this happen in as little as 35 minutes on a very warm day to 2 hours in the middle of winter. In the summer, make sure to check the dough early in the rise. In the winter, I turn my oven on and once it hits 100 degrees, I turn off the oven and place my bowl of dough inside. The oven will stay above room temperature, which in our house is about 62, and your dough will rise faster.
7. Prep your pan
Don’t you hate it when you bake something beautiful, only to have it stick to the pan? Spending the few extra minutes to prepare the pan well will ensure good release. For bread, I typically use butter to prepare the pan. I just like the flavor. For cakes, I butter and flour. For cookies, I use Goldtouch pans from Williams-Sonoma. No other prep is needed. I know the Goldtouch pans are more expensive than your traditional pans but I’ve thrown out a lot of pans in my day but my Goldtouch keep going beautifully. If you have traditional cookie sheets, use parchment paper or silicone baking mats![]() . I really like the silicone mats. They work very well and with the cost of parchment paper, they pay for themselves in no time.
. I really like the silicone mats. They work very well and with the cost of parchment paper, they pay for themselves in no time.
8. Know your oven
Most ovens run a little hot or a little cold. Very few run perfectly. This has a huge impact on your results. I’ve had some friends whose ovens have run 20 degrees too hot or too cold. It’s a good idea to invest in an inexpensive oven thermometer![]() . Then you can adjust the temperature of your oven accordingly. You will also want to have a food thermometer
. Then you can adjust the temperature of your oven accordingly. You will also want to have a food thermometer![]() . These are very handy things to have. The one I linked is the one we have. We use it for everything from checking the temperature of bread to smoking meat. I didn’t want to have multiple thermometers so I use that one for everything.
. These are very handy things to have. The one I linked is the one we have. We use it for everything from checking the temperature of bread to smoking meat. I didn’t want to have multiple thermometers so I use that one for everything.
9. Use quality ingredients where it counts
There are some ingredients that are more important than others. Things like sugar, baking powder, baking soda and salt are all pretty much the same when it comes to baking. Those are items I don’t spend money on. I usually buy the generic brand. There are a few things that I do spend extra money on. Flour and vanilla are two of those things. If you are making bread, which is mostly flour, use a high quality flour. I personally use King Arthur flour for all my recipes. I also buy good quality vanilla extract. Imitation and cheaper variety vanilla can have an off flavor that can ruin a recipe. Vanilla can be expensive but you’ll use so little of it per recipe it won’t dramatically change the cost of the recipe. If you use a lot of vanilla, consider purchasing it at a warehouse club like Costco. That is also where I buy my King Arthur all-purpose flour.
10. Try new things
The only way to get better at something is to practice and what could be better than practicing the art of baking yummy things for your family. If you’ve never baked before, try a simple bread recipe like The Hillbilly Housewife’s beginner’s bread. This bread is very inexpensive to make and will be very good practice. Then you can move onto other bread recipes that are a bit more complex. If you don’t have a lot of time or are still building up your confidence with kneading, try Artisan Bread in Five Minutes a Day. The recipes in this book are no knead recipes because the dough rises slowly in the fridge. This book really helped me with my baking confidence, which allowed me to expand into other breads and rolls.
Please leave your tips and questions below.![]()